2
I
I
N
N
T
T
R
R
O
O
D
D
U
U
C
C
T
T
I
I
O
O
Congratulations on your purchase! Your new Mouse is easy to in
stall and offers you a host of useful
features. It has two wheels for easy scrolling in all directions no matter what the application. The
vertical wheel allows you to scroll up and down; the horizontal wheel lets you scroll to the left and
right or zoom in and out in a document. You can program the mouse buttons to launch the NetJump
or LuckyJump for a quick start to programs you run frequently. You can even create your own
Command Menu and with one click put all your favorite programs right under the cursor! We have
replaced the tracking ball with an optical sensor that scans your desk 1,500 times per second for
pinpoint accuracy.
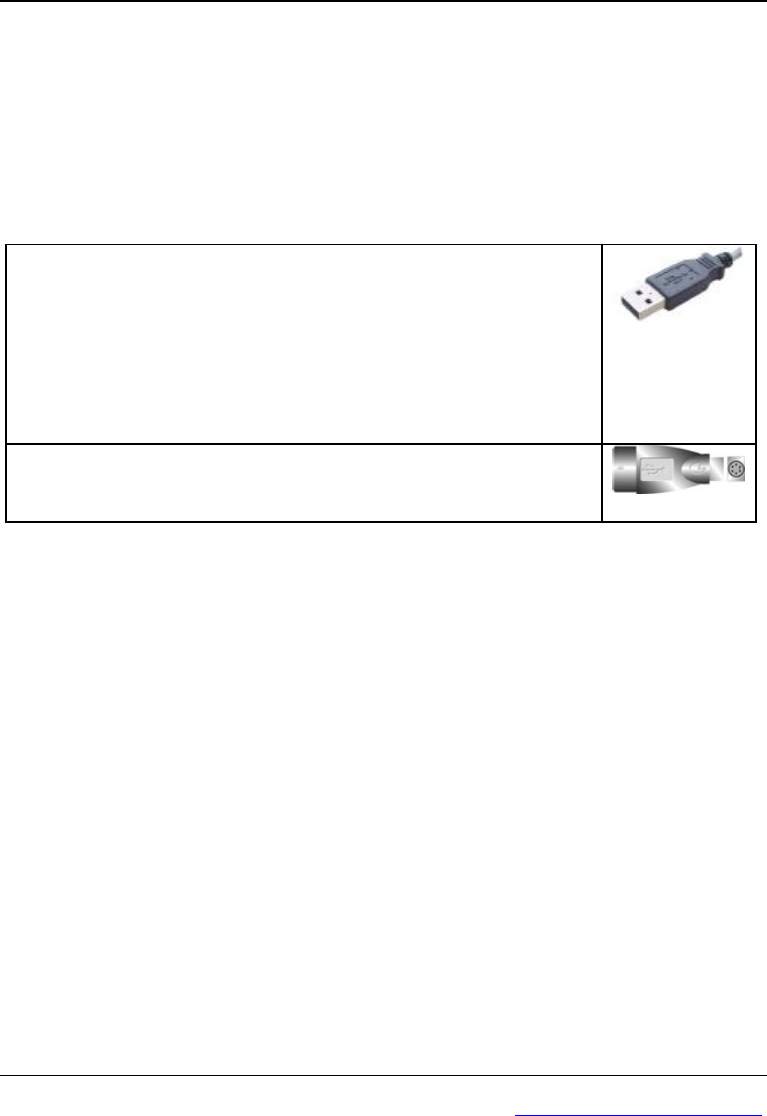
To connect your USB mouse
1. Locate an available USB mouse port on the back of your computer.
2. Insert the USB mouse port connector into the USB mouse port and
tighten the screws.
(Enabled USB IRQ#: If you use USB devices, you may Enable reserves an
IRQ# for the USB to work, Disabled do not allow the USB to have an IRQ#
and therefore prevents the USB from functioning. More details check your
computer BIOS setup.)
If you want to connect a combo2 mouse to your computer PS2 port, you must
use a USB to PS2 adapter.
Installing the Mouse Software
Before you can take advantage of the many features your Mouse offers, you must install the driver.
The driver is on the installation diskette that came packaged with your Mouse.
Windows®95/98/Me/2000/XP installation
1. Connect the mouse to your computer.
2. Insert the installation diskette into your floppy disk drive.
3. Click the Start button and then click Run.
4. In the Run dialog window, type A:\setup
, where “A” is the letter of your floppy disk drive.
5. Click OK and follow the instructions on your screen to complete the installation.
PDF 檔案以 "FinePrint pdfFactory Pro" 試用版建立 http://www.pdffactory.com


