Quick Installation Guide
4
Mounting Switches in a Rack
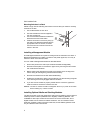
Please comply with the following instructions to ensure that your switch is securely
mounted in the rack.
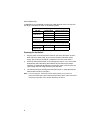
1. Use a standard EIA 19-inch rack.
2. Use the brackets and screws supplied in
the rack mounting kit.
3. Use a cross-head screwdriver to attach the
brackets to the side of the switch.
4. Position the switch in the rack by lining up
the holes in the attached brackets with the
appropriate holes on the rack, and then
use the rack-mount screws to mount the
switch in the rack.
Installing a Management Module
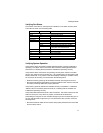
One Management Module is required to manage all of the switches in the stack. A
Management Module only installs in a switch’s rear-panel upper slot, do not try to
install it in either of the two lower slots.
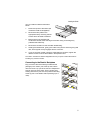
You can install a Management Module as described below:
1. Disconnect power to the switch (the modules are not hot-swappable).
2. Remove the face plate on the switch’s upper slot by removing the two screws
with a flat-head screwdriver.
3. Before opening the package that contains the module, touch the bag to the
switch casing to discharge any potential static electricity.
4. Remove the module from the anti-static shielded bag.
5. Holding the module level, gently push it all the way into the slot along the guide
rails, ensuring that it firmly engages with the connector.
6. If you are sure the module is properly mated with the connector, tighten the
retainer screws to secure the module in the slot.
Caution: The slide-in modules are not hot-swappable. Be sure you power off the switch
before installing any of these modules.
Installing Optional Media and Stacking Modules
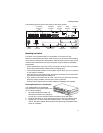
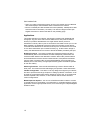
The two lower slots on the rear panel of the switch are provided for various optional
media expansion modules (100BASE-FX or Gigabit) or Stacking Modules. The
100BASE-FX fiber optic module can be used to connect to remote sites, and a
Gigabit module can be used as a network backbone. You can install the media
expansion modules in either of the two lower slots, but the Stacking Module must
only be installed in the lower-left slot.
1


