


Chapter 3 63
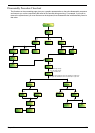
Disassembling the Main Unit
Separate the Main Unit Into the Upper and the Lower Case Assembly
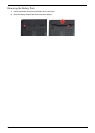
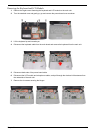
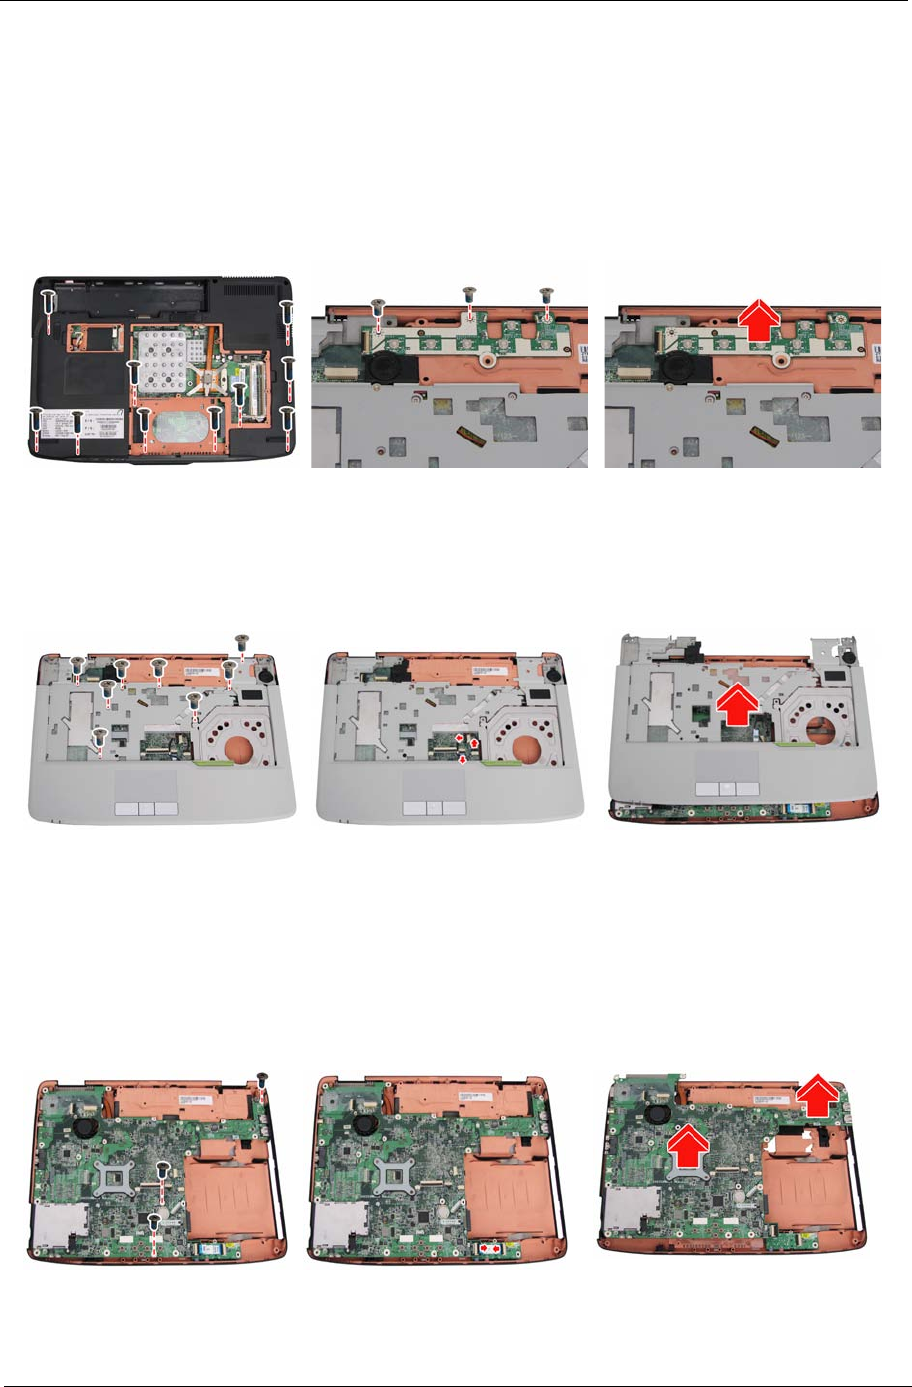
1. Remove the ten screws fastening the lower case assembly to the upper case assembly.
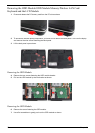
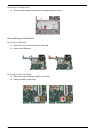
2. Turn the notebook over and remove the three screws fastening the power board.
3. Remove the power board from the main unit.
4. Remove the eight screws fastening the upper case assembly to the lower case assembly.
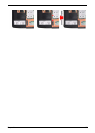
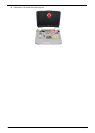
5. Disconnect the touchpad, speaker and bluetooth cables.
6. Gently lift off the upper case assembly from the lower case assembly
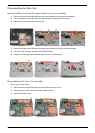
Disassembling the Lower Case Assembly
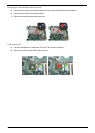
Removing the Main Board
1. Remove the two screws fastening the main board to the lower case.
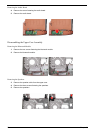
2. Disconnect both ends of the audio board cable as shown.
3. Remove the main board.