


Chapter 3 81
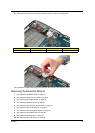
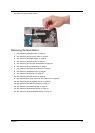
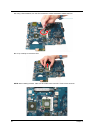
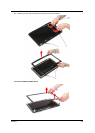
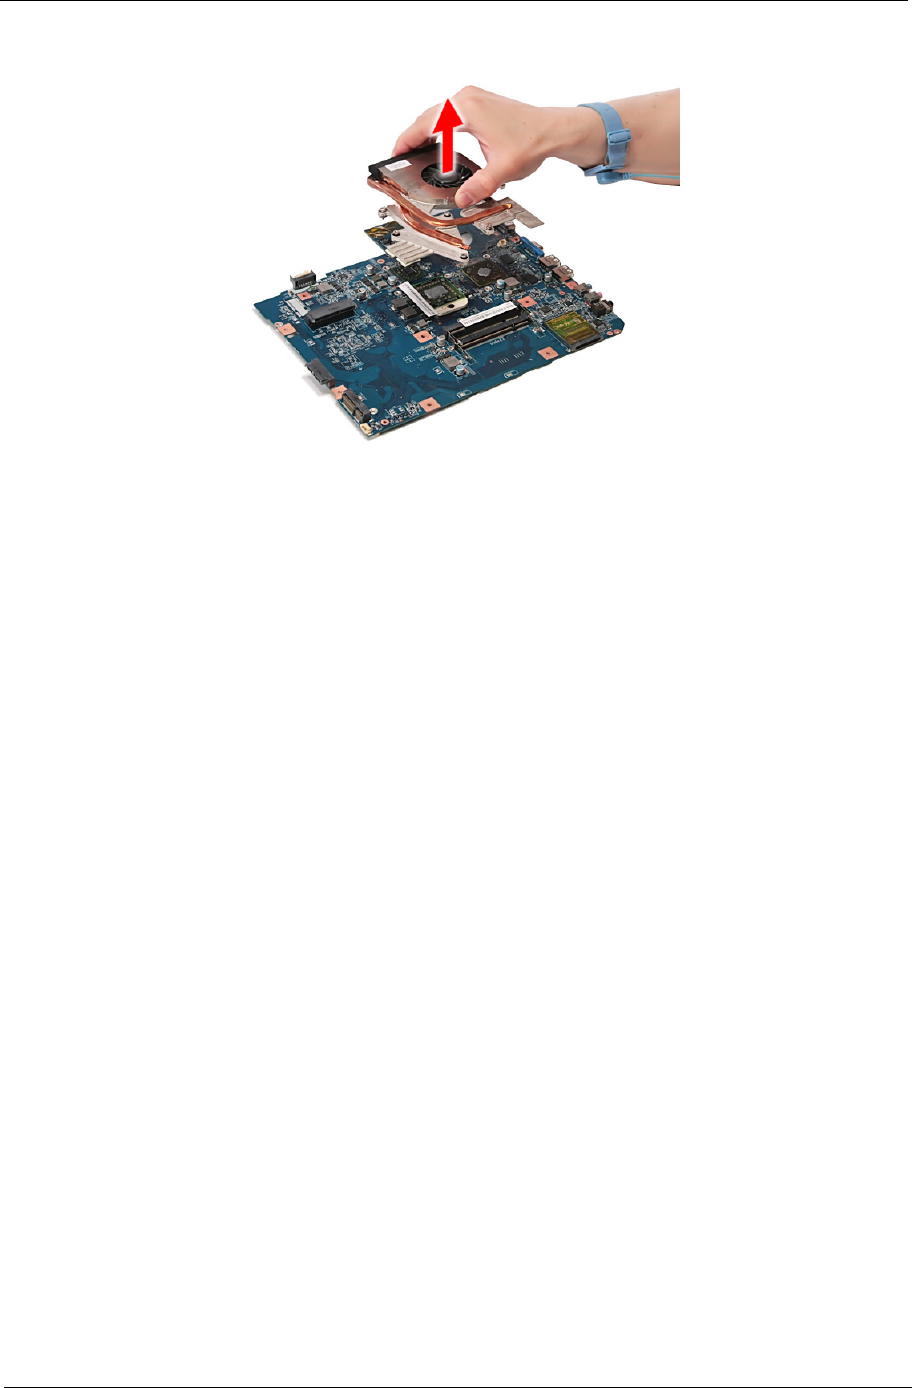
20. Carefully lift up the heatsink module.
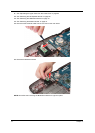
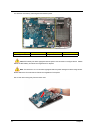
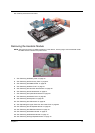
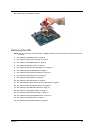
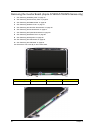
Removing the CPU
NOTE: The CPU may be an Intel® processor or AMD® processor, but the processes in removing the CPU are
the same.
1. See “Removing the Battery Pack” on page 44.
2. See “Removing the SD Dummy Card” on page 45.
3. See “Removing the DIMM Module” on page 46.
4. See “Removing the Back Cover” on page 47.
5. See “Removing the Hard Disk Drive Module” on page 48.
6. See “Removing the WLAN Modules” on page 51.
7. See “Removing the Optical Drive Module” on page 53.
8. See “Removing the Middle Cover” on page 56.
9. See “Removing the Keyboard” on page 58.
10. See “Removing the LCD Module” on page 59.
11. See “Separating the Upper Case from the Lower Case” on page 62.
12. See “Removing the Left Speaker Module” on page 69.
13. See “Removing the USB Board Module” on page 70.
14. See “Removing the Modem Module” on page 72.
15. See “Removing the Bluetooth Module” on page 73.
16. See “Removing the Right Speaker Module” on page 75.
17. See “Removing the Main Board” on page 77.
18. See “Removing the Heatsink Module” on page 79.