This chapter will guide you through how to install the AcerHub ALH-608ds. It
includes procedures for connecting to the external power supply, installing the
hub on your working surface, connecting the Hub to your computer, and
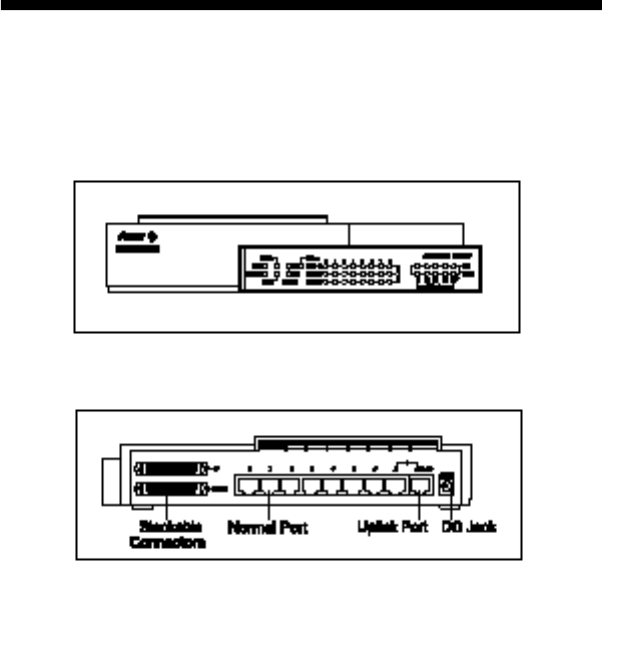
guidelines to see if it works well. Before setting up your hub, please take note
of the front and rear panel of this hub, as shown in Figure 2-A and 2-B.
Please follow the installing procedures to make your network ready:
2.1 Connecting to the external power supply
Carefully unpack the AcerHub ALH-608ds and it's accessories. For the first
time that you use this hub, please make sure there is nothing missing in the
package. The procedures for connecting to the power outlet are:
2.1.1 Take out the hub and the power adapter from the packing box, as shown
in Figure 2-1.
2. Make Your Hub Ready
2-1
User's Manual
Figure 2-A Front Panel
Note: The ports marked "II"", "2", "3", "4", "5", "6", "7","8" are
normal ports.
Figure 2-B Rear Panel
608-UM 1/8/99 2:34 PM ≠∂≠±7


