


Condential
4-4
X1161/X1261/X1161A/X1161N/X110/H5360
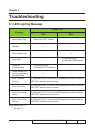
4-6 PC MODE
Note: - When getting into function test, adjust the zoom ring and focus ring
to guarantee the image maximum and clearest, then start to test.
- Test signal: analog 800 x 600 @60Hz (for X1161);
analog 1024 x 768 @60Hz (for X1261);
analog 1280 x 720 @60Hz (for H5360).
- We take X1261 for example here.
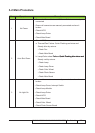
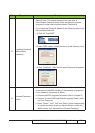
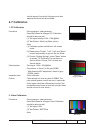
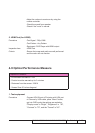
1. Frequency and tracking boundary
Procedure - Test equipment: video generator
- Test signal: analog 1024 x 768 @60Hz
- Test pattern: general-1 or master
- Check and see if the image sharpness is well
performed.
- If not, re-adjust by the following steps:
(1) Select "Frequency" function to adjust the total
pixel number of pixel clock in one line period.
(2) Select "Tracking" function and use right or left
arrow key to adjust the value to minimize video
icker.
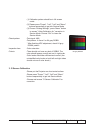
- Adjust Resync or Frequency/Tracking/H Image
Shift/V Image Shift to the inner screen.
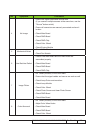
Inspection item - Eliminate visual wavy noise by Rsync, Frequency
or Tracking selection.
- Check if there is noise on the screen.
- Horizontal and vertical position of the video should
be adjustable to the screen frame.
Criteria - If there is noise on the screen, the product is
considered as failure product.
- If there is noise on the screen, use auto or manual
“frequency” function or “tracking” function to adjust
the screen.
- The PC mode functionally sure be workable
include support format with frequency and auto
detected functional will be workable.
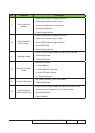
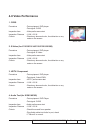
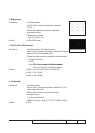
2. Bright Pixel
Procedure - Test equipment: video generator
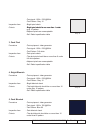
General-1
Master