


© Copyright 2009 Acnodes, Inc.
All rights reserved. Product description and product specifications
are subject to change without notice. For latest product information,
please visit Acnodes’ web site at www.acnodes.com.
PC 5150
15-inch touch panel PC
661 Brea Canyon Rd., Suite 3
Walnut, CA 91789
tel: 909.598.7388, fax: 909.598.0218, www.acnodes.com
4
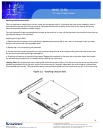
RMC 7150
14” short depth server
2.1 USB 1/2 Connector
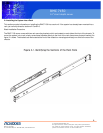
1. Determine where you want to place the RMC 7150 in the rack.
2. Position the fixed rack rail/sliding rail guide assemblies at the desired location in the rack, keeping the sliding rail guide
facing the inside of the rack.
3. Screw the assembly securely to the rack using the brackets provided.
4. Attatch the other assemble to the other side of the rack, making sure that both are at the exact same height and with the rail
guides facing inward.
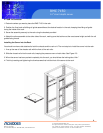
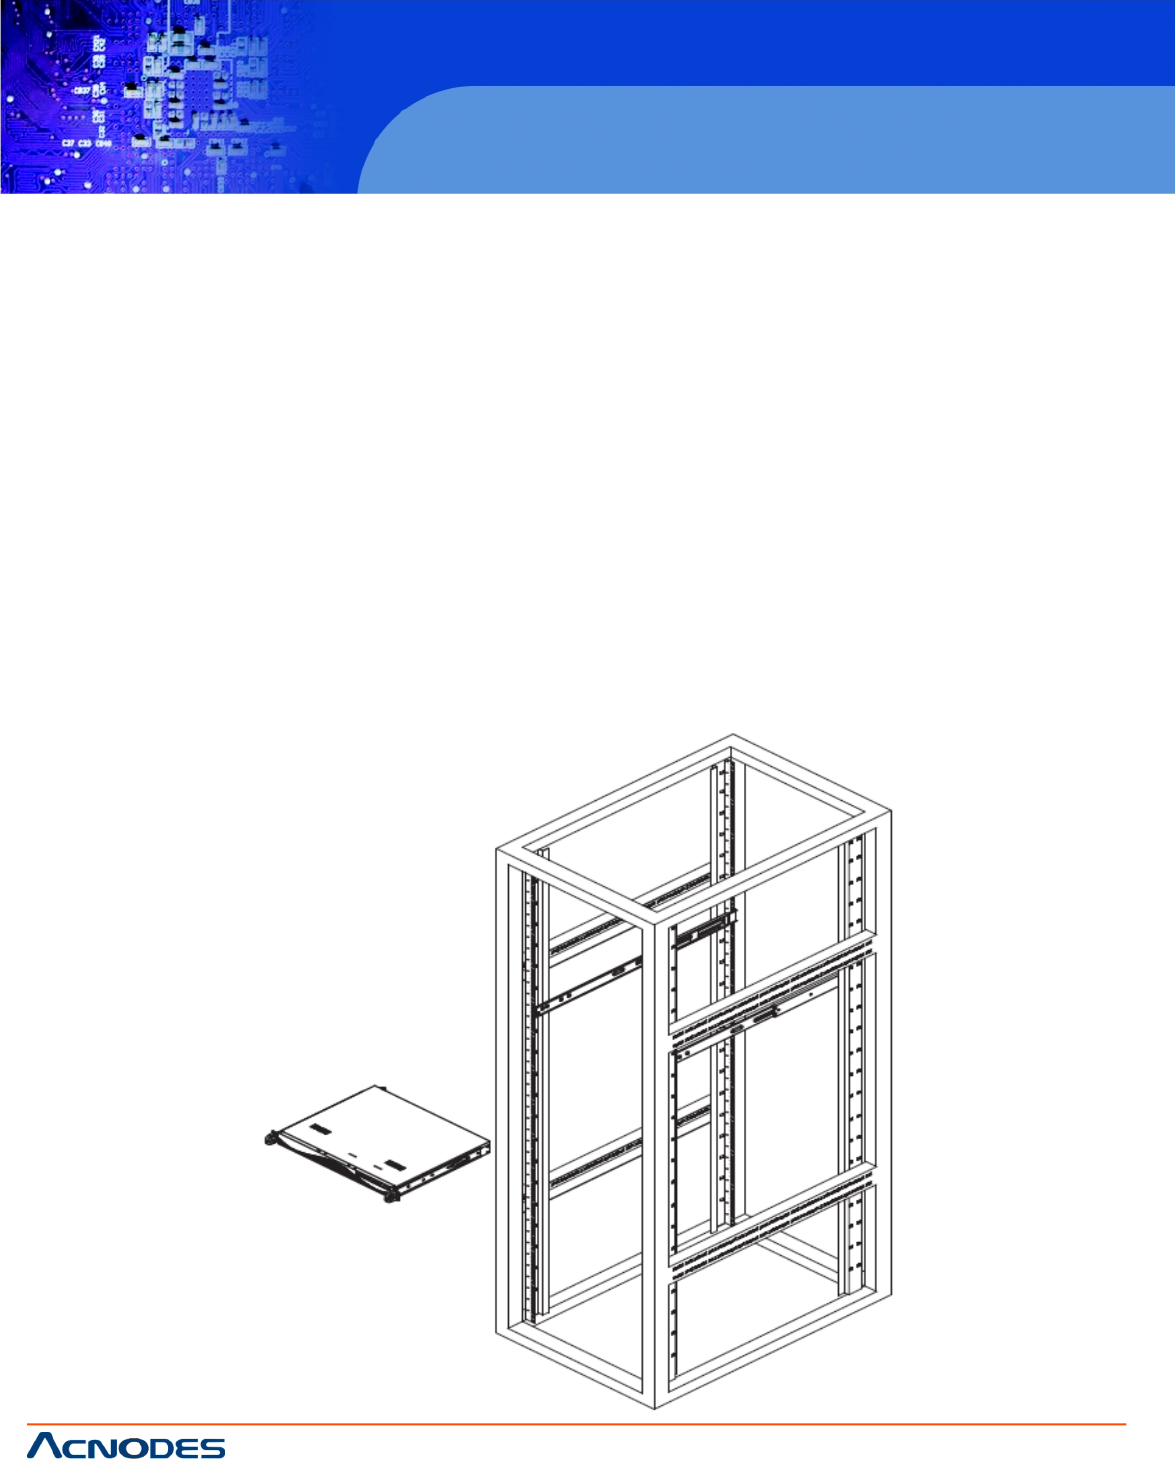
Installing the Server into the Rack
You should now have rails attatched to both the chassis and the rack unit. The next step is to install the server into the rack.
1. Line up the rear of the chassis rails with the front of the rack rails.
2. Slide the chassis rails into the rack rails, keeping the pressure even on both sides. See Figure 2-3.
3. When the server has been pushed completely into the rack, you should hear the locking tabs “click.”
4. Finish by inserting and tightening the thumbscrews that hold the front of the server to the rack.