ACTiSYS Corp. IR Printer Adapter IR100M+/100M/100MP
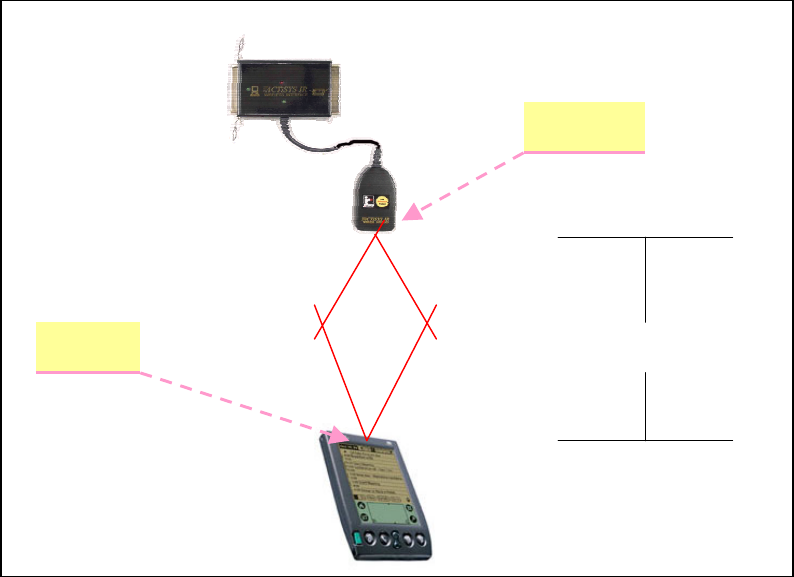
IR100M/IR100M+
IR Head
30°
Maximum
100cm
IR Port
30°
Figure 6. Align Diagram
Setting Up Your Printer/IR100M+/IR100M/IR100MP/PC (If you use the pass through function)
1. Turn Off both your computer and printer.
2. Connect ACT-IR220L+ to ACT-IR100M+ only if you have IR100M+.
3. Connect your printer and ACT-IR100M+/IR100M/IR100MP.
4. Connect your ACT-IR100M+/IR100M/IR100MP and PC by printer cable ( If you use the pass
through function)
5. Plug the AC adapter to the electrical outlet if external power supply need.
6. Plug the AC adapter to IR100M+/IR100M. The red LED on IR100M will be on, but the LED on
IR100MB is still off.
7. Turn on your printer.
8. Add a new printer on Printers, set the Local Printer/LPT1 and choose proper printer driver (if
you use pass through). For details, see Windows Printer Setting.
9. Print by Windows application’s Print (pass through). The parallel LED on the top of IR100M will
flash. If not, see Troubleshooting.
10. Turn on your mobile device.
11. Activate the infrared if necessary. For details, see mobile device manual.
12. Install proper printing software. We recommend ACTiPrintCE if your mobile device’s OS is
Windows CE 3.0 or above or ACTiPrintPalm if your mobile device’s OS is Palm OS 3.2 or above.
If your mobile device is a PC with Windows 95/98/ME/2000/XP, you can use the application’s
print function. For details about how to install the printing software, see specific application
manual.
13. Set your printer setting. Set port/Infrared or virtual infrared port LPT3 and choose proper
printer driver. Different mobile devices or printing software have different methods. For detail,
see the printing software manual or Windows Printer Setting (Windows 95/98/Me/2000/XP
device).
Release 3.2, December 9, 2003 11
© Copyright ACTiSYS Corporation 1999-2003. All Rights Reserved


