


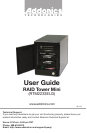
www.addonics.com Technical Support (M-F 8:30am - 6:00pm PST) Phone: 408-453-6212 Email: www.addonics.com/support/query/
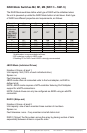
RAID Rack with Port Multiplier Compatibility
Note: When configured as a set of individual drives, the Port Multiplier will only work with a Port
Multiplier aware host. Identify your host controller and check with its hardware manufacturer if
you are unsure. Addonics offers several Port Multiplier capable host adapters.
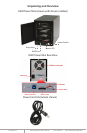
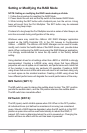
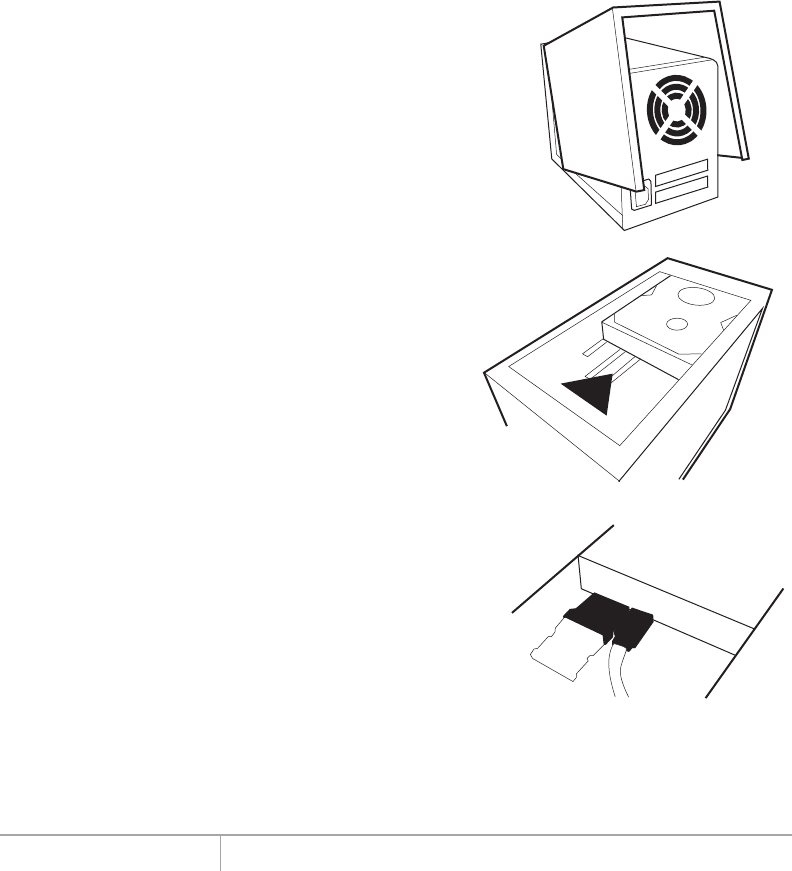
Removing Cover
Loosen the 3 screws at the back of
the towerusing a Philips screwdriver
by turning counter-clockwise. Separate
the metal casing of the tower from
the housing by liftingup the casing
as shown in the drawing.
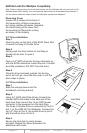
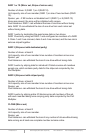
2.5" Drive Installation
Step 1
Open the door on the front of the RAID Tower Mini
to reveal the Snap-In Double Drive.
Step 2
Gently push the silver button on the Snap-In
Double drive's door to open it.
Step 3
Push a 2.5" SATA drive into the bay, label side up,
with the SATA connectors toward the rear. It should
give little resistance, DO NOT force the drive.
Step 4
Once the drive has been pushed into the bay
as far as it will go, close the door over it until the
door snaps in place.
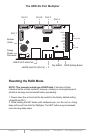
3.5" Drive Installation
Step 1
Slide the storage device into the
embedded mounting bracket.
Step 2
Using 3.5” SATA Hard Disk Drives Connect the
internal SATA data cable to the data port of the
hard drive then connect the 15-pin SATA power
connector to the powerport on the hard drive.
The Snap-In Double Drive is connected to Ports 0
and 1 on the HPM-XU Port Multiplier. Connect the
top 3.5" drive to Port 2, the middle drive to port 3,
and the bottom drive to Port 4.
Step 3
Secure the hard disk by using screws
provided. Repeat the above procedure for
additional hard drives.
Hard Disk