StorNext 3.0 Upgrade Guide
Document 6-01620-04 Rev A
March 2007
Upgrading to StorNext 3.0 (SNFS Only) 10
Removing a Previous Version of StorNext 0
If a previous version of StorNext exists on the system, you must remove it before
installing the new version.
1 Insert the StorNext installation CD.
2 Browse to the root directory of the installation CD and double-click the file
SnfsSetup32.exe (32-bit systems) or SnfsSetup64.exe (64-bit systems).
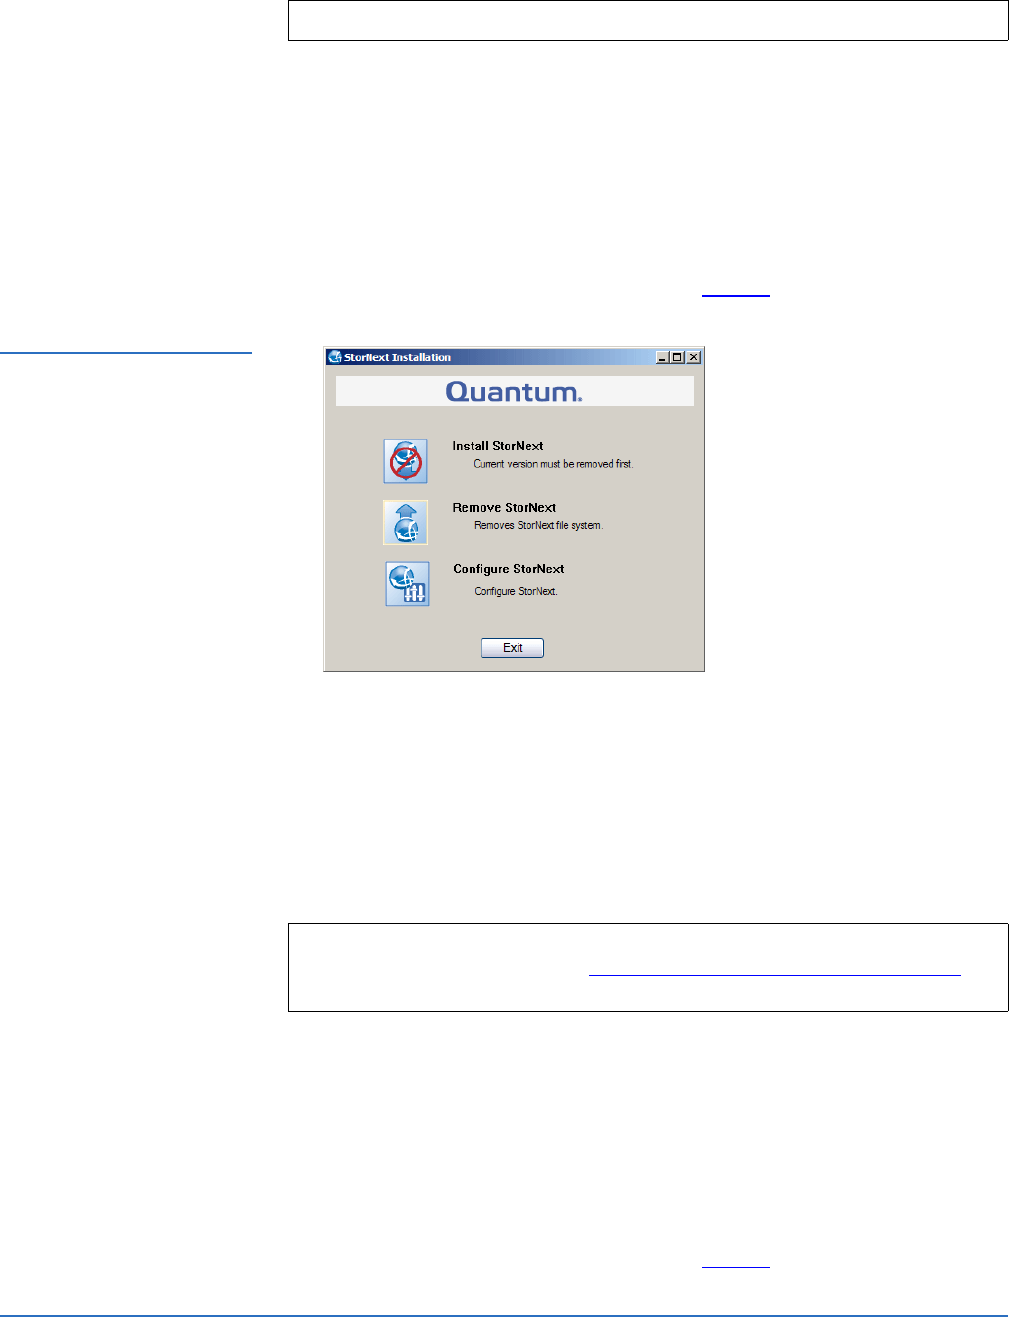
The StorNext Installation window appears (figure 4).
Figure 4 StorNext Installation
Window: Remove StorNext
3 Click Remove StorNext.
A dialog box appears informing you that the current client configuration has
been saved.
4 Note the name and location of the saved configuration file, and then click OK.
5 If prompted, click Yes to continue, and then click OK to finish the removal.
6 When the removal is complete, click Yes to reboot the system.
Running the Setup Wizard 0
To launch the setup wizard, use the correct StorNext installation CD for your
operating system.
1 Insert the StorNext installation CD.
2 Browse to the root directory of the installation CD and double-click the file
SnfsSetup32.exe (32-bit systems) or SnfsSetup64.exe (64-bit systems).
The StorNext Installation window appears (figure 5).
Note: You must log on as an Administrator to install StorNext.
Note: After installing the new version of StorNext, you can restore the saved
client configuration (see
Restoring a Previous Client Configuration on
page 13).
