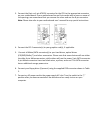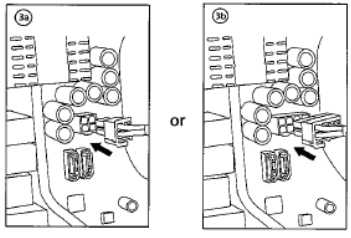
3. Connect the 8-pin or 4-pin ATX12V connector for the CPU to the appropriate connector
on your motherboard. If your motherboard has an 8-pin socket with a cover on some of
the openings, we recommend that you remove the cover and use the 8-pin connector.
Note: Please also refer to your motherboard user’s manual for any special instructions.
4. Connect the PCI-E connector(s) to your graphics card(s), if applicable.
5. Connect all Molex/SATA connector(s) to your hard drives, optical drives
(CD/DVD/BluRay™) and other accessories. Please note that some devices will use either
the older 4-pin Molex connectors, while others will use the newer 5-pin SATA connector.
4-pin Molex connectors have two black wires, a yellow, and a red. The SATA connector
has an additional orange power wire.
6. Connect your floppy drive (if present) using the supplied FDD connector shown in Table
2.
7. Connect an AC power cord to the power supply AC inlet. Turn the switch to the “|”
position after you have connected all the devices and are ready to turn on your
computer.


