


6
recommend that you also install a NoiseKiller™ 80 kit.
The rear fan is installed so that the air blows out of
the case. Find a large 4-pin peripheral connector on
the power supply and connect it to the male 4-pin
connector on the fan.
The front fan (optional) should be installed so that the
air is blowing into the case from the front. To install it:
1. Release the fan cage by squeezing the tabs.
2. Put the fan in the cage and push it into place until
it snaps tight.
3. Snap the fan cage back into place.
3. Connect a large 4-pin peripheral connector from
the power supply to the male 4-pin connector on
the front fan.
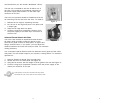
Advanced Thermal Chassis Air Guide
Your new case includes an advanced thermal chassis
air guide, which provides cooling air directly to the
CPU.The air guide consists of three parts: an upper duct,
flange, and lower duct. If you prefer, you can adjust the
distance between the lower duct and your CPU, for maximum
cooling efficiency.
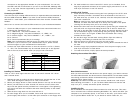
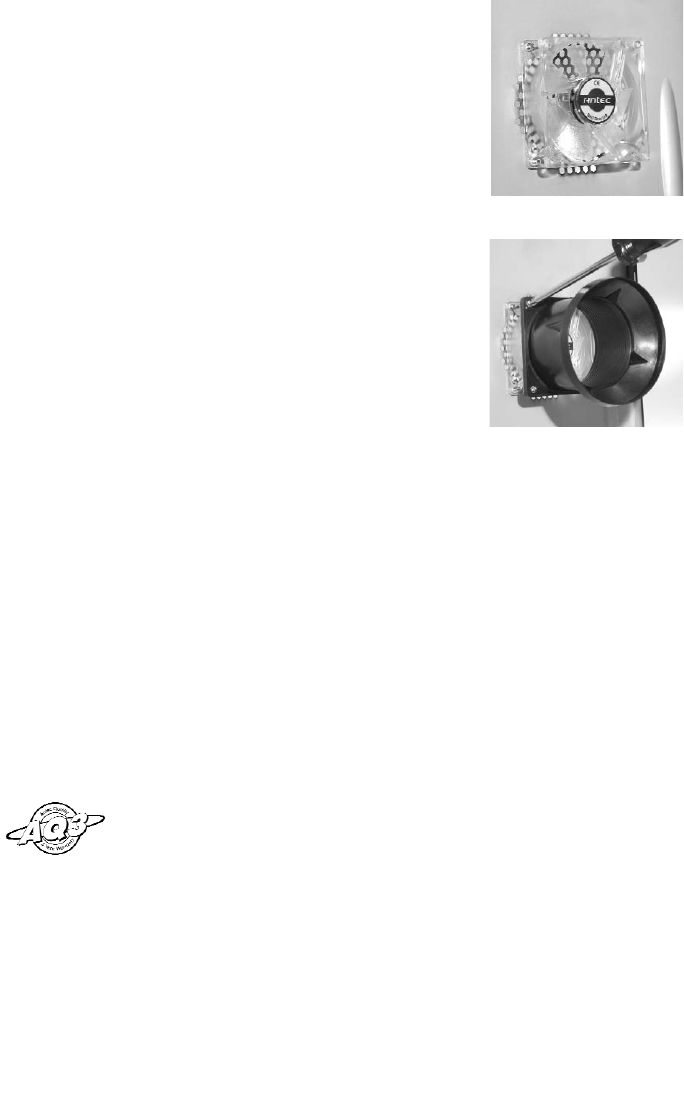
You could also install an 80mm intake fan between the air guide and the case's
side panel. This will further improve your system's cooling airflow. To install the
optional fan:
1. Remove Chassis Air Guide from the side panel
2. Attach the fan to the side panel (see Figure 3.)
3. Using the fan screws, lock the flange of the air guide to the fan (see Figure 4.)
4. Connect a large 4-pin peripheral connector from the power supply to the
male 4-pin connector on the fan.
5
Antec Quality 3-Year parts and labor warranty (AQ3)
See details at: http://www.antec-inc.com/warranty.html
Figure 3
Figure 4