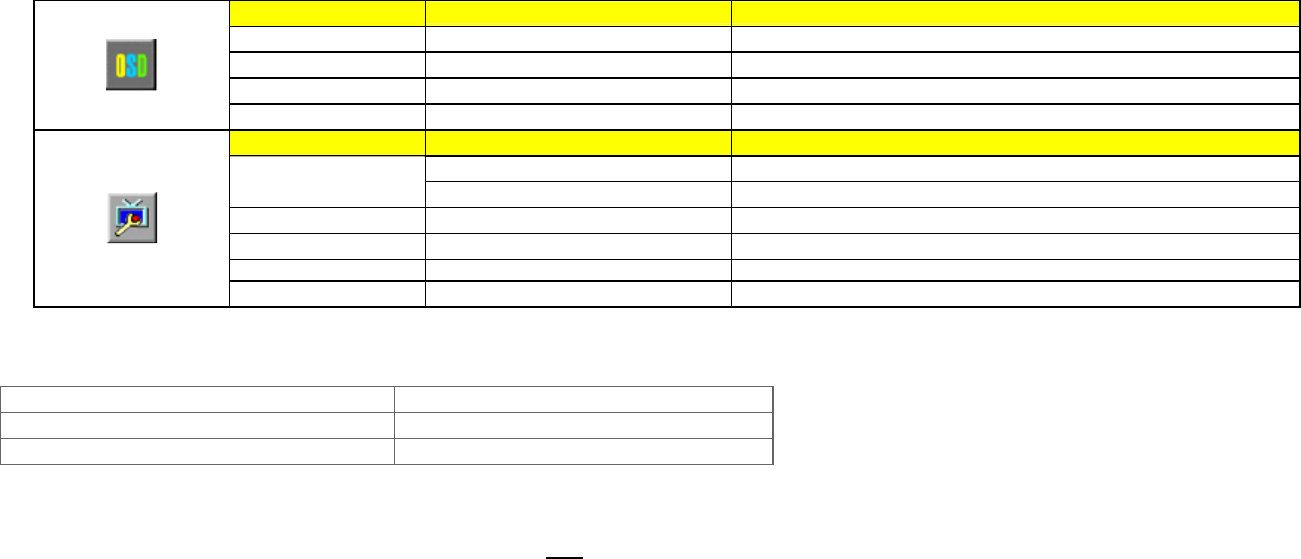
OSD Setup
H.Position 0-100 Adjust the verticalposition of OSD
V.Position 0-100 Adjust the horizontal position of OSD
Timeout 0-100 Adjust the OSD Timeout
Language
Select the OSD language
Extra
Digital Select Digital Sigal Source as Input
Input Select
Analog Select Analog Sigal Source as Input
Auto Config yes or no Auto adjust the picture to default
Reset yes or no Reset the menu to default
DDC-CI Turn ON/OFF DDC-CI Support
Information
Show the information of the main image and sub-image source
LED Indicators
Status LED Color
Full Power Mode Green or Blue
Active-off Mode Orange or red
Camera Software
. There is webcam application software in attached CD, please click " here" and download to your computer for customization.
5. Drivers
Windows 2000
1. Start Windows® 2000
2. Click on the 'Start' button, point to 'Settings', and then click on 'Control Panel'.
3. Double click on the 'Display' Icon.
4. Select the 'Settings' tab then click on 'Advanced...'.
5. Select 'Monitor'
- If the 'Properties' button is inactive, it means your monitor is properly configured. Please stop installation.
- If the 'Properties' button is active. Click on 'Properties' button. Please follow the steps given below.
6. Click on 'Driver' and then click on 'Update Driver...' then click on the 'Next' button.
7. Select 'Display a list of the known drivers for this device so that I can choose a specific driver', then click on 'Next' and then click on 'Have disk...'.
8. Click on the 'Browse...' button then select the appropriate drive F: ( CD-ROM Drive).
