


User’s Guide
26
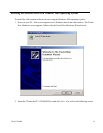
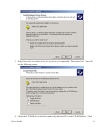
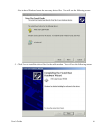
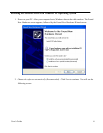
necessary files from you computer.
3. Installing the Modem Using the Ethernet Port
This chapter explains the process for installing your cable modem using the Ethernet port.
See Chapter 2 “Installing the Cable Modem Using the USB Port” for instructions on installing the
cable modem using the USB port.
You can use the cable modem’s Ethernet ports if you have:
• A PC running Windows 95 (or later) operating system or a Macintosh computer running
system 7.6 (or later) operating system
• An active Ethernet port on your PC
Before you begin, verify that your Network Interface Card (NIC) has been installed and
configured for use with your cable modem. The cable modem requires TCP/IP to be installed.
Contact your cable service provider for assistance with installing and configuring TCP/IP. After
installed the hardware, your computer can connect the cable modem directly by using Network
Interface Card. Unlike USB installation, there is no needed for software installation for the
Ethernet connection.
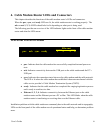
Installing the Hardware
This section explains how to connect the cable modem to the computer, wall cable outlet, and
electrical outlet.
To install the hardware:
1. Power off the computer
2. Connect one end of the coaxial cable to the cable modem’s cable connector. Connect the
other end of the coaxial cable to the cable wall outlet. Be sure not to bend or over tighten the
cables as this may strain the connector and cause damage. If you plan to connect the cable
modem and television to the same wall outlet, you must use a cable line splitter (not
included).
3. Connect one end of the Ethernet cable to the cable modem’s Ethernet port and the other end
of the cable to the Ethernet port on the PC or network interface card (NIC).
4. Plug the cable modem’s power adapter into the cable modem’s power jack and into a wall
outlet or surge protector.
5. If the POWER, SYNC, and READY LEDs are solidly lit, the cable modem is working