


ASUS A7V600-X Motherboard
3-13
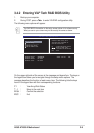
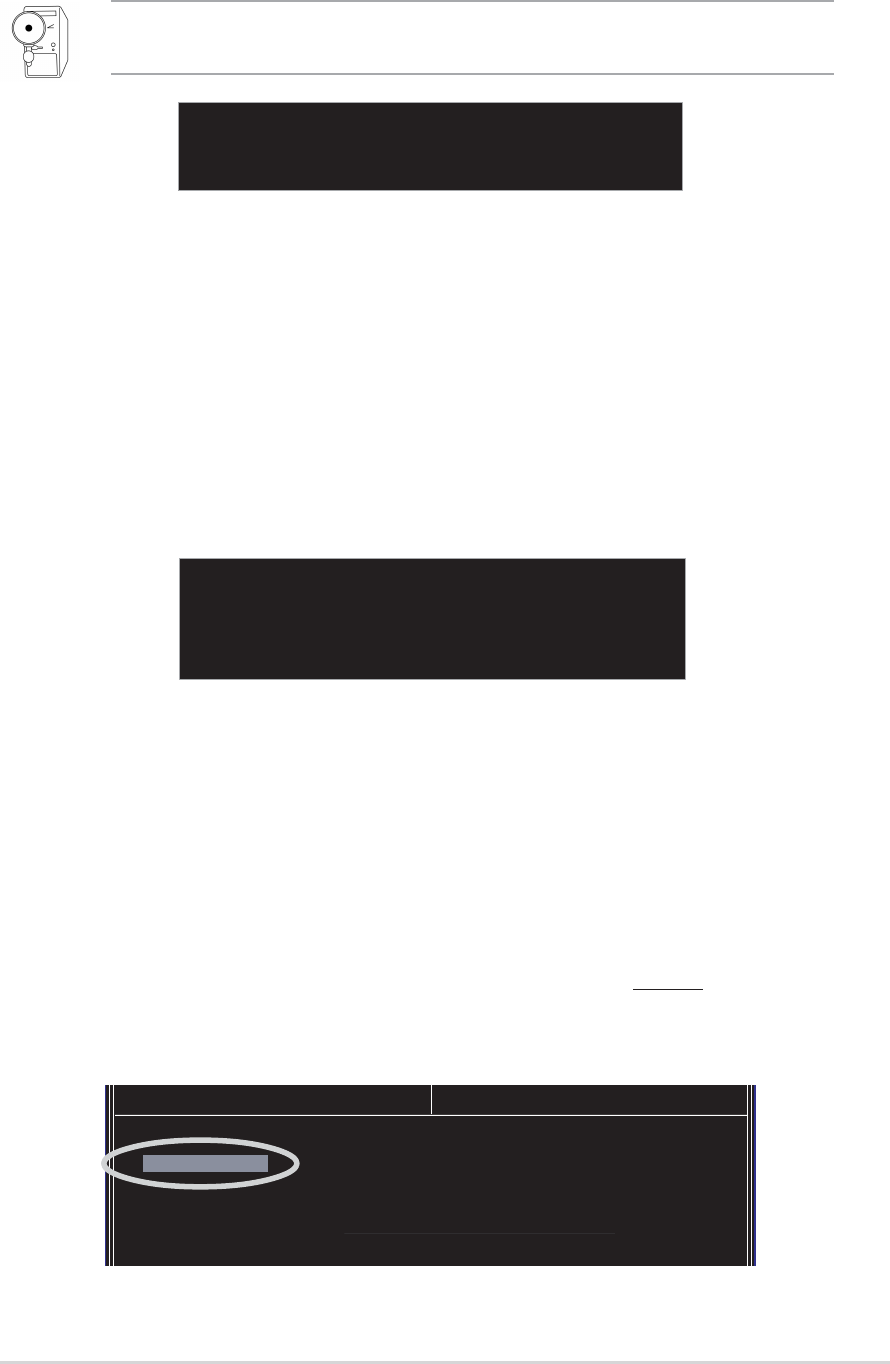
3.4.5 Select Boot Array
1. In the VIA RAID BIOS utility main menu, select Select Boot Array then press
the <Enter> key. The focus is directed to the list of channel used for IDE RAID
arrays.
2. Press the <Enter> key to select a RAID array for boot. The
Status of the
selected array will change to Boot. Press <ESC> key to go return to menu
items. Follow the same procedure to deselect the the boot array.
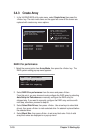
3.4.4 Delete Array
1. In the VIA RAID BIOS utility main menu, select Delete Array then press the
<Enter> key. The focus is directed to the list of channel used for IDE RAID
arrays.
2. Press the <Enter> key to select a RAID array to delete. The following
confirmation message appears.
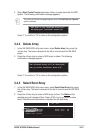
Press “Y” to confirm or “N” to return to the configuration options.
The selected array will be destroyed.
Are you sure? Continue? Press Y/N
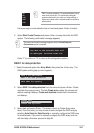
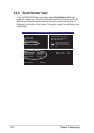
4. Select Start Create Process and press <Enter> to setup hard disk for RAID
system. The following confirmation message appears:
Press “Y” to confirm or “N” to return to the configuration options.
The data on the selected disks will
be destroyed. Continue? Press Y/N
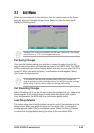
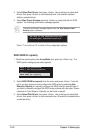
Channel Drive Name Array Name Mode Size(GB) Status
[ ]Channel0 Master XXXXXXXXXX xxxxxxx xxx.xx Hdd
[ ]Channel0 Slave XXXXXXXXXX xxxxxxx xxx.xx Hdd
Channel1 Master No Drive
Channel1 Slave No Drive
ESC
:
E
x
it
The same confirmation message appears when the Auto Setup for Capacity
option is selected.