


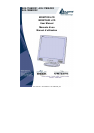

ENGLISH
A05-17AM-D01 - A05-17BM-D03 - A05-19BM-D02_X02 6 - 40
• When moving, always handle your LCD monitor with care.
• Do not forcefully press down against the LCD display as this will damage the monitor.
1.2 Cleaning the TFT LCD Monitor
• Wipe the screen gently with a clean camel hairbrush, or a soft, clean, lint-free cloth.
Removing the dust and other particles will prevent your LCD panel from being scratched.
• Never pour or spray any liquid onto the LCD monitor
• Do not apply pressure to the LCD panel.
1.3 Federal Communications Commission (FCC)
Statement
This Equipment has been tested and found to comply with the limits for a class B digital device, pursuant to
Part 15 of the FCC rules. These limits are designed to provide reasonable protection against harmful
interference in a residential installation. This equipment generates, uses and can radiate radio frequency
energy and, if not installed and used in accordance with the instructions, may cause harmful interference to
radio communications. However, there is no guarantee that interference will not occur in a particular
installation. If this equipment does cause harmful interference to radio or television reception, which can be
determined by turning the equipment off and on, the user is encouraged to try to correct the interference by
one or more of the following measures:
• Reorient or relocate the receiving antenna.
• Increase the separation between the equipment and receiver.
• Connect the equipment into an outlet on a circuit different from that to which the receiver is
connected. - Consult the dealer or an experienced radio/TV technician for help.
2 Installing the Monitor
2.1 Unpacking
Open the shipping cartons and check the contents.
If any items are missing or damaged, contact your dealer immediately.
The package should include the following items:
• TFT color monitor
• User's guide
• Power cord
• Signal cable
• DC power adapter
• Audio cable
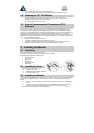
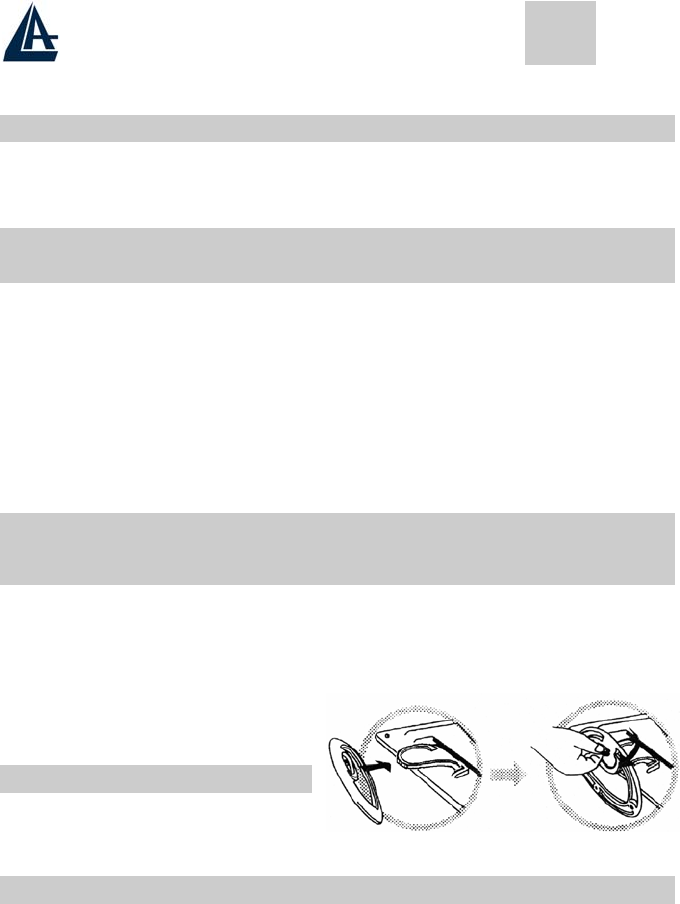
2.2 Installing the Base
Follow these steps to install the base:
1. Turn the monitor down.
2. Assembly the base to the arm with screw.
3. Tie the screw with a coin.
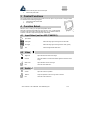
2.3 Installing the Monitor
This monitor is equipped with an auto sensing DC power adapter for voltage ranges 100-240VAC, 60/50Hz.
Confirm the line voltage designation on the rear panel of the monitor. Follow these steps to install the
monitor:
1. Before you connect the cables, made sure that the monitor and the system uni power switches
are off.
2. Plug one end of the 15pin-signal cable to the monitor and the other end to the video signal
connector at the rear of the system. Tighten the two screws on the cable connector.