


10
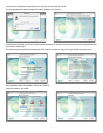
• Hardware Installation
Turn OFF the power to your computer system and disconnect the power cords.
Touch a metal plate on your computer system chassis to ground yourself and discharge any static electricity. (This is not dangerous if the system
is unplugged!) Remove the cover from your computer chassis and select an empty PCI slot in your computer.
You should refer to your computer system documentation for any special instructions on installing expansion cards and peripheral equipment.
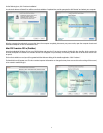
Unscrew and remove the slot cover for your selected PCI slot.
Insert the Audiophile 192 PCI into the selected PCI slot and press it down so that the contacts are securely seated all the way into the slot.
Secure the bracket of the Audiophile 192 PCI card to the computer chassis using a chassis screw or retaining bracket.
Replace the computer chassis cover and reconnect the power cords.
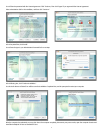
Connect the audio cables to the Audiophile 192 PCI. See the External Connections section for more information.
Restart the computer.
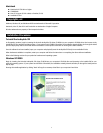
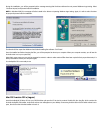
Go to “System Preferences” in the Apple Menu. Select the “Sound” preference panel, and click the “Output” tab. Select “ Audiophile 192 “ to choose
the Audiophile 192 as your default output device.
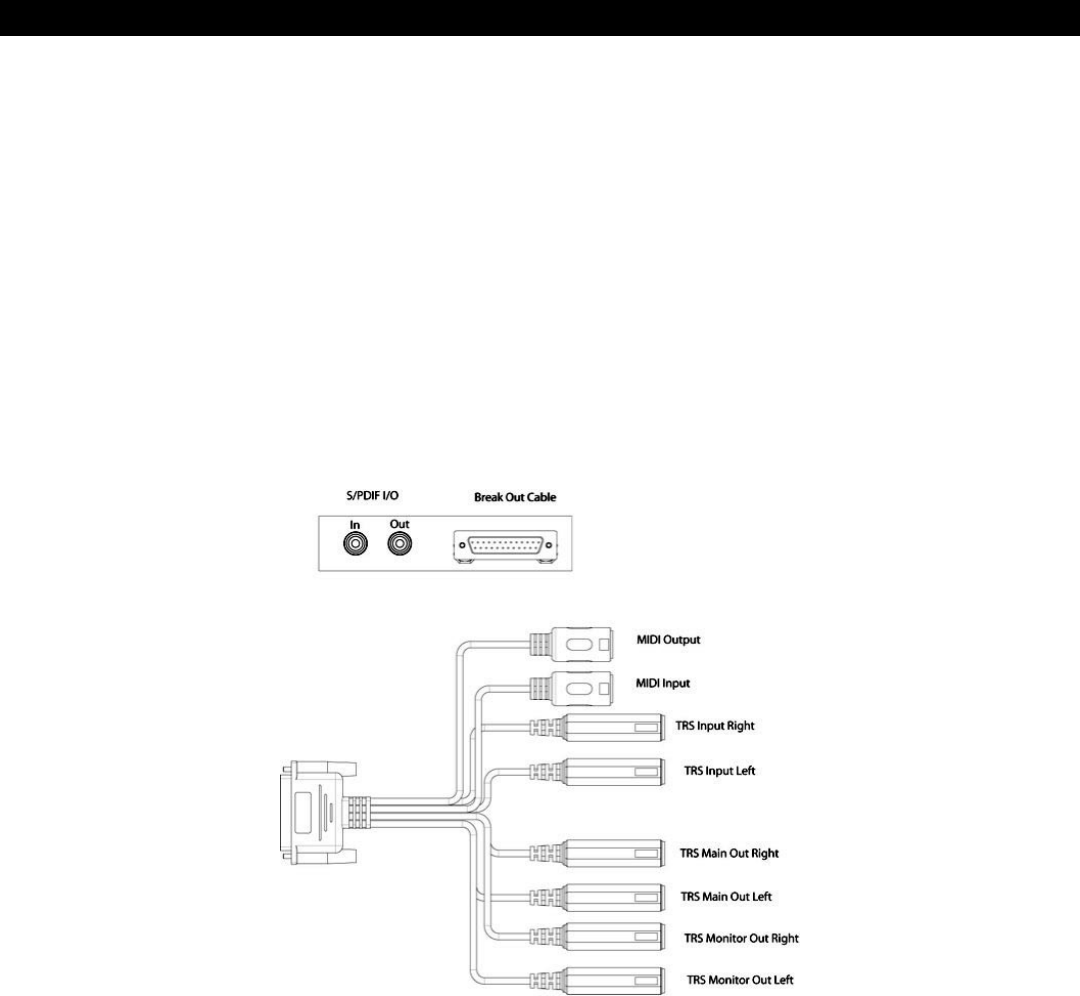
Connecting the Audiophile 192
The Audiophile 192 offers following connections:
< Main Inputs 1 and 2 – These are balanced/unbalanced 1/4” TRS input connectors, located on the breakout cable. Any incoming signals
can be assigned via the software mixer panel and your DAW application. Connect your line level sources to these inputs.
< S/PDIF Input – This is an S/PDIF coaxial input on a standard RCA jack, located on the PCI card bracket. Any incoming signal is assigned via
the software mixing panel and your DAW application. Connect your S/PDIF digital sources to this input.
< Main Outputs 1 and 2 – These are balanced/unbalanced 1/4” TRS output connectors, located on the breakout cable. Their output signals
can be assigned only via your DAW application, however their overall level is affected by the WavOut 1/2 (S/W RET 1/2 on the Mac) level
faders in the software mixer panel. Connect these outputs to your headphone amplifier, auxiliary amplifier, or external recording device, if
applicable.
< Monitor Outputs 1 and 2 – These are balanced/unbalanced 1/4” TRS output connectors, located on the breakout cable. Their output
signals are derived from the output of the Audiophile 192’s internal direct monitoring mixer. Connect these outputs to your amplifier or powered
monitors.
< S/PDIF Output – This is a S/PDIF coaxial output on a standard RCA jack, located on the PCI card bracket. Its signal output can be assigned
only via the Routing page of the software mixer panel. Connect your S/PDIF digital equipment (CD recorder, digital mixer, etc) to this
output.
< MIDI I/O – This is a standard five-pin DIN connector, providing MIDI Input and Output, located on the breakout cable. Connect this to your
MIDI keyboards, controllers or other devices.