


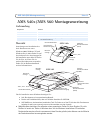
Page 4 AXIS 540+/AXIS 560 Installation Guide
Installation in Windows
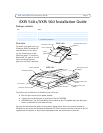
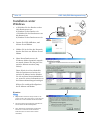
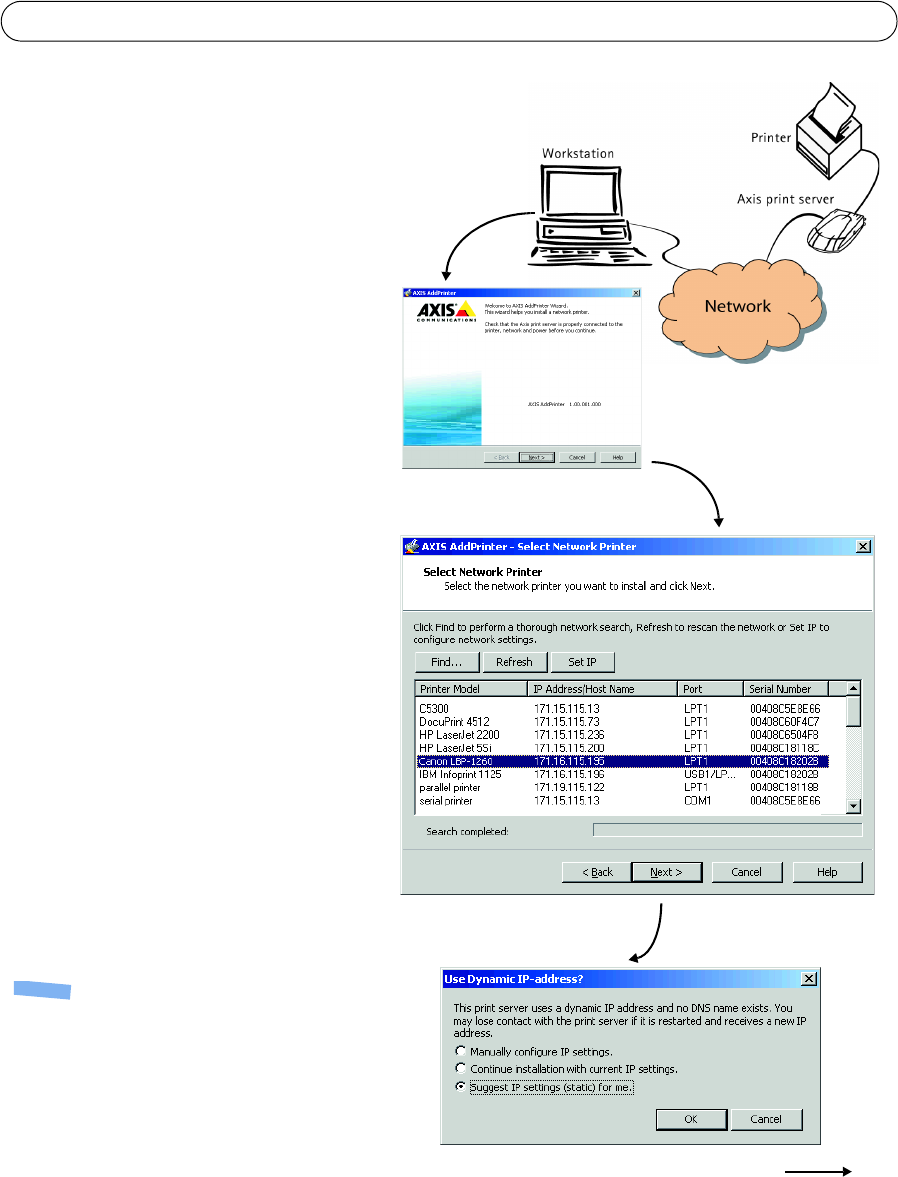
1. a) Connect the printer to the Axis
print server.
b) Power up the printer.
c) Connect the print server to the
network.
d) Power up the print server.
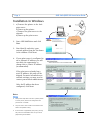
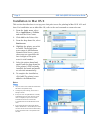
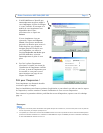
2. Start AXIS AddPrinter and click
Next.
3. Now identify and select your
network printer from the list shown
in the window. Click Next.
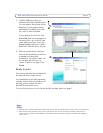
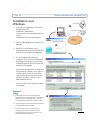
4. If your print server is configured to
use a dynamic IP address you will
now have the opportunity to
change this to a static IP address
(recommended).
If the print server already has a
static IP address, this step will be
skipped. For more information on
network settings you may need to
contact your network administrator.
After the IP address has been
configured, click Next.
Notes:
• Some printers may show in the list as "parallel printer"
or “serial printer”, but this will change when the
printer driver is installed.
• The print server’s serial number can be found on the
label on the product’s casing.
• If the function is supported by your printer, pressing
the print server’s Test button once will print a test
page showing the IP address.
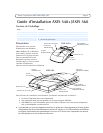
❶
❷
❸
❹