


Page 6 AXIS 540+/AXIS 560 Installation Guide
Installation in Mac OS X
This section describes how to set up your Axis print server for printing in Mac OS X 10.2 and
later. For installation on an older Mac OS, refer to the user’s manual on www.axis.com
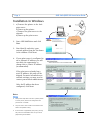
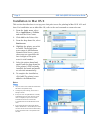
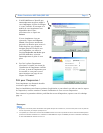
1. From the Apple menu, select
Go > Applications > Utilities
and start the Print Center.
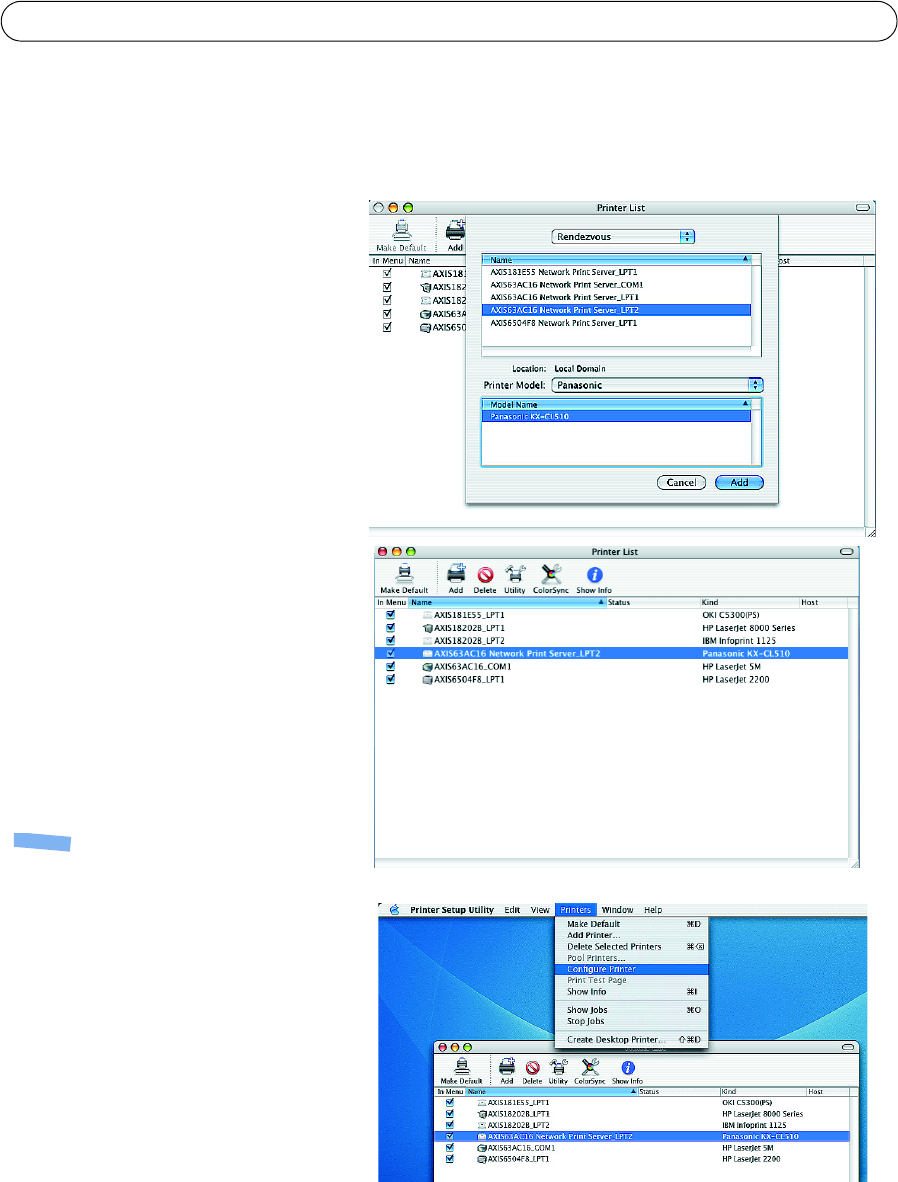
2. Click Add in the Printer List.
3. From the drop-down list, select
Rendezvous.
4. Highlight the printer you wish
to install. The default print
server name is AXISxxxxxx
Network Print Server_<port>,
where xxxxxx represents the
last six digits of the print
server’s serial number.
5. Select the printer brand and
model from the drop-down list.
If the printer’s PPD is already
installed, the brand and model
are selected automatically.
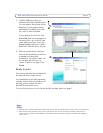
6. To complete the installation,
click Add. The printer is now
added to the Printer List.
Notes:
• The print server’s serial number can be found on
the label on the product casing.
• To configure printer settings, click Printers >
Configure Printer.
• If the print server using Rendezvous is already
installed and the print server name or service
name is changed, the print server must be
removed from the Printer List and then
re-installed with the new Rendezvous service
name.
• If you change the service name from Setup >
TCP/IP > Rendezvous > Service Name, this name
will then override the Print Server Name setting
as set in the admin tools in the product’s web
interface.