9
Connecting the Print Server Using the Setup Wizard
9
section
2
1
3
4
5
6
7
8
9
10
Make sure that each computer can print to the USB printer before
installing the USB Print Server.
1. Connect your printer directly to each computer on the network
and install USB printer drivers (see your printer documentation
for detailed instructions). The Print Server requires that the
correct drivers are loaded and working (printing) before the Print
Server is installed.
When installing printer drivers, install as:
• Local printer, not network printer
• USB port
• Not to be shared
• Default printer for all printing (if desired)
Note: Verify functionality on each computer by printing a test
page prior to moving to the next installation step.
2. Insert the Print Server Setup Wizard CD into your CD-ROM drive
on the first PC.
Note: If the Print Server Setup Wizard does not start up
automatically, select your CD-ROM drive from “My Computer”
and double-click on the file named “Setup” on the CD-ROM.
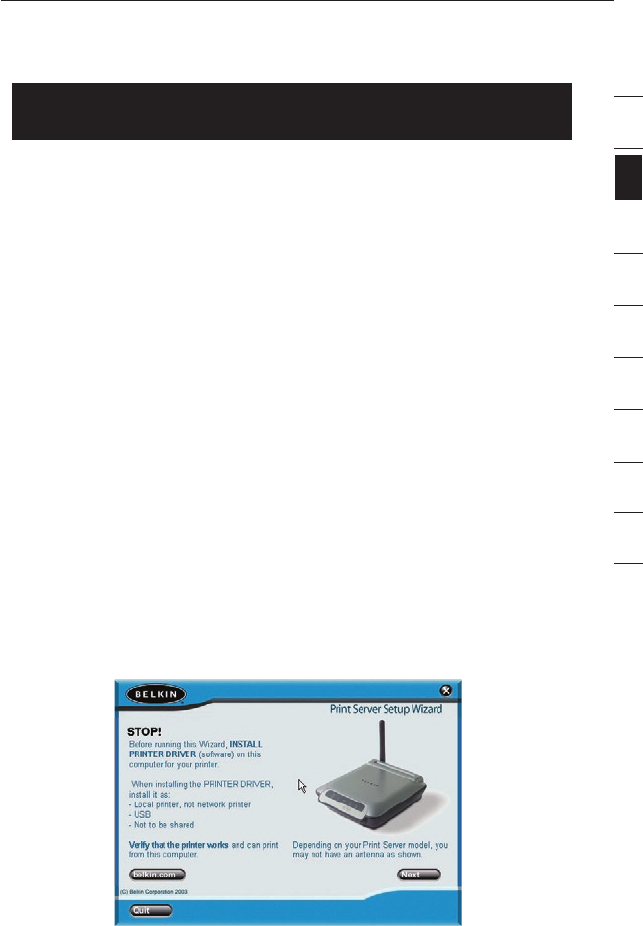
3. The Wizard will start.
Note: The Wizard will remind installer that step 1 needs to be
done before continuing. If step 1 is complete, click “Next” to
proceed. If not, please stop Wizard and complete step 1 for all
computers.


