


Getting Started 2-7
NovaJet PRO 600e User's Guide
GETTING STARTED
➪➪
➪➪
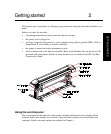
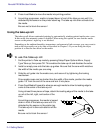
➪ To fill the ink reservoirs
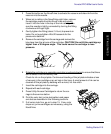
1 Open the cover on the left side of the printer to access the ink reservoirs. Unscrew
the cap of one reservoir. Open only one reservoir at a time to prevent contamination
with other inks.
2 Remove cap from the bottle.
3 Make sure the ink color and type matches the reservoir and pour in the ink. Do not
put more than 375 ml of ink in the reservoirs or fill more than 1/2” from the top of the
reservoir. Be sure to use the same type of ink (i.e., GA, GS, or GO) in all the
reservoirs and ink cartridges. Be sure there is no excess ink on the reservoir cap.
Replace the cap on the reservoir, being careful not to over-tighten it.
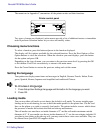
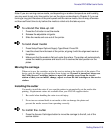
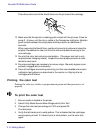
4 A complete second set of plumbing is provided with color-coded quick connect
fittings for changing to another type of ink.
Be sure that each reservoir is con-
nected to the same color fitting.
The printer is designed to use only ENCAD PRO 600e series 208 jet cartridges. It is not
compatible with NovaJet, NovaJet PRO, or NovaJet PROe cartridges. Use of other cartridges
may damage the printer and/or prevent it from printing.
Be sure all cartridges and reservoirs use the same ink type; i.e., PRO 600e series GA,
GS, or GO.
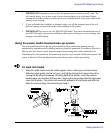
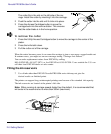
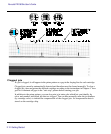
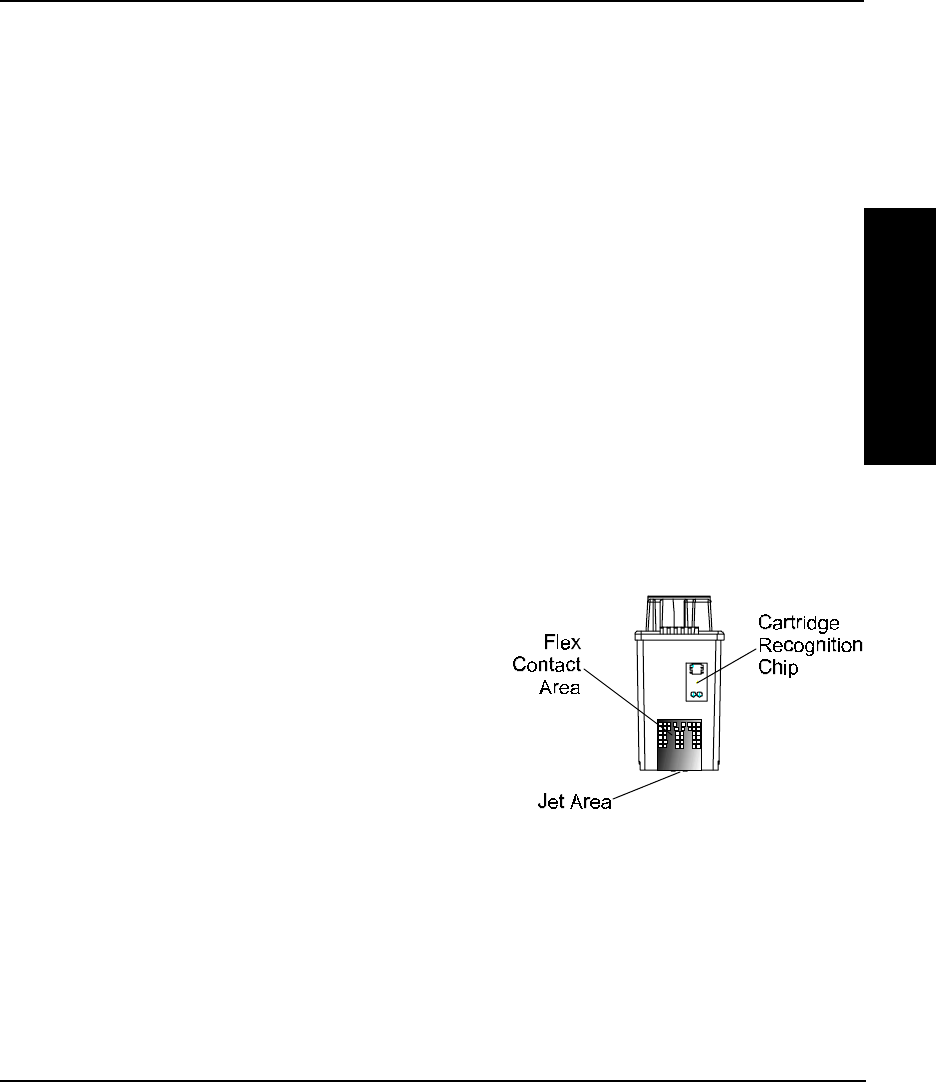
Note: Visually inspect each cartridge before
installing it. Make sure the blue tape is intact on
the jet area of the cartridge. (Do not remove the
tape at this time as the cartridge could leak! The
tape will be removed later after negative pressure
has been established by priming the ink delivery
lines.) Inspect the IC chip on the cartridge. Make
sure it is secure and in approximately the location
shown on the following figure. If any cartridge is
damaged, contact your authorized ENCAD
distributor/dealer for return/replacement of the
defective cartridge.
➪➪
➪➪
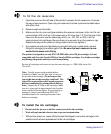
➪ To install the ink cartridges
! Do not touch the jet area or the flex contact area of the ink cartridge.
! Work with only one ink color at a time to prevent contamination.
1 With printer power on, press Utility/Access Cartridges to move the carriage to the
position which allows replacement of the ink cartridges.