13
CONNECTING THE PROJECTOR
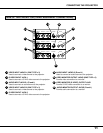
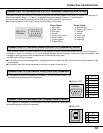
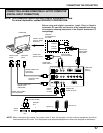
These jacks will contain the audio information of the selected program source being viewed on the screen (Computer 1,
Computer 2, Video 1 or Video 2). If you have selected program source Computer 2 the audio signal connected to the
Computer 2 audio input jack will be available at the audio monitor output jacks.
Use RCA type audio for connection.
● If the audio input of the audio equipment is stereo, be sure to connect the right and left channels to the respective right
and left jacks.
● If the audio input of the audio equipment is monaural, connect it to the left jack.
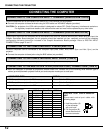
Vcc
- Data
+ Data
Ground
1
2
3
4
54321
109876
15 14 13 12 11
2
34
1
12345
6789
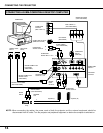
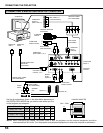
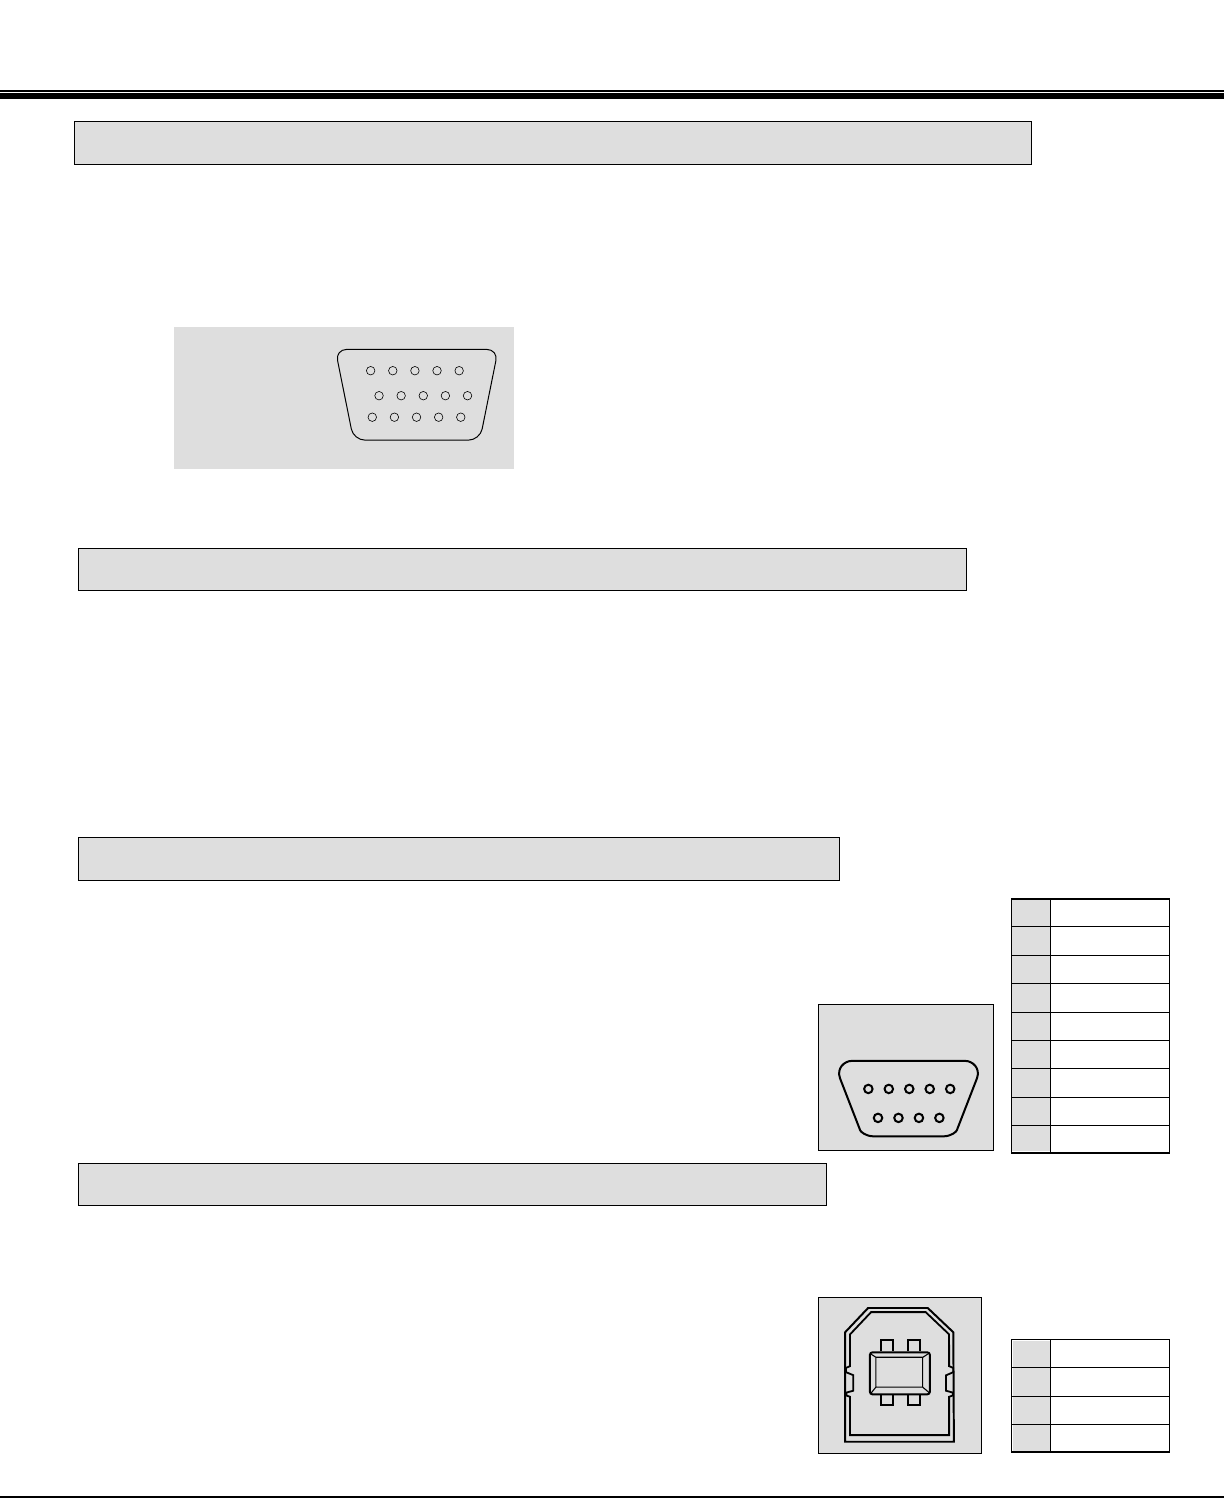
This terminal outputs the information of the selected computer source being viewed on the screen (Computer 1 or Computer 2).
When video source ("Video 1" or "Video 2") is selected, this terminal outputs Computer 1 input information.
An external monitor can be connected to the HDB15-pin (VGA) terminal on the projector.
● Connect the monitor to this terminal using the VGA cable (not provided).
––––––––
R x D
T x D
––––––––
Ground
––––––––
––––––––
––––––––
––––––––
1
2
3
4
5
6
7
8
9
■ SERIAL PORT
DB9-PIN
TERMINAL
■ USB PORT
Pin No./Signal
1 Red input
2 Green input
3 Blue input
4 Sense 2
5 Ground (Horiz.sync.)
6 Ground (Red)
7 Ground (Green)
8 Ground (Blue)
Pin No./Signal
9 Non Connect
10 Ground (Vert. sync.)
11 Sense 0
12 Sense 1
13 Horiz. sync
14 Vert. sync
15 Reserved
HDB 15-PIN
TERMINAL
CONNECTING TO THE MONITOR OUTPUT TERMINAL (ANALOG HDB 15-PIN)
CONNECTING TO THE AUDIO MONITOR OUTPUT (VARIABLE) JACKS
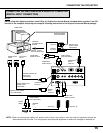
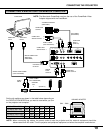
CONNECTING TO THE SERIAL PORT (DB 9-PIN) TERMINAL
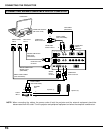
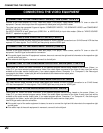
CONNECTING TO THE USB PORT CONNECTORS (1 and 2)
● If you desire to control the projector by computer, you must connect a cable (not
provided) from your computer to this terminal.
This Projector is designed to connecting to the USB Port of the computer or
peripheral equipment that is to be standard.


