


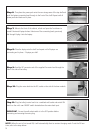

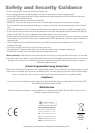
Step 8: Place the laptop onto the shelf and repeat until all laptops are
connecting and in place - 2 laptops per shelf.
Step 10: Plug the mains lead into the IEC socket on the side of the timer module.
Step 11: Plug the trolley’s mains lead in to a switched wall socket and switch ON.
Switch on the unit’s own ON/OFF switch located above the mains lead input.
IMPORTANT - Ensure the wall socket switch is in the OFF position before
connecting and removing the mains plug
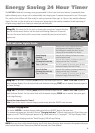
NOTE: When the unit is first turned ON, it will automatically divert to constant charging mode. To set the 24 hour
timer, refer to the steps below.
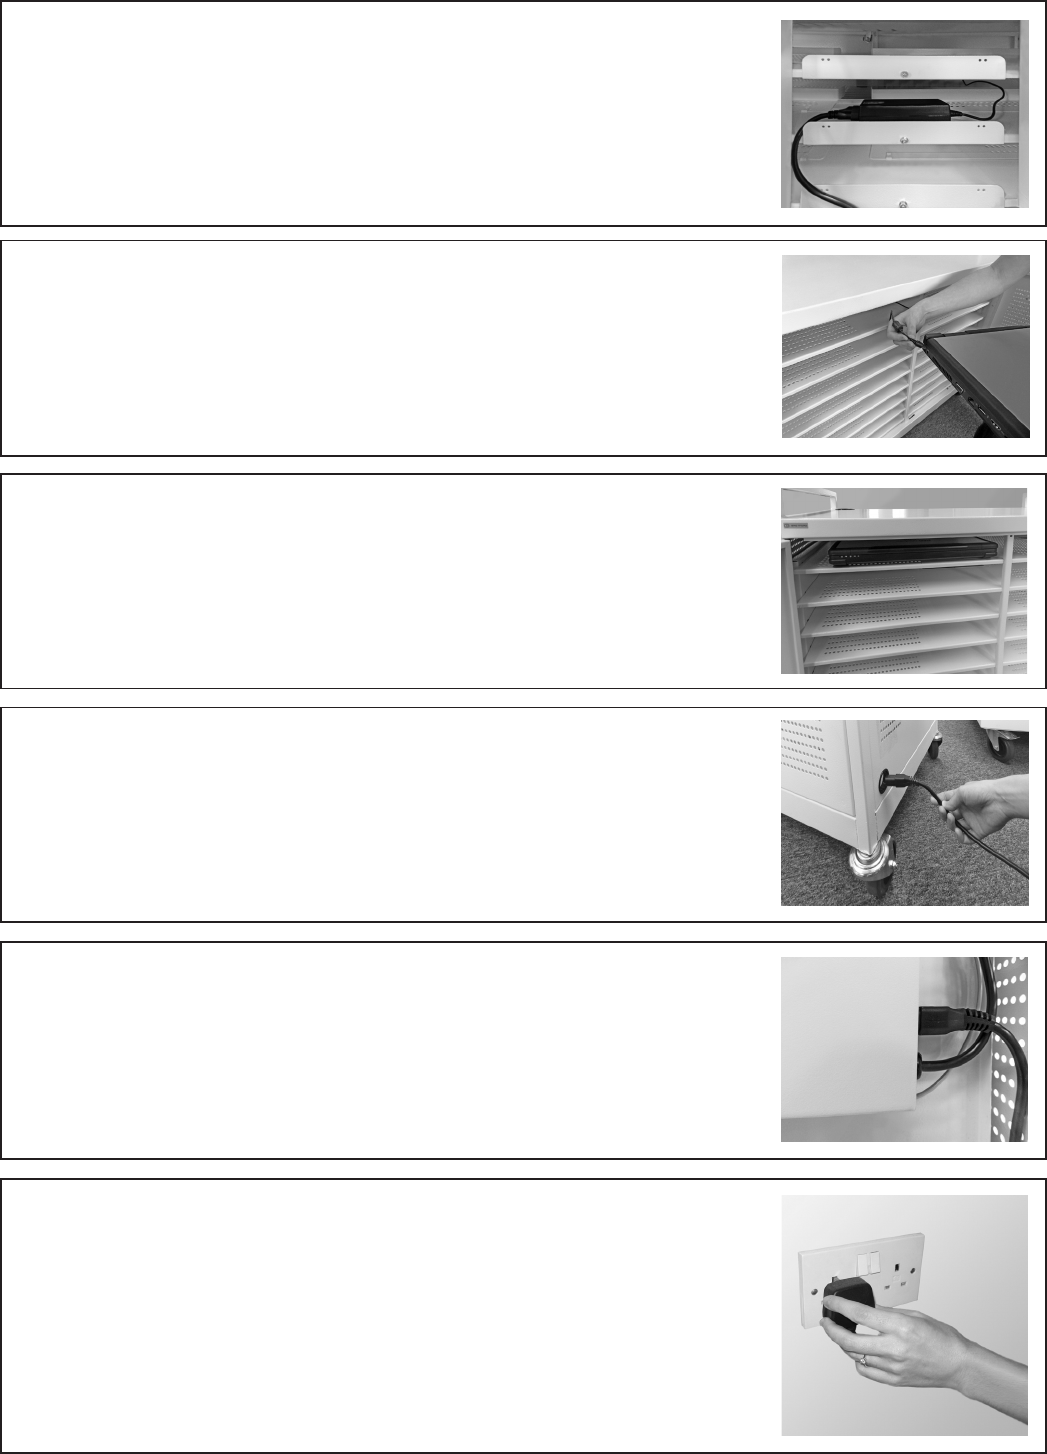
Step 9: Feed the IEC connector end of the supplied 2m mains lead through the
hole in the side of the trolley.
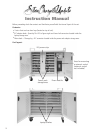
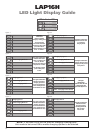
Step 6: Then place the power pack onto the rear storage area of the top shelf and
push the laptops connecting lead through to the front of the shelf. Repeat until all
power packs and leads are in place.
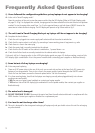
Step 7: Move to the front of the cabinet, unlock and open the front doors to
reveal 8 horizontal laptop shelves. Select one of the connecting leads, previously
fed through & plug it into the laptop.
3