


Installing the Driver & Software
23
Macintosh
®
USB
Macintosh
®
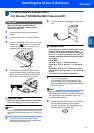
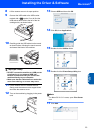
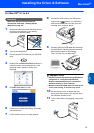
8 Lift the scanner cover to its open position.
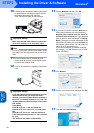
9 Connect the USB cable to the USB socket
marked with a symbol. You will find the
USB socket above and to the left of the ink
cartridge slots, as shown below.
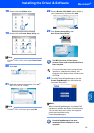
10 Carefully guide the USB cable into the trench
as shown below, following the trench around
and toward the back of the machine.
Improper Setup
• DO NOT connect the machine to a USB port on
a keyboard or a non-powered USB hub.
Brother recommends that you connect the
machine directly to your computer.
• Make sure that the cable does not restrict the
cover from closing, or an error may occur.
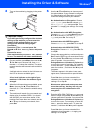
11 Lift the scanner cover to release the lock.
Gently push the scanner cover support down
and close the scanner cover.
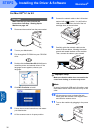
12 Turn on the machine by plugging in the power
cord.
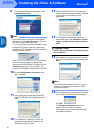
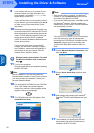
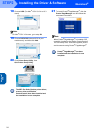
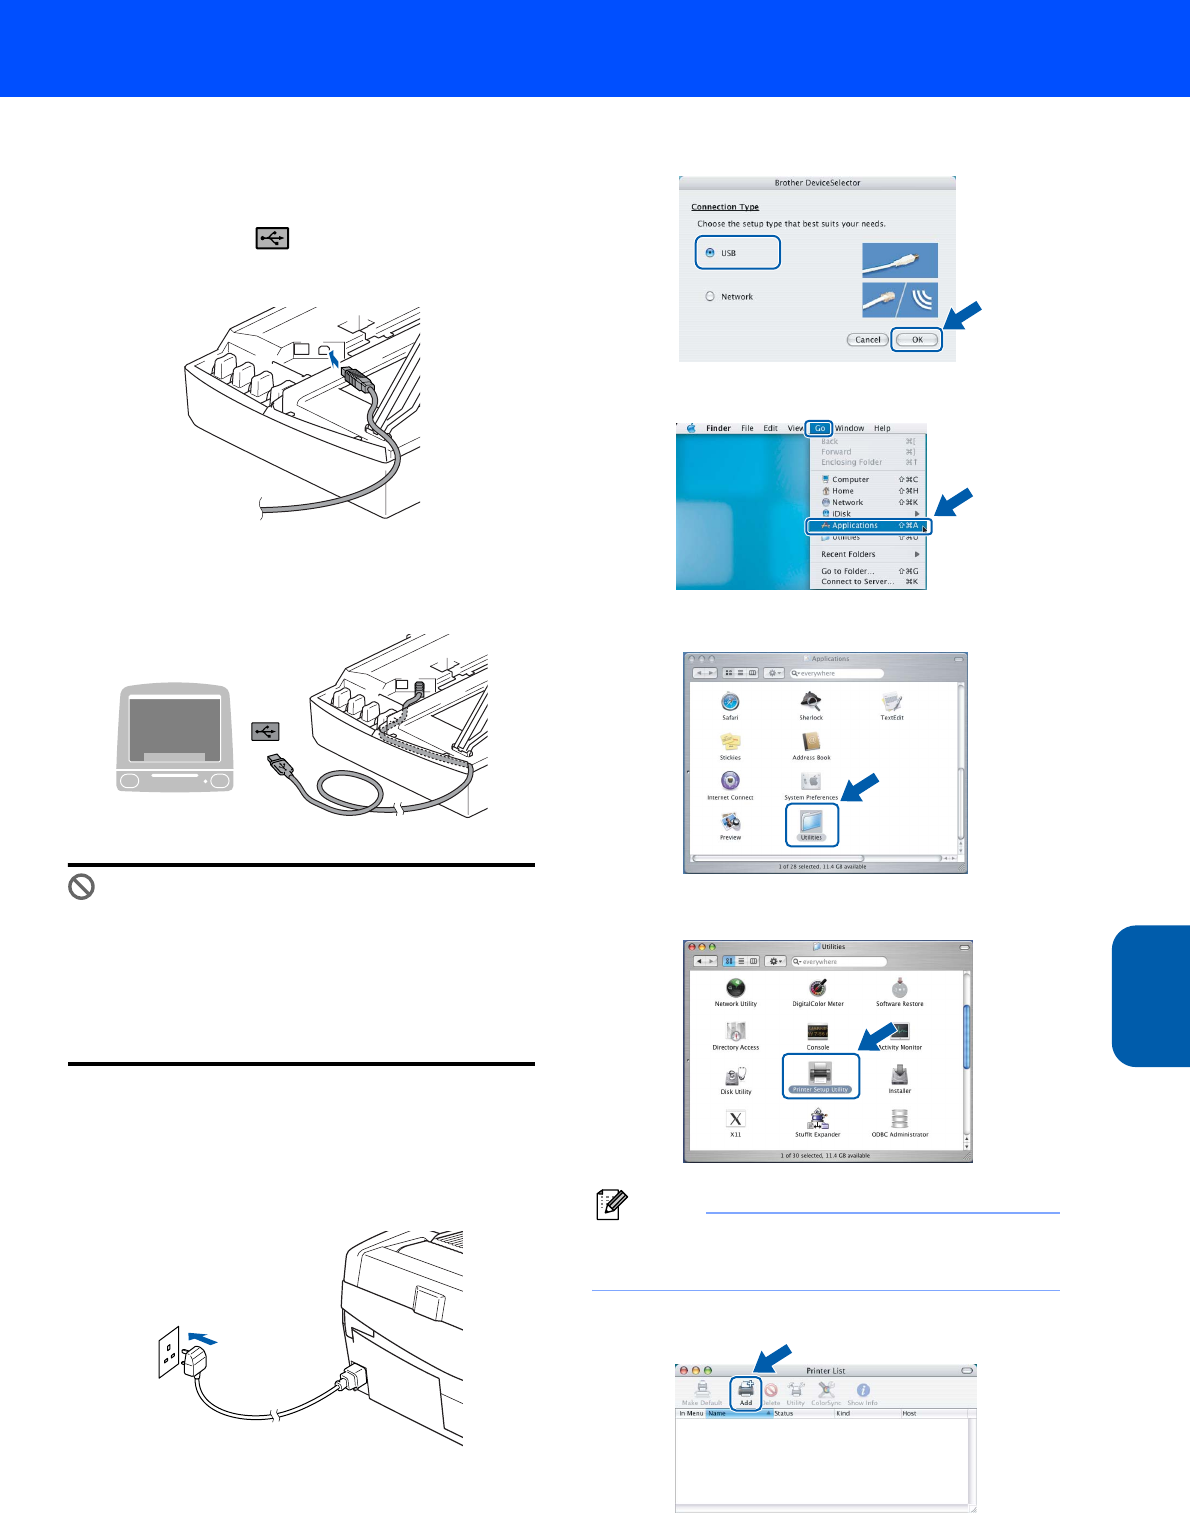
13 Choose USB and then click OK.
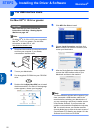
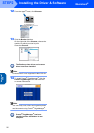
14 Click GO, then Applications.
15 Double-click the Utilities folder.
16 Double-click the Printer Setup Utility icon.
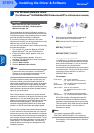
Note
For Mac
®
OS X 10.2.x users, open Print Center
icon.
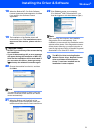
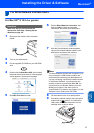
17 Click Add.