


Installing the Driver & Software
34
STEP2
Macintosh
®
Wireless
Network
Macintosh
®
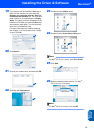
9 Your machine will now try to connect to your
wireless network using the information you
have entered. If successful, Connected will
appear briefly on the LCD.
If your machine does not successfully connect
to your network, you should repeat steps 3 to 8
to make sure you have entered the correct
information.
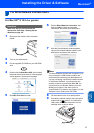
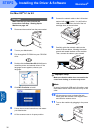
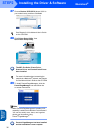
10 Disconnect and then reconnect the power cord
to turn the machine OFF and back ON. This will
allow the machine to automatically acquire the
correct TCP/IP address information from your
access point (router) if DHCP is enabled
(DHCP is normally enabled as default for most
access point routers).
If your access point does not have DHCP
enabled you will need to manually configure
the IP address, subnet mask and gateway of
the machine to suit your network. See the
Network User’s Guide for details.
Wireless setup is now complete. To install
the MFL-Pro Software suite, continue to
step 11.
11 Turn on your Macintosh
®
.
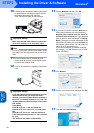
12 Put the supplied CD-ROM into your CD-ROM
drive.
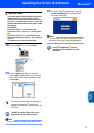
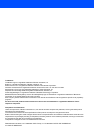
13 Double-click the Start Here OSX icon to install
the printer and scanner drivers. If the language
screen appears, choose your language.
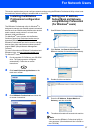
14 Click MFL-Pro Suite to install.
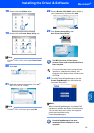
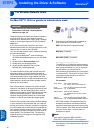
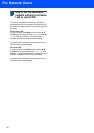
15 Choose Wireless Network Connection, and
then click Next.
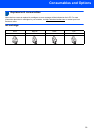
16 Choose Driver Install Only, and then click
Next.
17 Follow the on-screen instructions and restart
your Macintosh
®
.
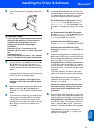
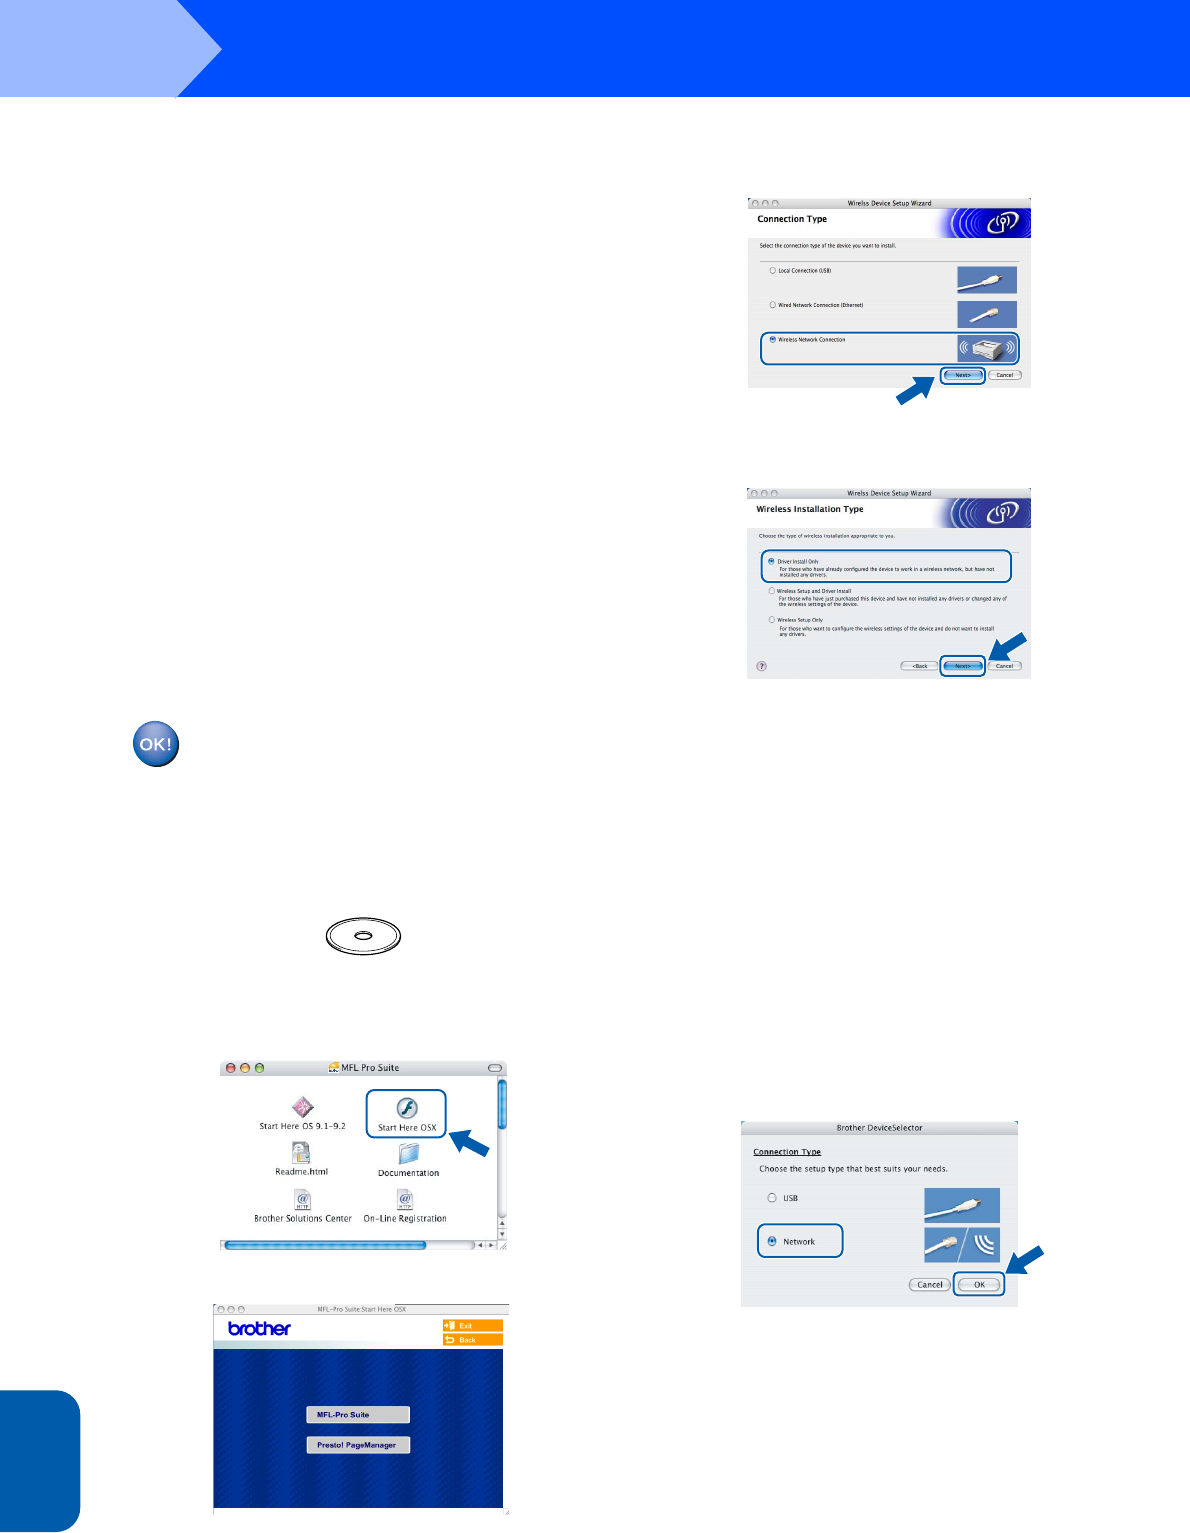
18 When the DeviceSelector window appears
choose Network and then click OK. The
DeviceSelector window will not appear if you
have also connected a USB interface cable to
the machine before restarting your Macintosh
or if you are overwriting a previously installed
version of the Brother Software. If you
encounter this problem continue but skip steps
19 through 21. After the software installation is
completed you should choose your Brother
machine from the Model pop-up menu in the
main screen of ControlCenter2. For details,
see Chapter 10 in the Software User’s Guide
on the CD-ROM.