


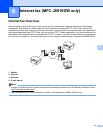


Web Based Management (MFC-J5910DW only)
60
5
Changing the Scan to Network configuration using a web
browser 5
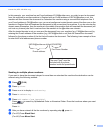
Scan to Network allows you to scan documents directly to a shared folder on a CIFS
1
server located on your
local network or the Internet. To enable the CIFS protocol, check the Network tab, click Protocol in the
left-hand column, and select the CIFS checkbox.
1
The Common Internet File System (CIFS) is the standard way that computer users share files and printers in Windows
®
.
See the Software User’s Guide for more details on Scan to Network.
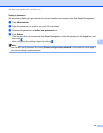
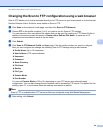
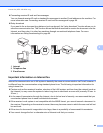
a Click Scan on the machine’s web page, and then click Scan to FTP/Network.
b Choose Network in the profile numbers (1 to 5) you want to use for Scan to Network settings.
You can also store two user defined file names that can be used for creating a Scan to Network Profile
in addition to the seven preset file names in Create a User Defined File Name. A maximum of 15
characters can be entered in each of the two fields.
c Click Submit.
d Click Scan to FTP/Network Profile on Scan page. Click the profile number you want to configure.
Now you can configure and change the following Scan to Network settings using a web browser.
Profile Name (Up to 15 characters)
Host Address
Store Directory
File Name
Quality
File Type
Use PIN for authentication
PIN Code
Username
Password
e After setting, click Submit.