


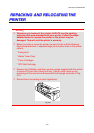

CHAPTER 5 MAINTENANCE
5-51
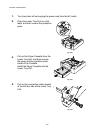
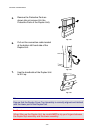
1.
Turn the printer off and unplug the power cord from the AC outlet.
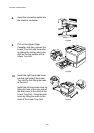
2.
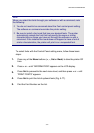
Remove the Fuser Cover that is
located at the rear top of the printer.
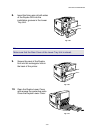
Remove the Rear Caps (2 pieces)
from the fuser unit. We recommend
removing those caps with a coin or a
screwdriver.
Fig. 5-62
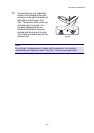
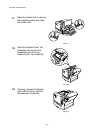
3.
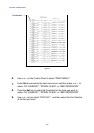
Remove the left handside cover of
the Lower Tray Unit.
Fig. 5-63
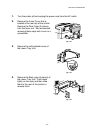
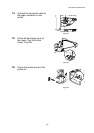
4.
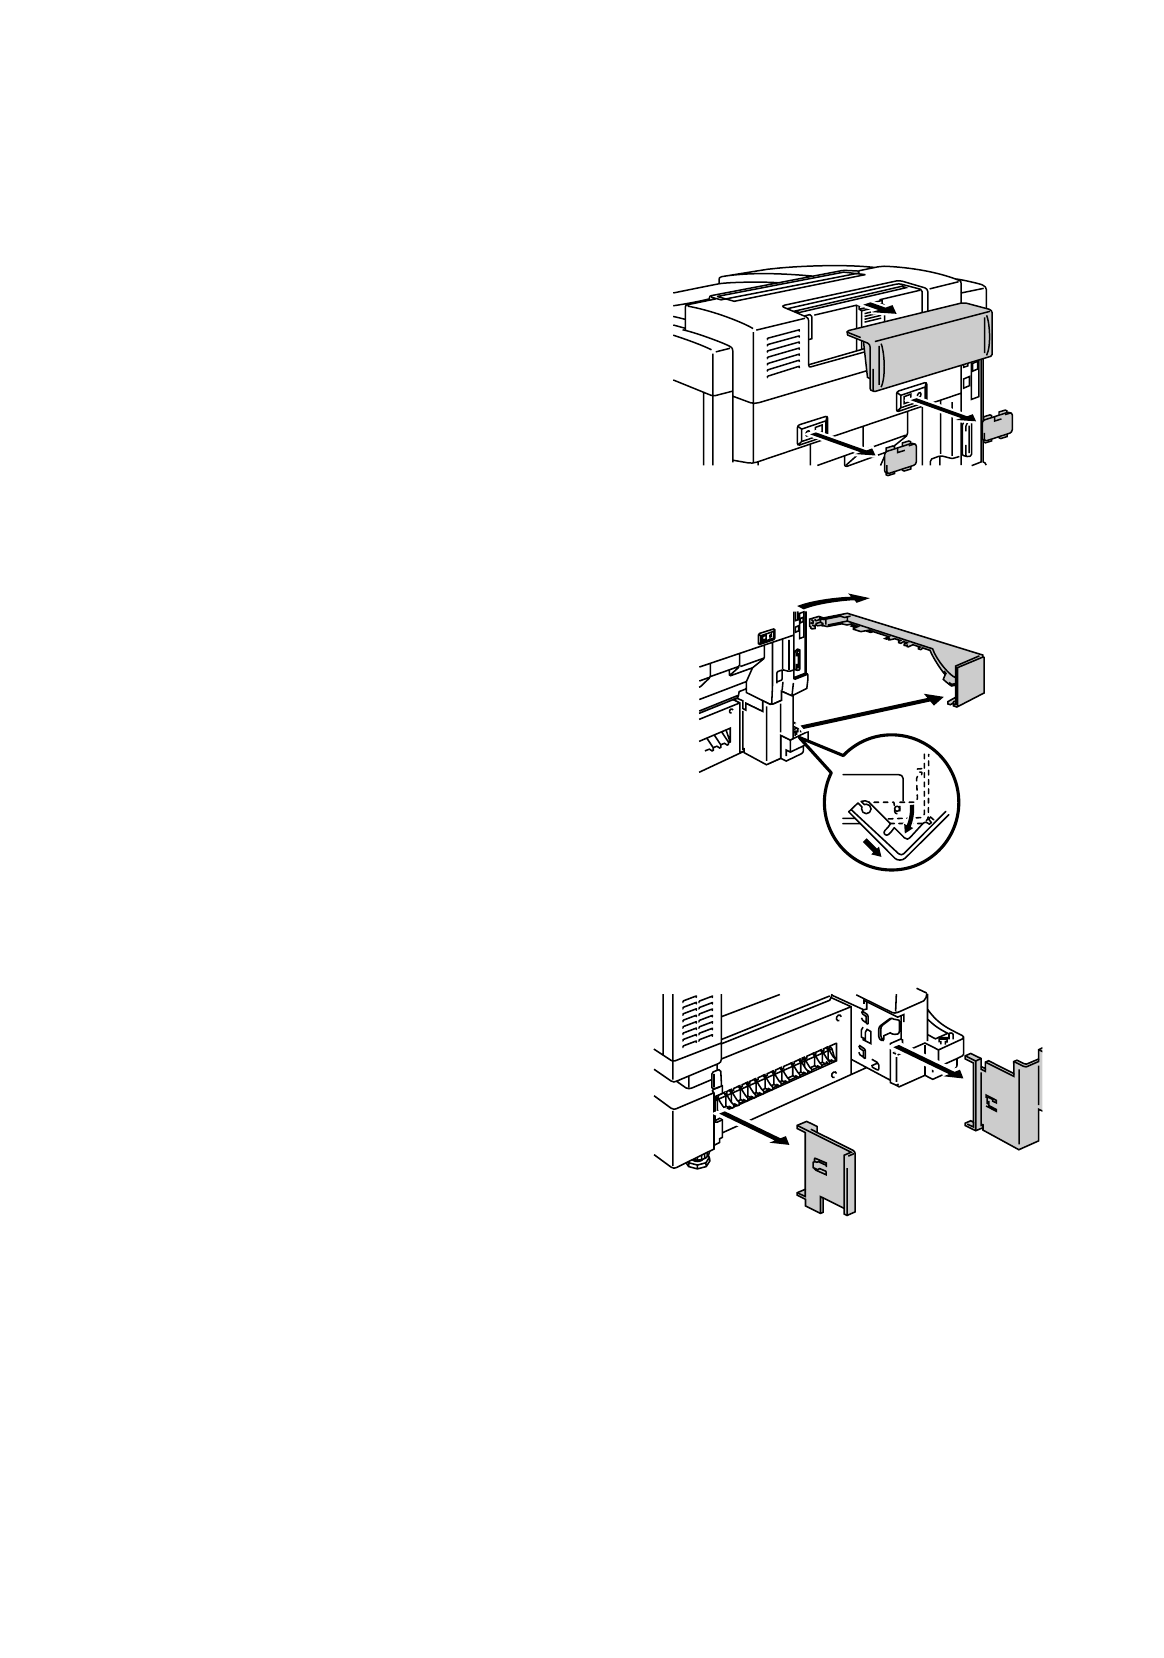
Remove the Back caps (2 pieces) of
the Lower Tray Unit. Push down
lightly on the caps and then slide
them to the rear of the printer to
remove them.
Fig. 5-64