


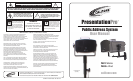
PresentationPro
™
User Manual
1 2
Thank you for purchasing this PresentationPro™ (PA319 or PA300+), the most versatile and portable PA for use in school,
business, Houses of Worship and government facilities.
We encourage you to visit our websites, www.califone.com and www.califonepro.com, to register your product for its warranty
coverage, to sign up to receive our newsletter, download our catalog, and learn more about the complete line of Califone audio vi-
sual products, including portable and installed wireless PA systems, multimedia players and recorders, headphones and headsets,
computer peripheral equipment, visual presentation products and language learning materials.
Unpacking your PresentationPro™
Inspection and inventory of your system. Check unit carefully
for damage that may have occurred during transit.
Each PresentationPro™ product is carefully inspected at the
factory and packed in a special carton for safe transport.
ALL DAMAGE CLAIMS MUST BE MADE
WITH THE FREIGHT CARRIER
Notify the freight carrier immediately if you observe any
damage the shipping carton or product. Repack the unit
in the carton and await inspection by the carrier’s claim
agent. Notify your dealer of the pending freight claim.
Warranty Registration
Please visit the Califone website to register your
PresentationPro™ for warranty coverage.
Returning your unit for service or repairs
Should your unit require service, contact your dealer or
our Customer Service Department at (800) 722-0500 to
obtain a Return Authorization (RA) number. All shipments
to Califone must include an RA number on the carton and
must shipped prepaid. C.O.D. shipments will be refused
and returned at your cost.
Contents
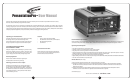
• PA319 / PA300+ Powered Amplier
• RC-300 Remote Control and (2) AAA Batteries
• MB-350 Mounting Bracket
• User Manual
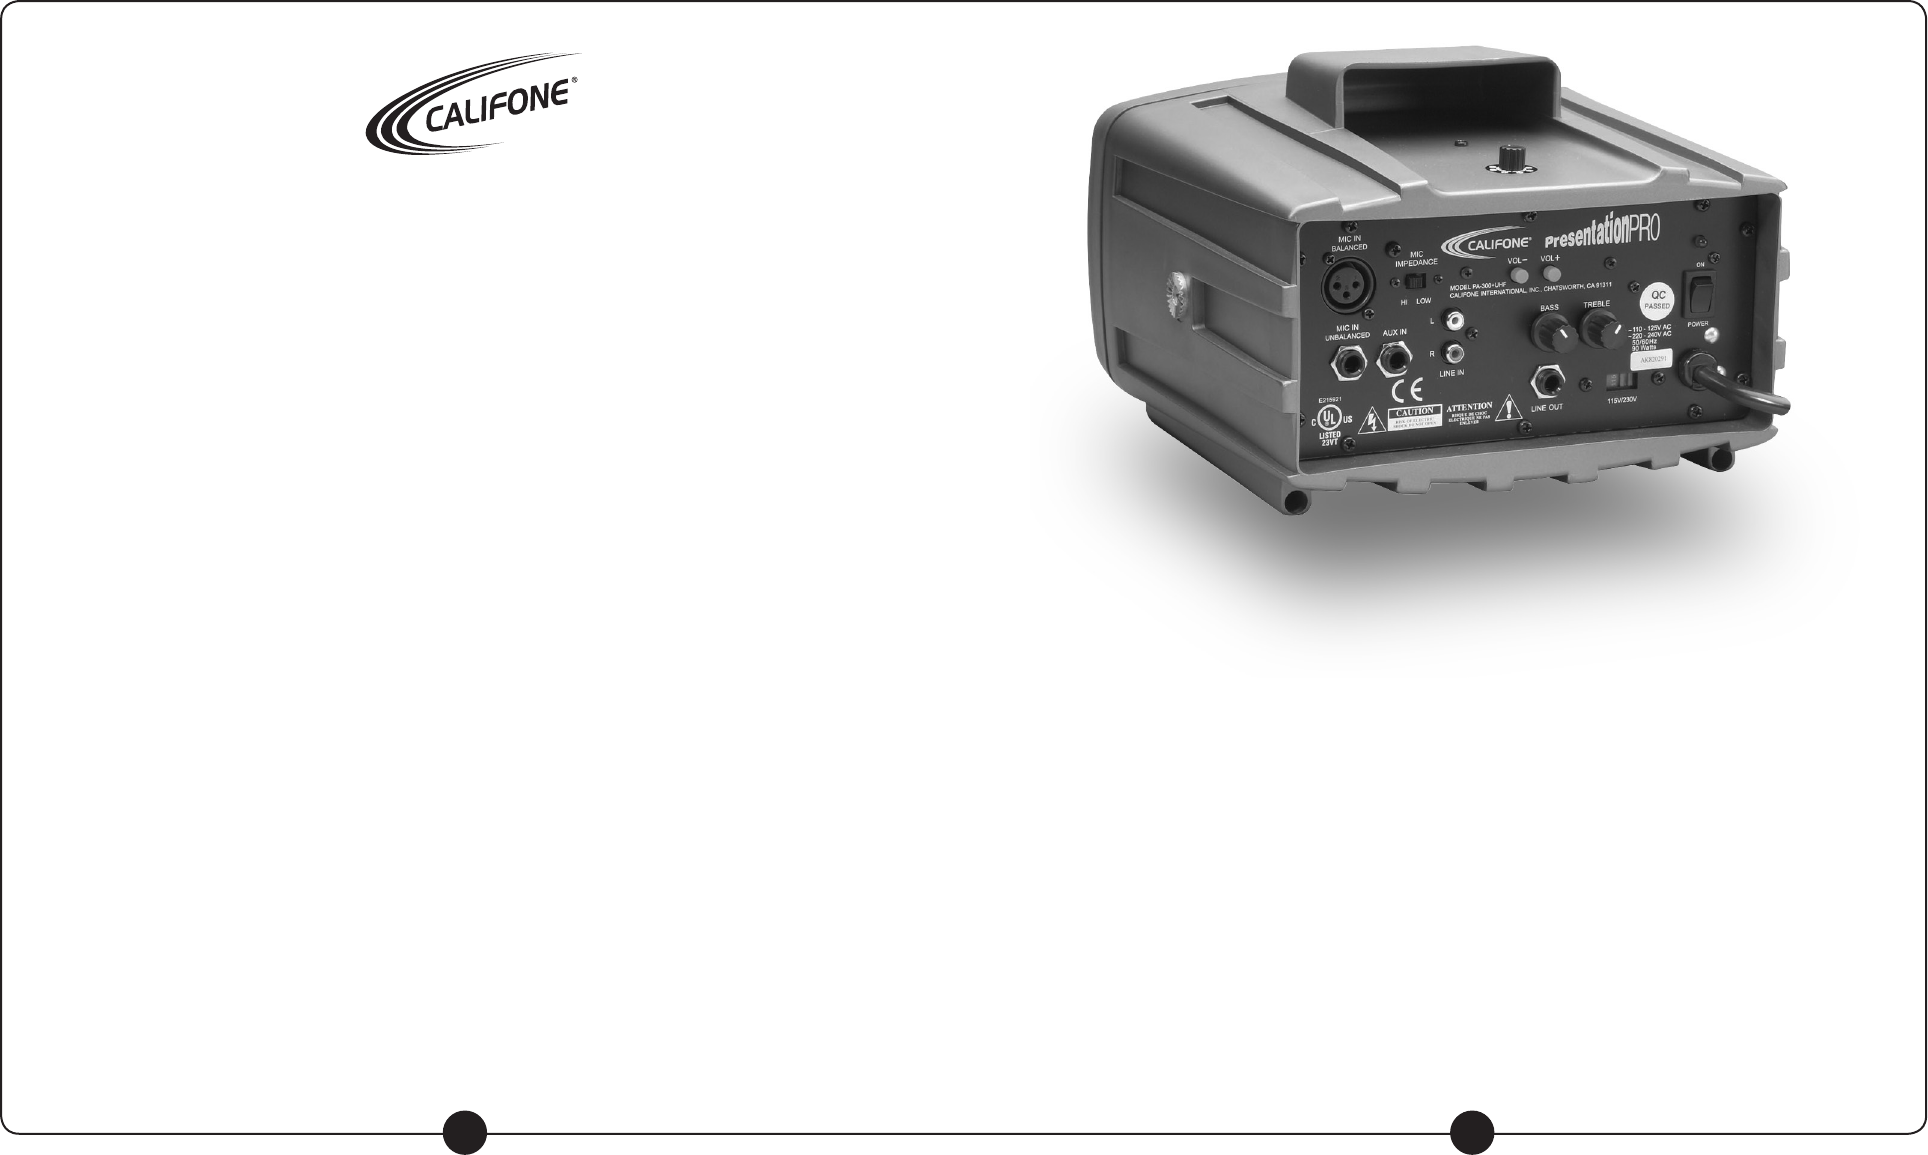
Connections and Functions
NOTE: When rst connecting other equipment to
“aux in” or “line” in make certain that their power is
o and volume control at minimum.
Visit us online at califone.com
Recommended Set-up Procedure
Ideally volume on the unit should be set at maximum before the microphone volume is adjusted to the desired level.
Turn on the main power switch and use either a wireless microphone or cabled microphone to adjust the volume.
Operating The Sound System
• Place the PresentationPro at its desired location.
• CAUTION: Assure the 120/240 switch is in the correct position.
• Plug the power cord into a grounded 120 volt, 60 Hz outlet.
• Connect and audio source. Plug a microphone into either the XLR MIC input jack or the ¼” phone mic input or a wireless
Califone microphone. An audio source can be plugged into the AUX or LINE IN jacks.
• Turn the power switch “ON” (the red LED on the rear panel should light).
• Adjust volume (press the Vol+/Vol- on the rear panel or keys on RC-300 remote control), bass/treble controls for desired sound.
• Point the remote control at the speaker grill).
Wireless Receiver (PA319 only)
a) Set the volume controls on both the UHF receiver and the mic to 10 o’clock.
b) If using only neckband or clip on mics, it is recommended that the mic volume on the M319 Belt Pack transmitter
(not the UHF receiver) is turned to maximum. The volume control on the Belt Pack transmitter can then be used to
adjust the mic volume.
c) If using mics which DO NOT have individual volume controls it is recommended that the microphone volume
control be set at 10 o’clock and then re-adjusted to the desired volume as required.
continued on page 3
PA319 Shown