


13
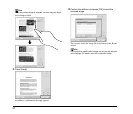
5. Configuring the Scanner Settings
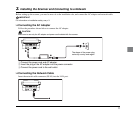
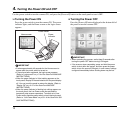
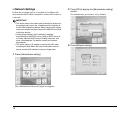
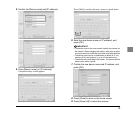
To set up the scanner, you must configure the [Network setting] items under [Administrator setting] on the scanner unit, and
configure settings on the Web Menu (Administrator Mode).
This section describes the network settings configured under [Administrator setting] on the scanner (see p. 14), and date/time
configuration and time zone confirmation in the Web Menu (Administrator Mode) (see p. 16), and mail server settings for sending
images via e-mail (see p. 17).
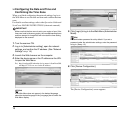
For details on other settings, refer to the ScanFront 300/300P INSTRUCTIONS (electronic manual).
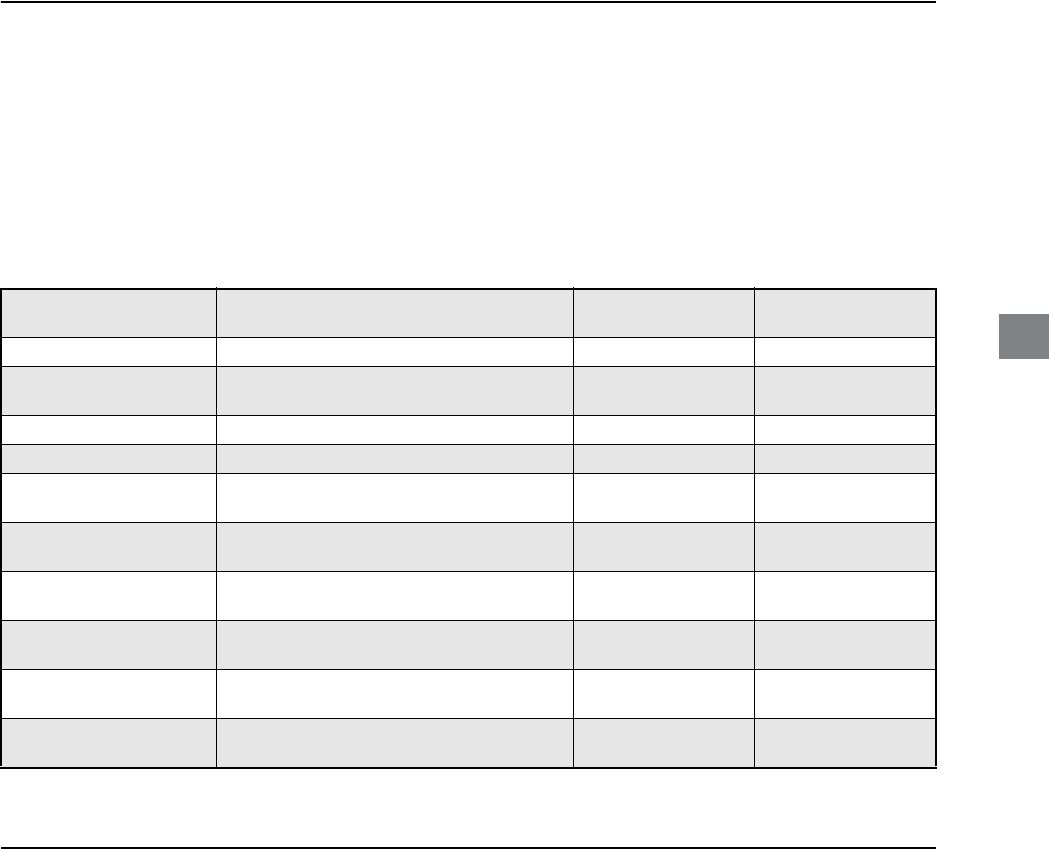
The following items are only a few of the availavle settings. The necessary configuration differs, depending on the scale of the
network environment in which you plan to use the scanner. To use the scanner with the minimum required settings, you must
register addresses to the Shared Address Book in addition to configuring the [Network setting] items.
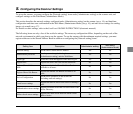
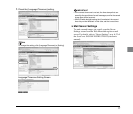
Setting Item Description Administrator setting
Web Menu
(Administrator Mode)
Network setting Set the Device Name and IP Address. Yes No
Administrator password
Set the password required to login to
[Administrator setting] and the Web Menu.
Yes Yes
Login type Select the screen that appears when users log in. Yes Yes
Register user Register the users who will use the ScanFront. No Yes
Register Shared Address
Book
Register entries in the Shared Address Book
available to all users.
No Yes
Register Shared Job Button
Register the Shared Job Button available to all
users.
No Yes
Device Configuration
Set the basic operations of the ScanFront
(including network settings).
No Yes
E-mail server settings
Register the SMTP server to be used for sending e-
mail.
No Yes
Authentication server settings
Register a domain server that can search users with
Active Directory.
No Yes
Address book server settings
Register an LDAP server that can search e-mail
address books.
No Yes