


12
Checking Your Operating Environment
The following computer system requirements are recommended for
using the CR-50/80.
Operating Systems:
• Microsoft Windows XP (32bit) SP3 or later
• Microsoft Windows XP (64bit) SP2 or later
• Microsoft Windows Vista (32/64bit) SP1 or later
• Microsoft Windows 7 (32/64bit)
Specifications:
• CPU: Intel Core2 Duo 1.8 GHz or faster
• Memory: 1 GB or more
• USB 2.0 interface
Interface Cable
• Use the cable provided or a Hi-Speed USB 2.0 interface cable to
connect to the computer’s USB port.
Precautions for Use in 64-bit Operating Systems
• The ISIS/TWAIN driver supplied with this product supports scanning
with 32-bit applications only.
• Even with 32-bit applications, not all ISIS/TWAIN compliant
applications are guaranteed to operate.
• Scanning speed may vary depending on the specifications of your computer.
IMPORTANT
• If you use the USB interface that was provided as standard with
your computer:
• Use the most recently available USB 2.0 driver provided by
Microsoft. Contact your local authorized Canon dealer for more
detailed information.
• Not all USB interfaces provided as standard with personal
computers are guaranteed. Contact your local authorized Canon
dealer for more detailed information.
• Scanning speeds are slower if your computer’s standard USB
interface is USB 1.1.
• You should use the USB cable originally bundled with the scanner
or a Hi-Speed USB 2.0 compatible cable.
• If the CPU, memory, interface card, and other specifications do not
satisfy the installation requirements, the scanning speed may be
greatly reduced and transmission may take longer.
• Even if the computer satisfies the recommended specifications, the
scanning speed may vary, depending on the scan settings.
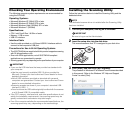
Installing the Scanning Utility
Follow the instructions below to install the Scanning Utility and the
dedicated driver.
NOTE
The dedicated scanner driver is installed after the Scanning Utility
has been installed.
1
Turn ON your computer, and log on to Windows.
IMPORTANT
Be sure to log on as the Administrator.
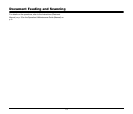
2
Insert the setup disc into the disk drive.
This manual assumes that “D” is assigned to your disk drive.
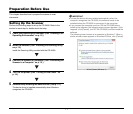
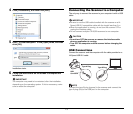
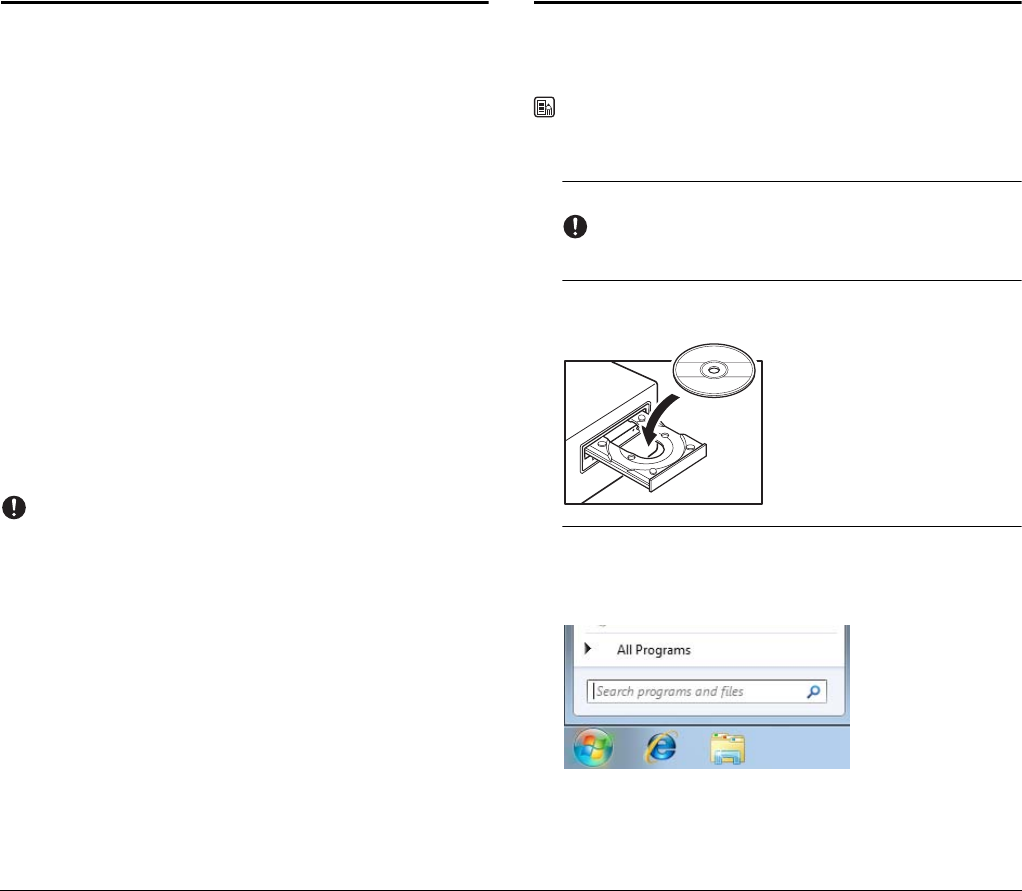
3
Click [Start], and then click [All Programs].
The procedure in Windows XP is different from the ones described
in this manual. Refer to the Windows XP “Help and Support
Center” to select [Run].