64 Using the Canon Advanced Printing Technology Chapter 3
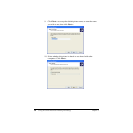
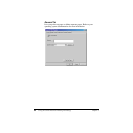
3. Select File and Printer Sharing for Microsoft Networks, then
click OK.
Add Server Service (Windows XP)
1. Click Network and Internet Connections icon in the Control Panel.
2. Click Network Connections.
3. Right-click the Local Area Connection icon, then select Properties
form the menu.
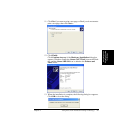
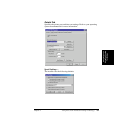
The Local Area Connection Properties dialog box appears.
4. If File and Printer Sharing for Microsoft Networks exists in the
list, click OK. Otherwise, click Install.
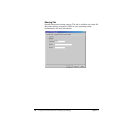
5. Select Service, then click Add.
6. Select File and Printer Sharing for Microsoft Networks in the
Network Services box, then click OK.
7. Click Close.
Printer Sharing Settings
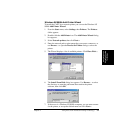
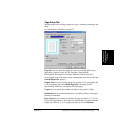
1. Open the Canon LBP-810 Properties window, then check “Shared”
in the Sharing tab.
2. Enter the Share Name as needed.
3. Click OK. The printer icon changes to indicate sharing.
Sharing settings may also be made during installation.
Status Display
The status of a shared printer displays on both the print server and client
computer, and job operations can execute from either. Please note that
execution of job operations requires Manage Documents authority.
Status display requires status exchanges between the print server and
client using TCP/IP and NetBEUI protocols. Status display is not
supported if IPX/SPX is the only protocol used.


