


1
2
3
4
TOP
Back Previous Next
2-44
Introduction
Scanning a
Document
Troubleshooting
Appendix
Table of Contents
Index
■ Scanning from Windows Photo Gallery
(Windows Vista Only)
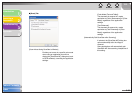
1. Open the [Windows Photo Gallery].
Click [Start] on the Windows task bar → select [All programs] →
[Windows Photo Gallery].
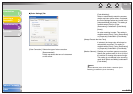
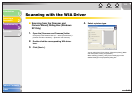
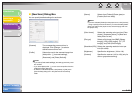
2. Open the [Import Pictures and Videos] dialog
box.
Select [Import from Camera or Scanner] from the [File] menu.
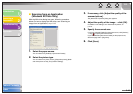
3. Double-click the corresponding scanner
driver icon.
Or select a corresponding scanner driver icon then press
[Import].
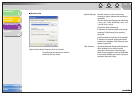
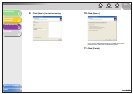
4. Make sure the corresponding scanner driver
is displayed on [Scanner].
If you want to use other scanners, click [Change...] and select a
desired scanner driver icon.
5. Specify required scan settings.
For details on the settings, see “[New Scan] Dialog Box,” on
p. 2-45.
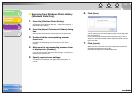
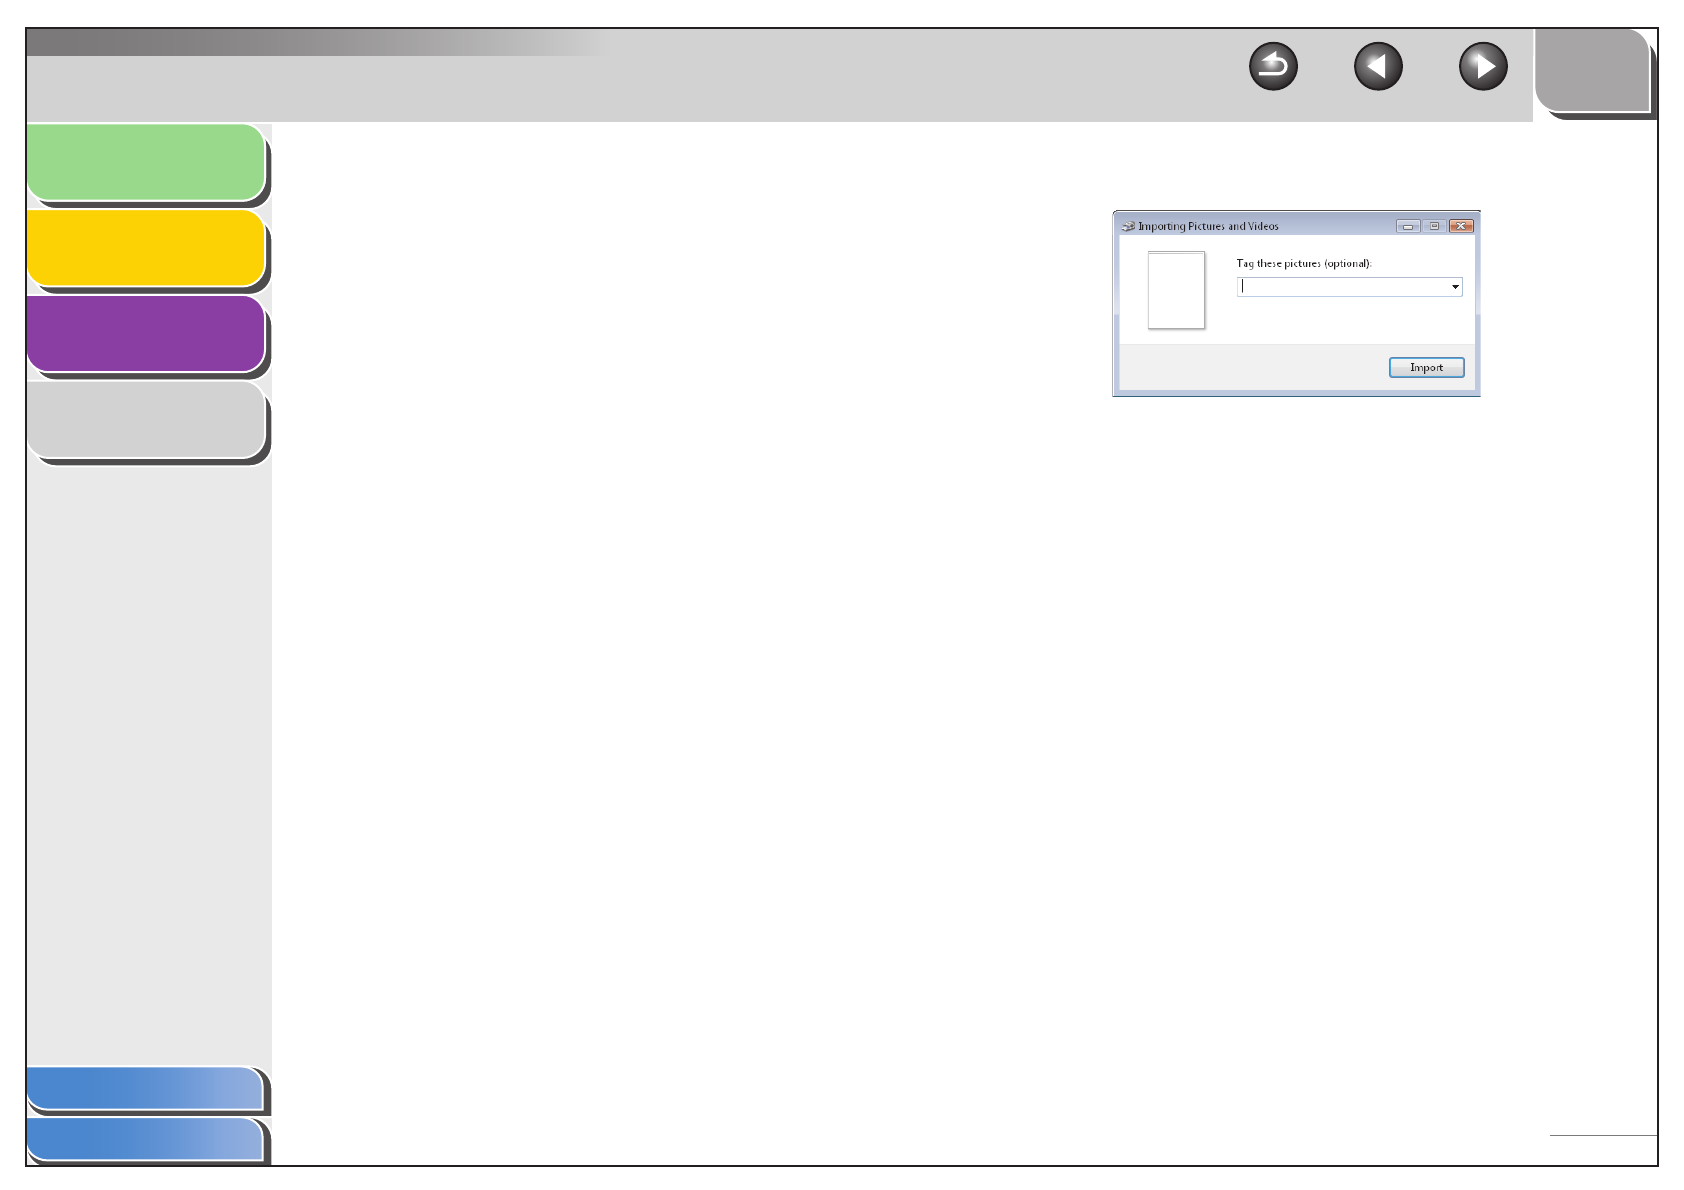
6. Click [Scan].
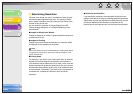
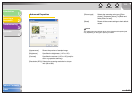
You can classify the scanned image by typing a tag in [Tag these
pictures (optional):].
If you save the scanned image without typing the tag, it will be
saved in a new folder created under the [pictures] folder, named
by its scan date.
7. Click [import].
When you save more than one picture, sequential numbers are
automatically added to the file names.
Renaming the image file is available afterward.