


22
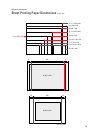
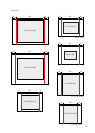
If you set the margins for your final output photograph to be right for a particular
frame, your printed photograph will be ready to frame right out of the printer.
See the information on pages 28 and 29 "Sheet Printing Paper Dimensions" for details on
printing photographs with margins set for each image size.
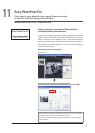
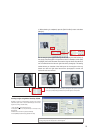
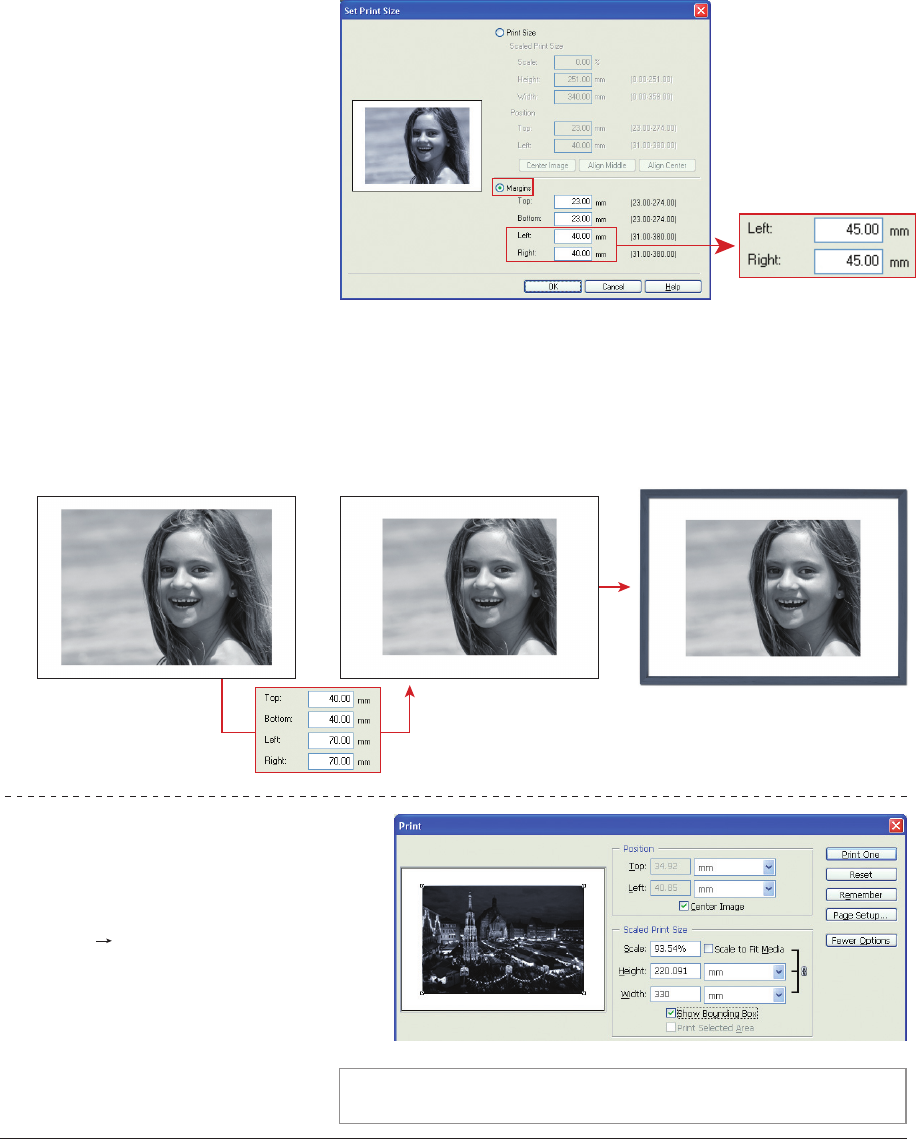
2. When trimming is completed, open the [Set Print Size] screen and select
[Margins].
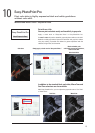
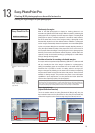
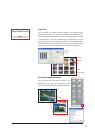
Creating margins using Adobe Photoshop CS/CS2
[Example of printing a horizontal image captured using a single
reflex lens (aspect ratio of 3:2) with 45 mm margins on the short
edges and printing to A3 size media]
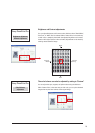
1. Open the [File] [Print Options] screens.
2. Set [Paper Size] to A3, and [Orientation] to Landscape using
[Page Setup].
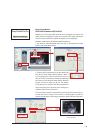
3. Remove the check mark in [Scale to Fit Media].
4. Set the [Width] to 330 mm using [Scaled Print Size].
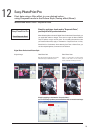
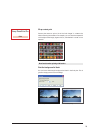
Set the margins (photograph trimming) while checking the final balance of
the margin and photograph in the preview screen. For example, set the [Left]
and [Right] side values to 45 mm. Because the original values were 40 mm, 5
mm are trimmed from the left and right sides of the photograph. This setting
method allows you freedom of the final layout for the margins on the top,
bottom and left and right sides because the photograph's vertical and
horizontal ratios are not fixed.