E-12
Mirror Image Printing
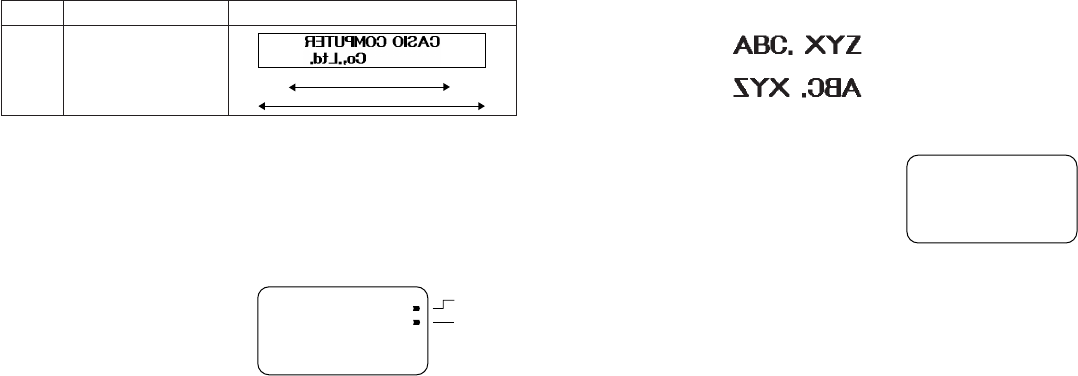
When you specify mirror image for text, it is printed in reverse image. Use mir-
ror image when you plan to print on transparent tape, with the printing on the
inside. When viewed through the transparent tape, the text will appear normal.
You can also use mirror image printing when using iron-on transfer tape to print
iron-on transfers.
Normal
Mirror Image
To turn mirror image printing on and off
1. Press FUNCTION and then 6 (MIRROR).
2. Press H J K or L to change the setting shown on the display between
ON (mirror printing) and OFF (normal).
3. When the mirror image printing setting is the way you want it, press SET to
register it.
• A mark appears next to the MIRROR indicator on the display when mirror
printing is turned on.
• After you turn printing on, input text and perform the print operation as you
normally do (page 11) to produce mirror image tapes.
Other Printing Features and Operations
The following are other operations and settings that you may need to use when
printing.
Type
ST-15
Example
PRN?
STAMP
MIRROR
Stamp Printing
The stamp printing feature lets you print on special stamp tape. You can then
attach the finished stamp tape to an optionally available stamp holder to create
your own original pre-inked stamps. The following is the type of stamp holder
currently available for use with stamp tapes.
Note the following important points about stamp printing.
• Stamp printing prints text in mirror image.
• Stamp printing is impossible while 6mm is specified as the tape width.
• An error message (ERR!) appears on the display and the Label Printer refuses
to print whenever you try to print text that is longer than the maximum length
you specify.
To print a stamp tape
1. Input the text you want to print.
2. Press FUNCTION and then 5
(STAMP).
• A mark appears next to the STAMP indicator on the display when mirror print-
ing is turned on.
• If the text you input in step 1 is too long to fit within the maximum length you
specified, an error message (page 16) appears when you press SET.
3. Press SET to print the stamp tape or ESC to abort the print operation and
return to the text input display in step 1.
• After the printing is complete, the Label Printer returns to the input display in
step 1.
4. Cut off the tape and affix it to the optional stamp holder.
• See the instructions that come with the optional stamp holder for information
about how to attach the stamp tape.
7.9cm
5.5cm
Maximum Stamp Size
5.5cm
J
OFF


