


47
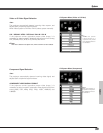
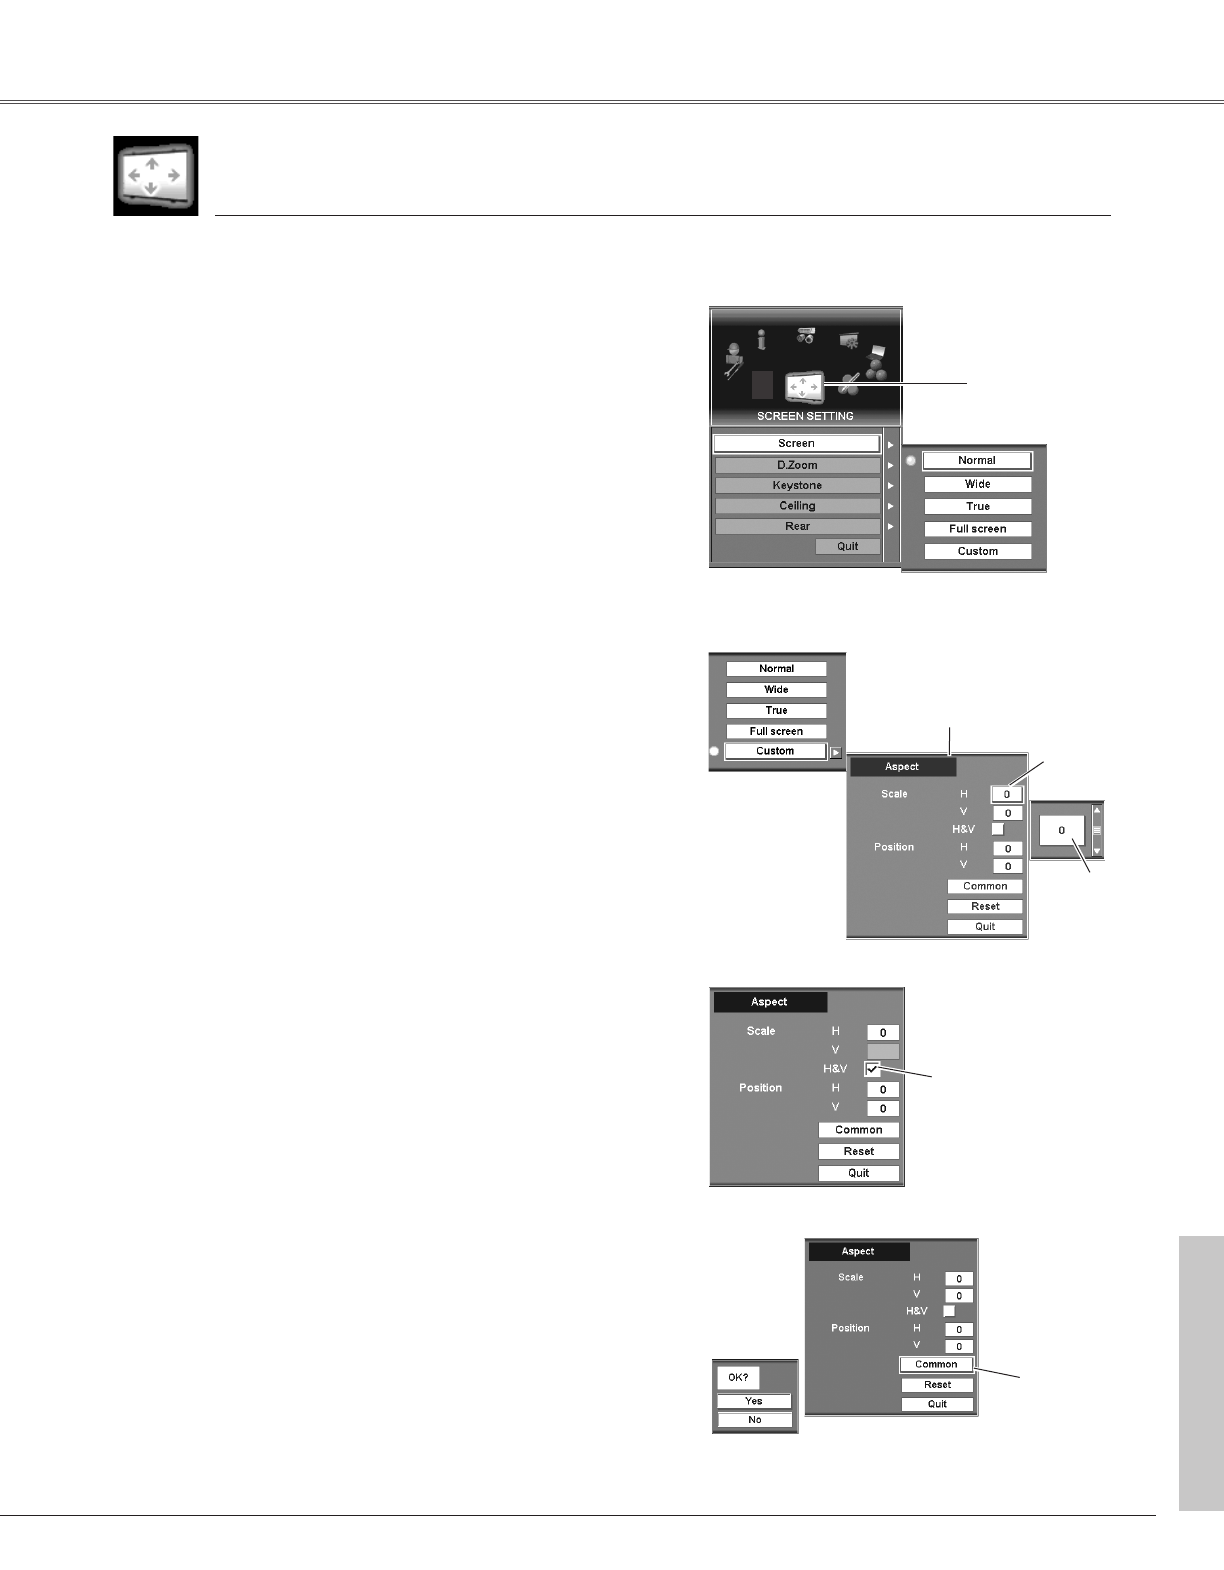
Screen Setting
Provides image to fit the horizontal size of the screen size.
When the input signal is SXGA (5:4), the image is fully displayed
at 4:3 aspect ratio.
Full screen
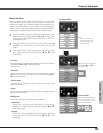
Adjusts aspect (scale and position) of the screen. Press the
SELECT button at Custom. Custom will be displayed on the top
left of the screen for four (4) seconds and then return to the
previous menu display. Press the SELECT button again with the
pointer stayed on Custom to display Aspect setting menu. Adjust
each value of Scale and Position.
Scale . . . . .adjusts horizontal and vertical scale of the screen.
(From –32 to +32)
H&V . . . . .changes Vertical value subject to Horizontal value;
when a checkmark is put on H&V, Scale V cannot
be adjusted.
Position . .adjusts horizontal and vertical position of the
screen. (From –15 to +15)
Common . .applies the current Aspect setting to all the Inputs.
Reset . . . . .resets all adjusted values to zero.
Quit . . . . . .exits the Aspect setting menu.
1
2
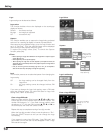
Screen Setting Menu
Wide
Provides image to fit screen size.
Normal
True
Custom (Aspect)
Provides image in its original size. When the original image size is
larger than the screen size, this projector enters panning mode
automatically. While “True” is displayed on screen, pan the
image with the Point buttons (
e, d, 7, and 8) or the Control
pad. Digital zoom + and – mode can be switched by pressing the
SELECT button.
Provides image to fit wide video aspect ratio (16:9) by expanding
image width uniformly. This function can be used for providing a
squeezed video signal at 16:9.
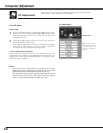
selects the screen size from Normal, Wide, True, and Full screen;
customizes it by Scale, H&V, Position, Common, and Reset; adjusts it by
Digital zoom +/–, Keystone; sets Ceiling and Rear.
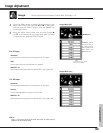
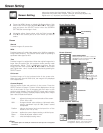
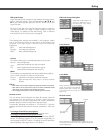
Screen
Press the MENU button to display On-Screen Menu. Spin
Menu icons with the Point buttons (
7 and 8) or the Control
pad and press the SELECT button when the SCREEN
SETTING icon comes right in front.
Move the yellow frame pointer with the Point buttons (e
and d) or the Control pad to an item which you want to
select.
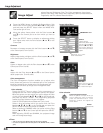
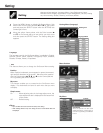
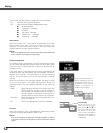
Screen (Custom: H&V)
Screen Setting
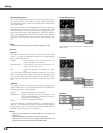
Screen (Custom)
Item data
Adjust value with
the Point buttons
(e and d) or the
Control pad.
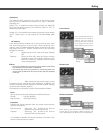
Screen (Custom: Common)
Screen Setting
icon
Aspect Setting Menu
Move the pointer to an item to set and
adjust value with the Point buttons (e
and d) or the Control pad.
Pointer
Checkmark
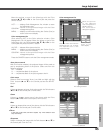
Move the pointer to Common and press
the SELECT button. The confirmation
box appears. Select [Yes] to activate it.
Pointer
✔Note:
The adjusted aspect can basically be memorized for each input even if the projector
is turned off.
Screen Setting