Installing the Cisco RPS Adapter Plate in Cisco 2600 Series Routers 9
Installing the Redundant Power Supply Adapter Plate
Step 3 Align the Cisco RPS Adapter Plate with the chassis cutout for the power supply. Tilt the
adapter plate slightly toward you at the top, and rock it up and into place, ensuring that
the two small hooks at the top of the Adapter Plate engage the router chassis. (See
Figure 9.)
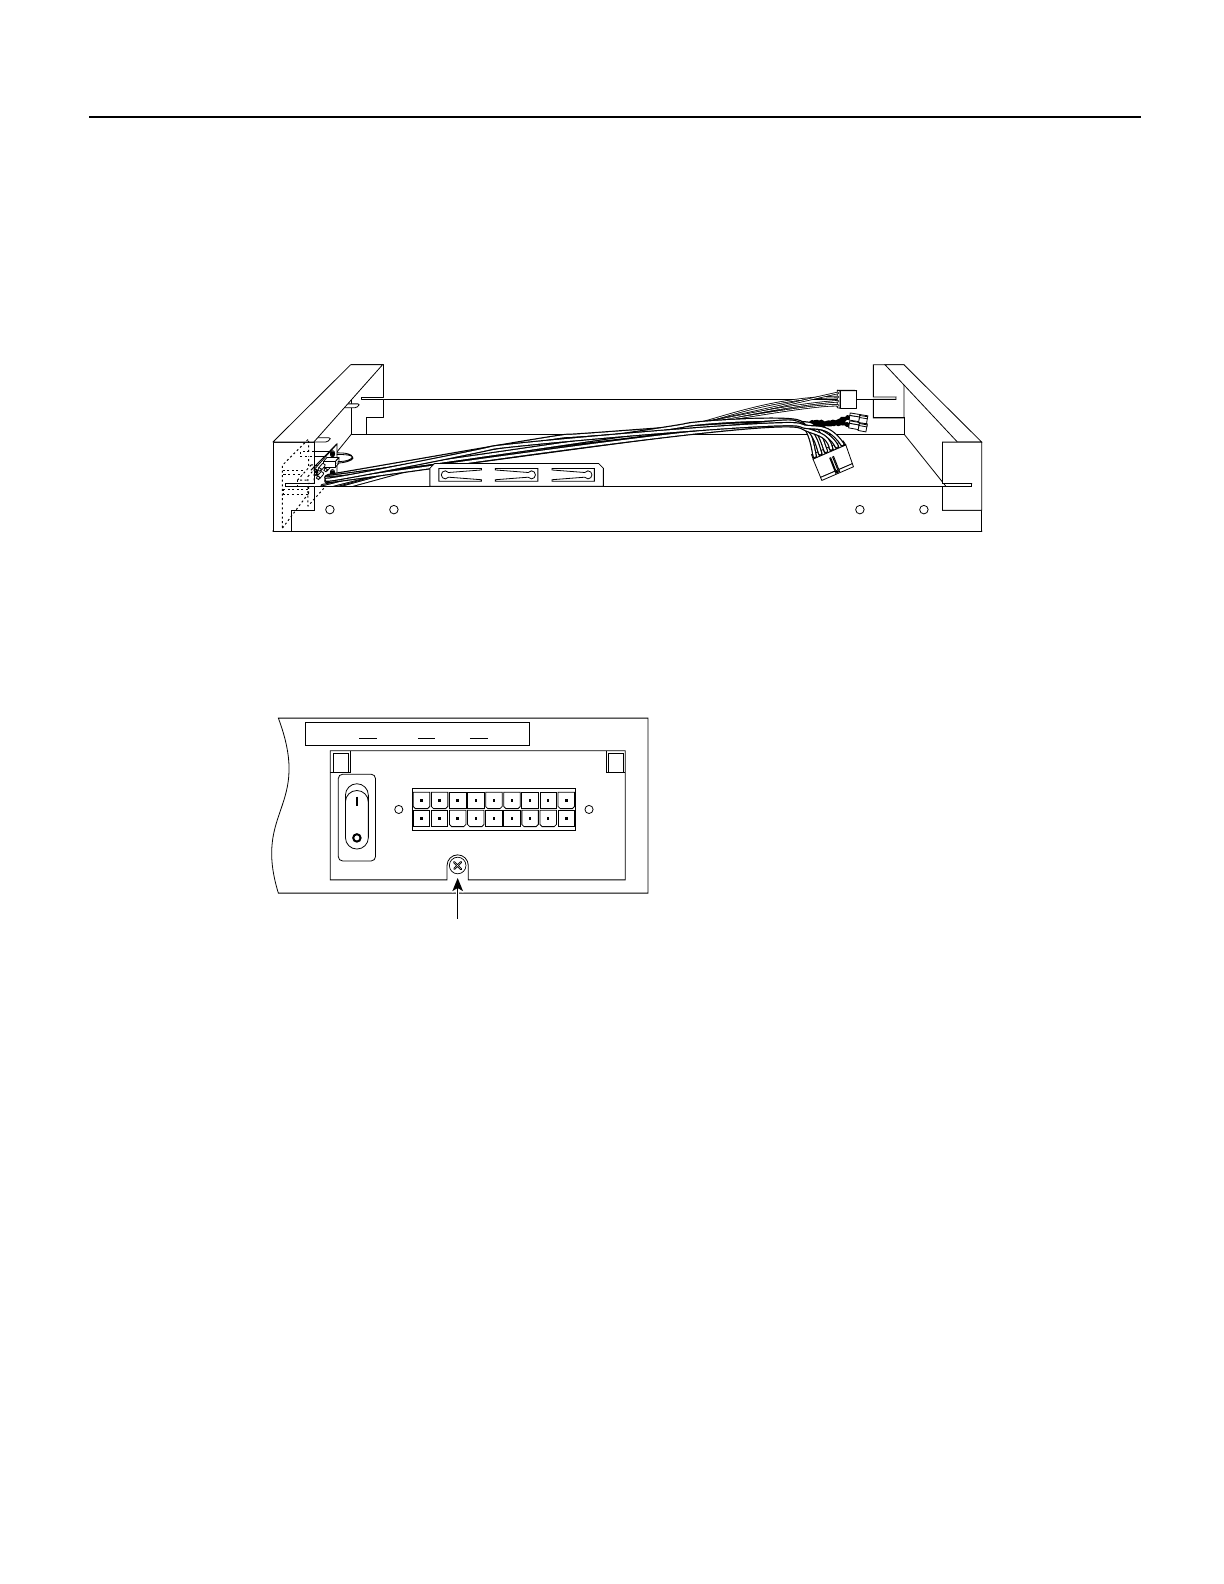
Figure 9 Installing the Cisco RPS Adapter Plate
Step 4 Install the mounting screw that came with the Cisco RPS Adapter Plate into the screw
hole. (See Figure 10.)
Figure 10 Installing the Mounting Screw
Step 5 Connect the six-pin connector to the system board. The connector is keyed so that it
cannot be connected to the system board incorrectly. (See Figure 11.)
Step 6 Connect the 4-pin environmental status connector only if your router, with the connector
connected, has been upgraded to the correct level of Cisco IOS software. Using any other
level of Cisco IOS software can cause the router to crash. Cisco IOS Release 11.1(12)AA
or later is compatible but will not show status from the RPS. Cisco IOS Release 11.2(7)P
or later will provide RPS status information to the network.
H9801
Front of chassis
H9805
Mounting
screw
DC INPUT FOR USE WITH CISCO RPS
+5V–––10A, +12V–––2A, -12V–––1A


