


Send documentation comments to nexus5kdocs@cisco.com.
4-6
Cisco Nexus 5500 Platform and Cisco Nexus 5000 Platform Hardware Installation Guide
OL-15902-01
Chapter 4 Replacing Components
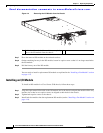
Replacing Expansion Modules
Step 2 If the captive screw on the expansion module is not loose, turn it counterclockwise to fully loosen.
Step 3 Rotate the ejector lever away from the front of the module until it stops at about 80 degrees from the
front.
Step 4 Holding the module with one hand on the front of the module and the other hand on its carrier edges or
bottom, align the module to the open slot.
Step 5 Push the module fully into the slot until the ejector engages and the lever moves.
Step 6 Rotate the ejector lever to the front of the module so that the module is fully inserted in the slot and the
captive screw on the ejector assembly is in position to screw into the expansion module.
Step 7 Tighten the captive screw to the expansion module.
Step 8 Verify the installation by making sure that the module status LED turns on and is green.
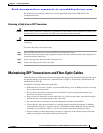
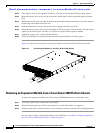
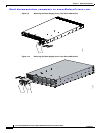
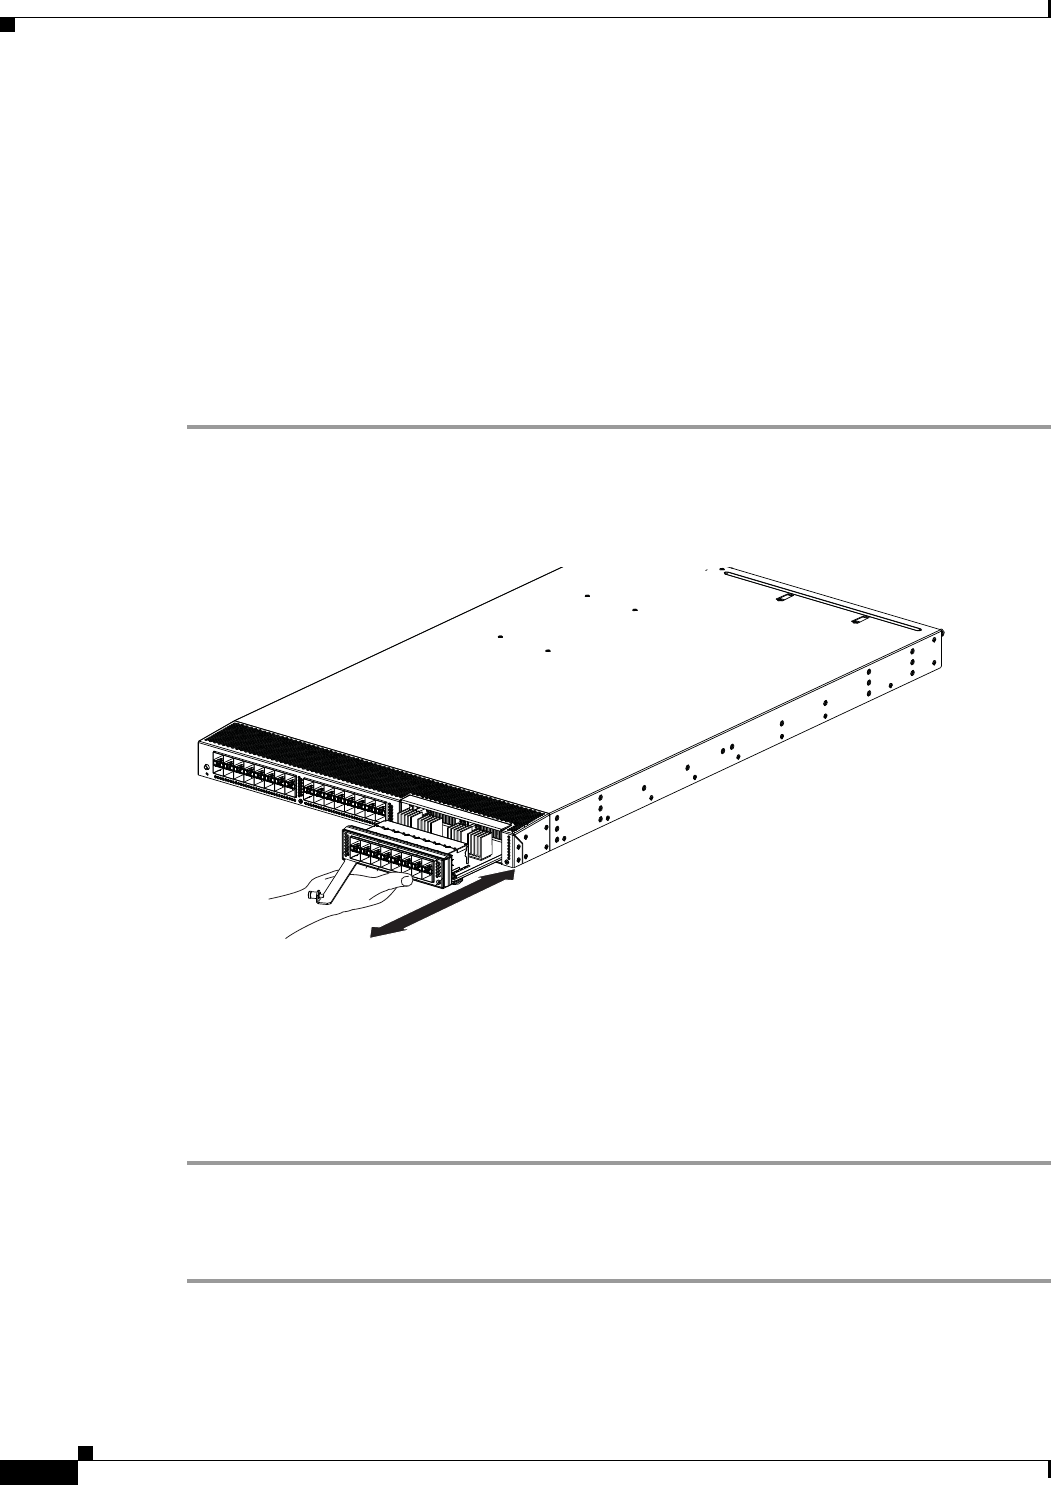
Figure 4-5 shows the positioning of an expansion module in the Cisco Nexus 5548 switch chassis.
Figure 4-5 Positioning the Module in the Cisco Nexus 5548 Chassis
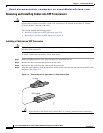
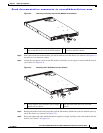
Removing an Expansion Module from a Cisco Nexus 5000 Platform Chassis
To remove an expansion module from a Cisco Nexus 5000 Platform chassis, follow these steps:
Step 1 Loosen the captive screw on the front of the module.
Step 2 Slide the module part way out of its slot and place your other hand under it to support it.
Step 3 Pull the module fully out of the slot and set it on an antistatic surface or repack it in its packing materials.
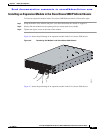
You are ready to install a replacement module as described in the “Installing an Expansion Module in
the Cisco Nexus 5000 Platform Chassis” section on page 4-7.
236714