


3-21
Cisco Aironet 802.11a/b/g Wireless LAN Client Adapters (CB21AG and PI21AG) Installation and Configuration Guide
OL-4211-07
Chapter 3 Installing the Client Adapter
Installing a Microsoft Hot Fix for Group Policy Delay
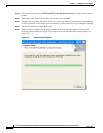
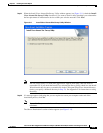
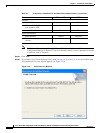
Step 3 Right click on the Cisco CB21AG instance, and left click on Properties.
Step 4 Choose the "Install" option and then add a new service.
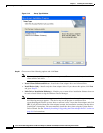
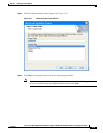
Step 5 Choose the "Have disk" button. Go to \windows\system32 directory and choose wsimd.inf.
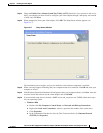
Step 6 Highlight and select "Wireless Intermediate Driver" and click "ok" button. The wireless IMD is bound
to the adapter.
Step 7 Reboot system.
Installing a Microsoft Hot Fix for Group Policy Delay
If you want to use the Group Policy Delay parameter on the Profile Management (Security) window in
ADU, you must install a Microsoft hot fix on computers running Windows 2000. The hot fix is
incorporated into Windows XP Service Pack 2 and later.
The Group Policy Delay parameter enables you to specify how much time elapses before the Windows
logon process starts Group Policy, a Windows feature used by administrators to specify configuration
options for groups of users. The objective is to delay the start of Group Policy until wireless network
authentication occurs. Follow the steps below to obtain and install the hot fix.
Note You must be a registered Cisco customer and log into Cisco.com in order to download the hot fix. If you
are unable to access the hot fix from Cisco.com, contact Microsoft Support to obtain it. The Windows
2000 support page provides the contact information:
http://support.microsoft.com/default.aspx?scid=fh;EN-US;win2000
Step 1 Use your computer’s web browser to access the following URL:
http://www.cisco.com/cgi-bin/tablebuild.pl/aironet_hotfix
Step 2 If prompted, enter your Cisco Connection Online (CCO) username and password, and click OK.
Note To create a CCO username and password, visit http://www.cisco.com.
Step 3 Click the hot fix file (userenv.zip).
Step 4 Complete the encryption authorization form and click Submit.
Step 5 Click the file again to download it.
Step 6 Save the file to your computer’s hard drive.
Step 7 Find the file using Windows Explorer, double-click it, and extract its files to a folder.
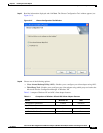
Step 8 Reboot your computer and press F8 while your computer is booting.
Step 9 When the boot menu appears, select Safe Mode with Command Prompt.
Note You must complete this procedure in safe mode; otherwise, system file protection (SFP) will
silently restore the original version of the file you are replacing.