


5
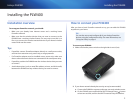
Installing the PLW400
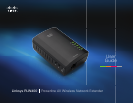
Linksys PLW400
Installation overview
To set up your Powerline network, you should:
• Make sure you already have Internet access and a working home
Powerline network.
• Make sure that the wireless devices that you want to connect to the
PLW400 have a working wireless feature. An easy way to test this is to
first try to connect the wireless network device to your home’s wireless
router while near the router.
Tips
• If possible, connect Powerline adapters directly to a wall power outlet,
and not to an extension cord, power strip, or surge protector.
• If a Powerline adapter must be installed onto a power strip, make sure
that no other electronic devices are connected to the same power strip.
• If possible, position the PLW400 near the wireless devices that you want
to connect.
• Avoid obstructions (such as metal file cabinets, mirrors, and thick walls)
between the PLW400 and any wireless device you want to connect.
How to connect your PLW400
After you have a basic Powerline network set up, you can add this PLW400
anywhere in your home.
TIP
You can also set up and configure all of your Linksys Powerline
devices using the configuration utility. For more information, see
“Using the Utility” on page 6.
To connect your PLW400:
1.
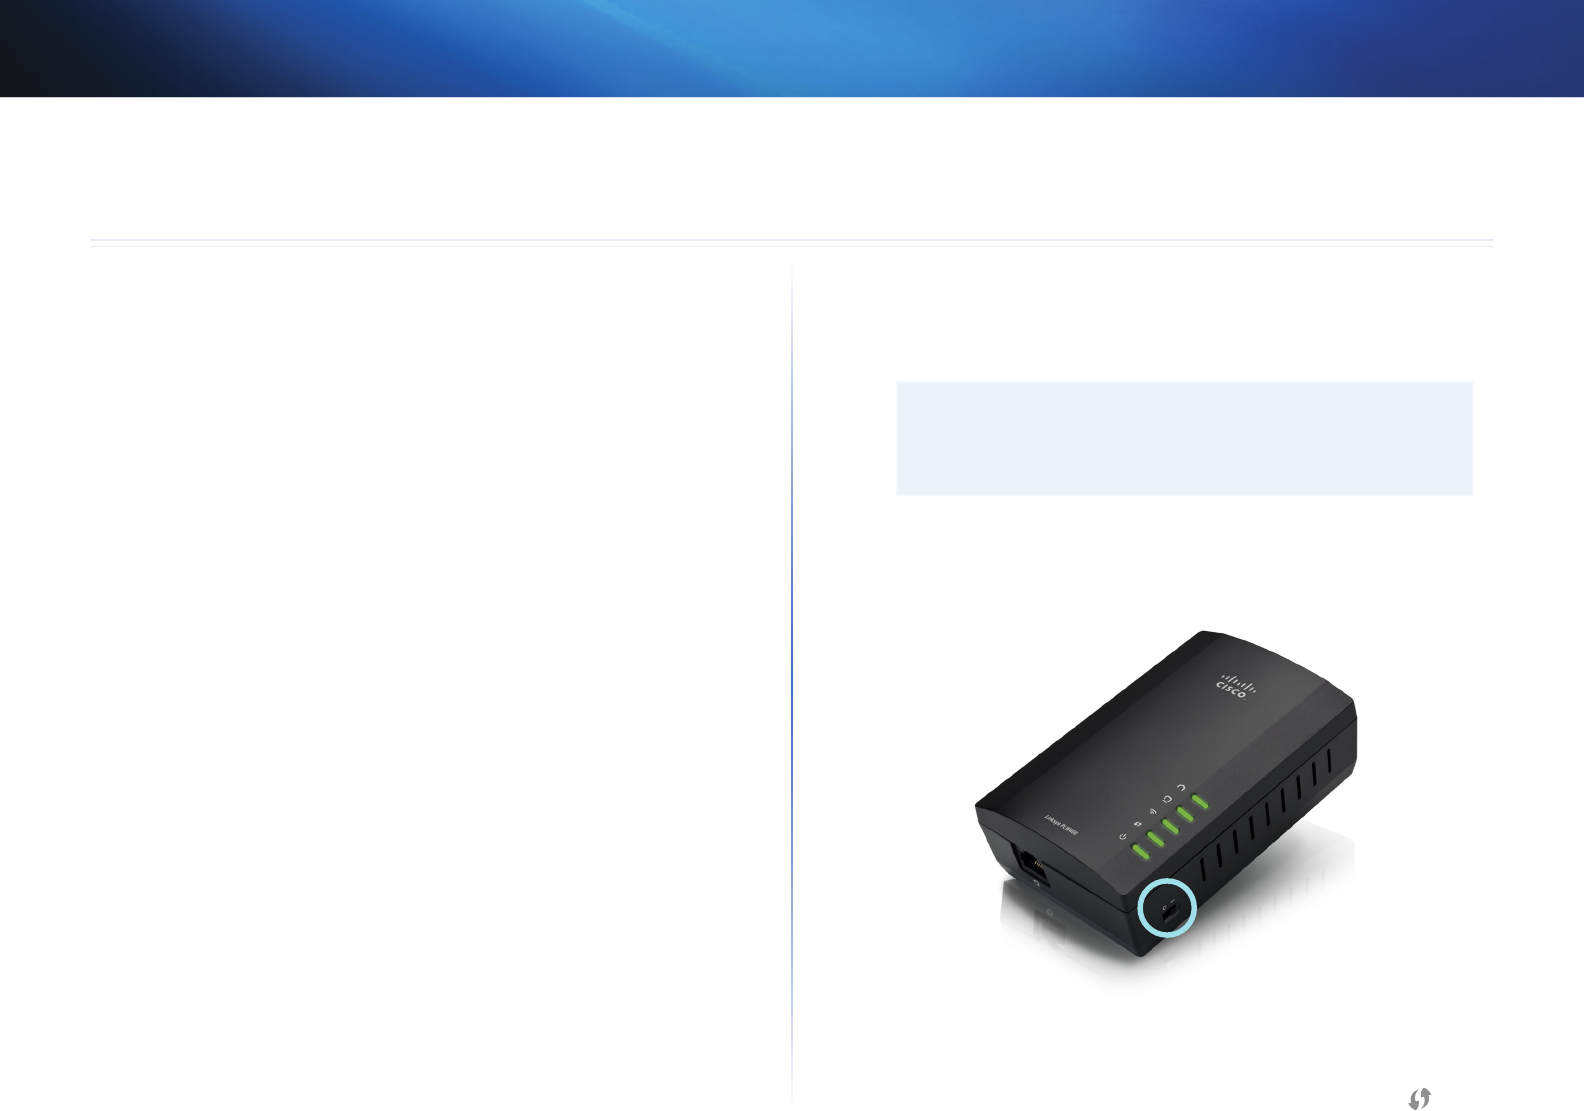
Make sure that the power switch on the right side is set to I (on).
2.
If your home network already has security set up (recommended):
a.
Connect the PLW400 to a power outlet near your main wireless router.
b.
On the PLW400, press and hold the Wi-Fi Protected Setup button
at least one second, until the the Wi-Fi Protected Setup LED flashes.
Installing the PLW400