


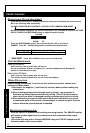
DESCRIPTION OF PICTURE ADJUSTMENT:
Press the PICTURE SELECT button several times, the screen will display the picture control
Bar in the following order sequentially.
(BLANK)
à
BRIGHTNESS
à
CONTRAST
à
COLOUR
à
TINT
à
DIMMER
à
MEM RESET
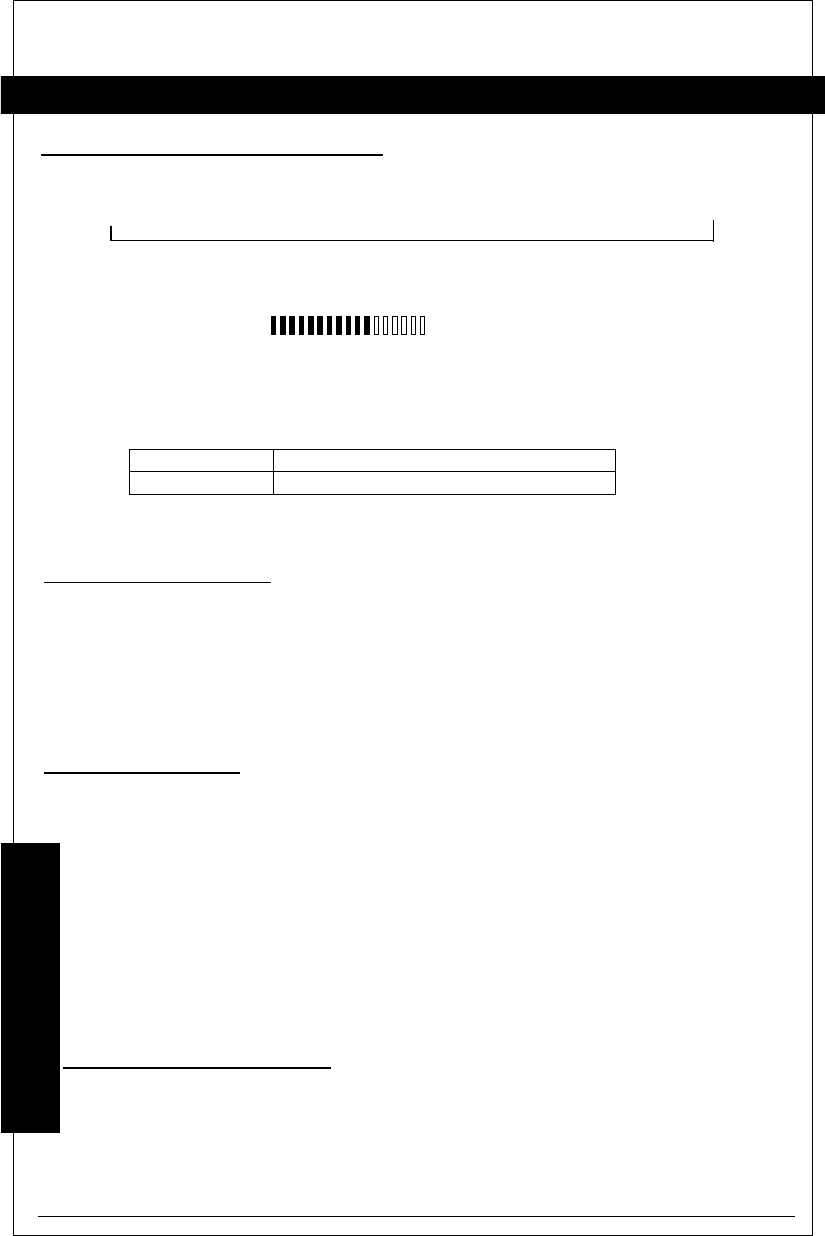
Before the display disappears, use the PICTURE SELECT UP (VOLUME UP) button or PICTURE
SELECT DOWN (VOLUME DOWN) button, to adjust the picture quality.
COLOUR
DOWN UP
Press the WIDE/NORMAL button, the screen will display 16:9 or 4:3 picture.
DIMMER Press UP DOWN or Brightness to choose seven different sets.
Auto Brightness automatically
DASHBOARD Controlled by Dashboard illumination
MEM RESET Press UP or DOWN, all sets return the initial value.
CARE AND MAINTENANCE:
Cleaning the Cabinet:
Use a soft, dry cloth to gently wipe off any dirt.
Do not use benzene, thinner, car cleaner, etc., as these substances may damage the
cabinet or cause the point to peel.
Cleaning the LCD Panel:
Use a soft, dry cloth to gently wipe off any dust.
The surface is easily scratched, do not rub it with hard objects.
WIRING PRECAUTIONS:
Read all wiring precautions. If you are not sure of the connections, contact your
authorized Clarion dealer.
1.Disconnect the negative (-) lead from the vehicle’s battery before making any
connections.
2.When creating passage holes through metal or plastic, use grommets to
Eliminate any sharp edges created during drilling. This will protect power or
video wires from nicks or damaged causing a possible short circle or failure.
3.When connecting the ground lead, fasten the ground lead (black) securely to
a clean metal plate on the vehicle. Use sandpaper to remote any paint from the
surface where the ground terminal is attached.
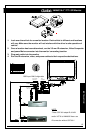
DESCRIPTION OF INSTALLATION:
Now the VMA633 is useable with including mounting bracket. The VMA633 monitor
will accept a video signal from any video source with composite video output.
The Infrared
(IR) sensor will work with a Clarion NAX9500E using the CCE-001 adapter and IR
extension cable, which are provided.
3
OWNER’S MANUAL
PICTURE ADJUSTMENT