E-4203/E-4204/E-4304 21
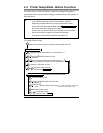
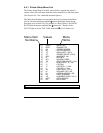
4.4 Printer Setup Mode - Button Functions
In ‘Printer Setup’ mode, the buttons control the setting of the printer’s
operational items such as media settings, communications, and options as
detailed below.
; Notes: It is recommended that the Printer Setup Mode not be entered while
in Peel Mode or with the optional Present Sensor enabled.
Depending on label size this can cause unpredictable results.
Printer and cutter faults are disabled during
,
but
can still occur while printing “test” labels.
If at any time you wish to discard your changes and revert back to
the previous values, simply turn off power to the printer.
If you wish to restore Factory Defaults see Section 5.7.
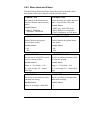
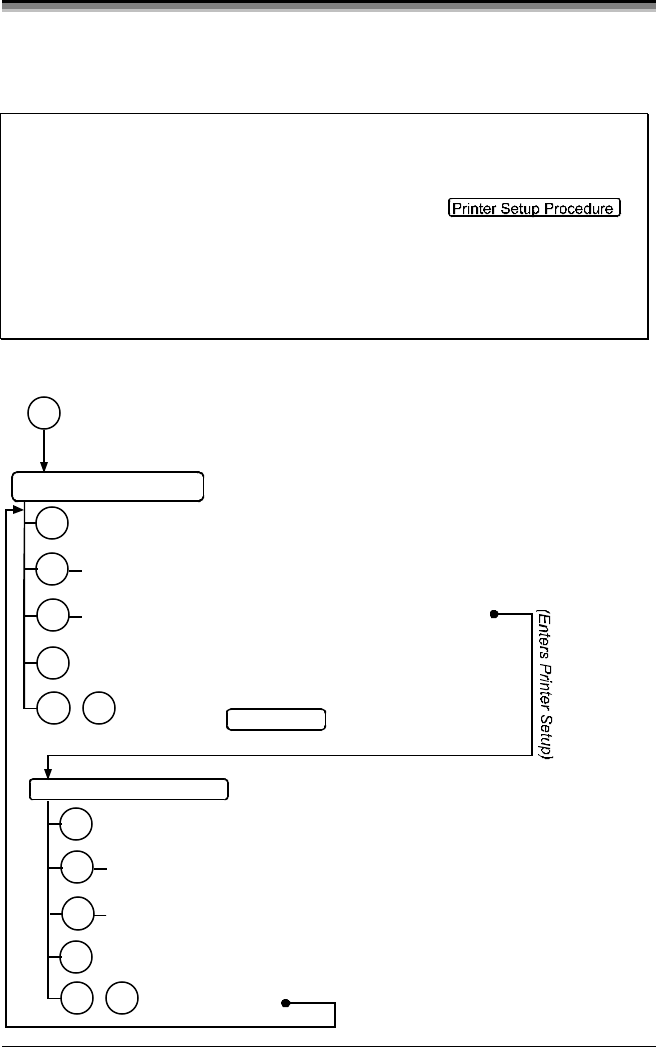
To change Printer Setup:
Printer Setup Procedure
F1
Printer Setup Mode
(Press and hold during power-up until the Paused Light turns off)
F1
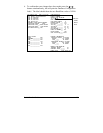
Prints the ‘Printer Setup Menu List’, see section 4.4.1
F2
Press and hold to advance to the desired menu
item by counting the number of Fault Light flashes
F2
F3
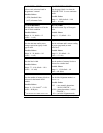
Prints the ‘Test Label’ for “test”
F1
F3+
Saves the current values
and resumes
(Current Item and Value is printed)
F1
Increments item’s value
F3
Decrements item’s value
F2
Press and
Release
Press and
Hold
F2
F1
F3+
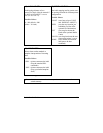
Accepts the current
values for “test”
Selects the next menu item
“Direct Select” menu item
(e.g., 7 Fault Light flashes = Baud Rate,
menu item #7; see Section 4.4.3)
Normal Mode
Feeds one label for “test”
Press and
Release
(
)
()
(
)
(
)


