


Back to Contents Page
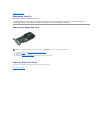
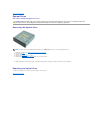
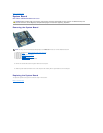
Heat Sink and Processor
Dell™Vostro™230sServiceManual—Slim Tower
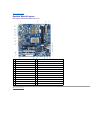
Removing the Heat Sink and Processor
1. Follow the procedures in Before Working Inside Your Computer.
2. Remove the cover.
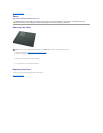
3. Remove the chassis support bracket.
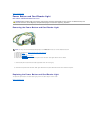
4. Disconnect the heat sink cable from the system board.
5. Loosen the captive screws that secure the heat sink and fan assembly to the system board.
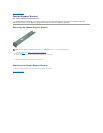
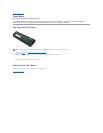
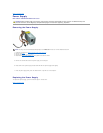
6. Lift the heat sink assembly and remove it from the computer. Lay the assembly on a clean work surface with the fan facing downward and the bottom
facing upward.
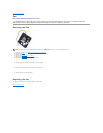
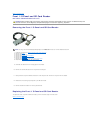
7. Press down and slide the lever to release the processor cover.
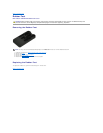
8. Lift the processor cover.
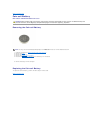
9. Carefully lift and remove the processor from its socket, and place it into an antistatic package.
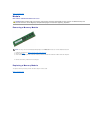
Replacing the Heat Sink and Processor
To replace the heat sink and processor, perform the above steps in reverse order.
Back to Contents Page
WARNING: Before working inside your computer, read the safety information that shipped with your computer. For additional safety best
practices information, see the Regulatory Compliance Homepage at www.dell.com/regulatory_compliance.
NOTE: You may need to install Adobe®Flash®Player from Adobe.com in order to view the illustrations below.