10 Installation Guide
2
Remove the right door.
a
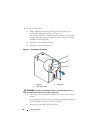
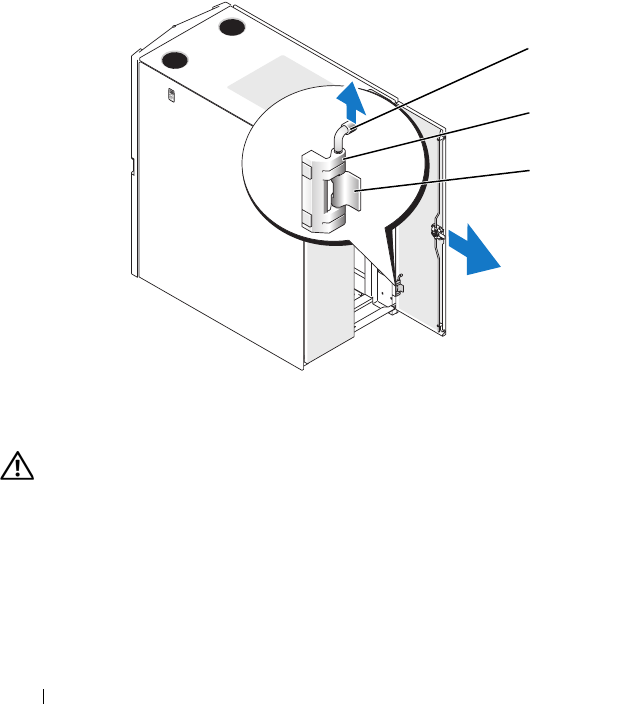
While supporting the door, pull the pin for the top hinge out
of the door’s hinge-pin housing (see Figure 1-3).
You will hear a click as you pull the pin out of the door’s hinge-pin
housing. The hinge pins are designed to prevent them from being
pulled out of the hinge body.
b
Repeat step a for the bottom hinge.
c
Pull the door away from the rack.
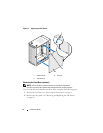
Figure 1-3. Removing the Back Doors
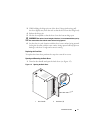
WARNING: Due to the size and weight of the door, it is recommended that you lay
the removed door flat with its outer surface facing upward.
d
Lay the door in a safe location with the door’s outer surface facing
upward.
Laying the door flat with the outer surface facing upward will help
prevent damage to the door’s cosmetic coating.
e
Repeat steps a through d for the left door.
1 hinge pin 2 hinge body
3 hinge-pin housing
1
2
3


