


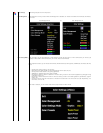

Auto Adjustment allows the monitor to self-
adjust to the incoming video signal. After using Auto Adjustment, you can further tune your
monitor by using the Pixel Clock (Coarse) and Phase (Fine) controls under Image Settings.
NOTE: Inmostcases,AutoAdjustproducesthebestimageforyourconfiguration.
NOTE: AUTO ADJUST option is only available when you are using the analog (VGA) connector.
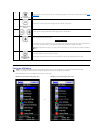
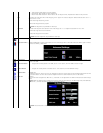
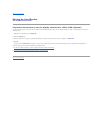
Positioning:
Positioning moves the viewing area around on the monitor screen.
Horizontal
Vertical
WhenmakingchangestoeithertheHorizontalorVerticalsettings,nochangesoccurtothesizeoftheviewingarea.Theimageshiftsin
response to your selection. Minimum is 0 (-) and maximum is 100 (+).
NOTE: Horizontal and Vertical are not available when using DVI connector.
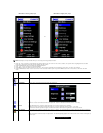
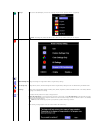
Zoom
Use the Zoom function to zoom in to specific area of interest.
Using - and + buttons to zoom in and out.
H Pan
V Pan
After zooming in, the horizontal and vertical pan function allows you to pan the enlarged image left/right and up/down respectively.
Using - and + buttons to adjust image left and right. Minimum is '0' (-). Maximum is '100' (+).
Using - and + buttons to adjust image up and down. Minimum is '0' (-). Maximum is '100' (+).
NOTE: H Pan and V Pan are not available when the value of Zoom is 0.
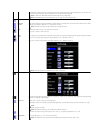
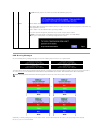
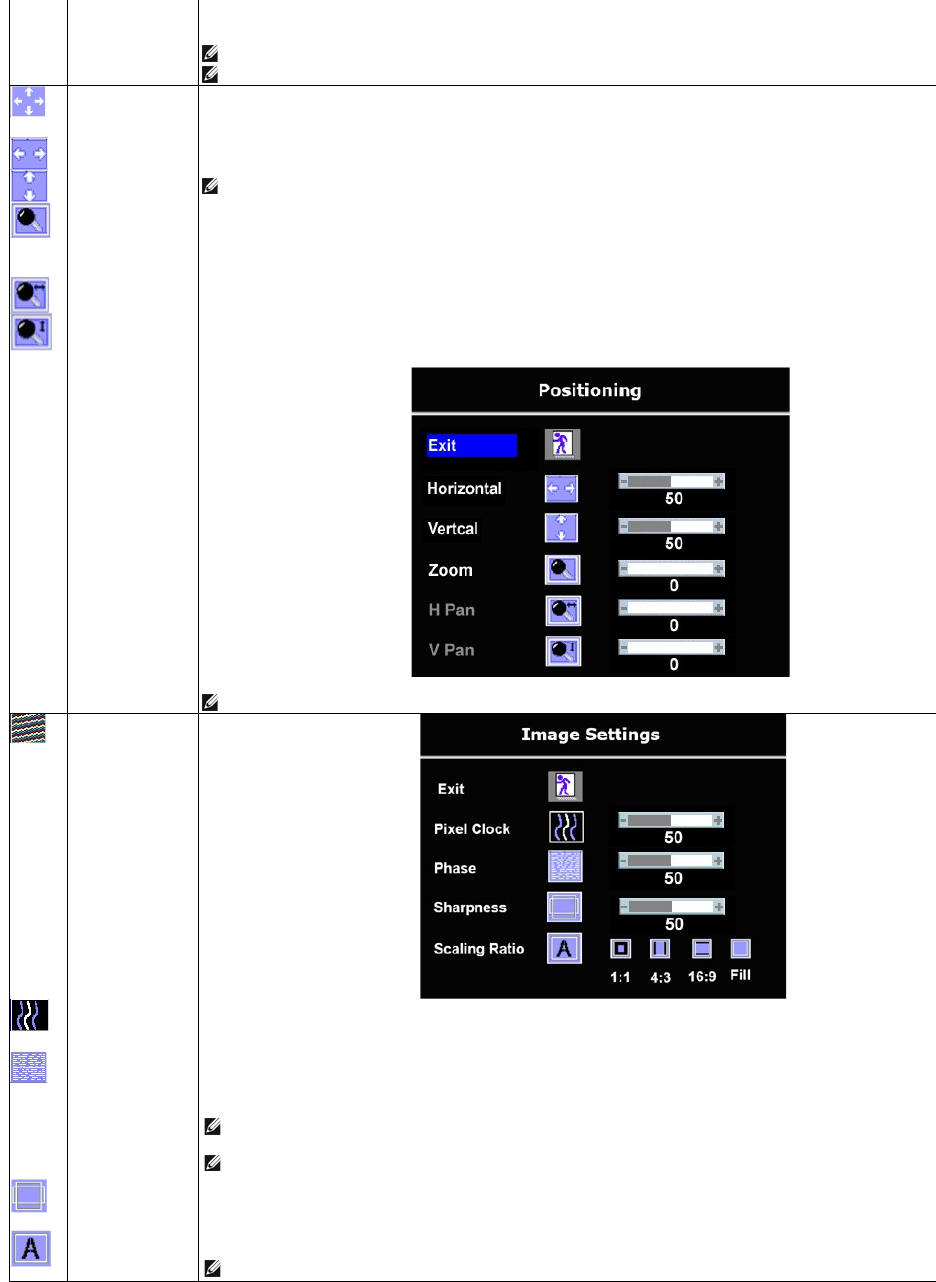
Image settings:
Pixel Clock (Coarse)
T
he Phase and Pixel Clock adjustments allow you to adjust your monitor to your preference. These settings are accessed through the main
OSD menu, by selecting 'Image Settings'.
Phase (Fine)
Use the - and + buttons to adjust for best image quality.
If satisfactory results are not obtained using the Phase adjustment, use Pixel Clock (Coarse) and then use Phase (fine), again.
NOTE:
Thisfunctionmaychangethewidthofthedisplayimage.UsetheHorizontalfunctionofthePositionmenutocenterthe
display image on the screen.
NOTE:Pixel Clock and Phase are not available when using DVI connector.
Sharpness
This feature can make the image look sharper or softer. Use - or + to adjust the sharpness from '0' to '100' .
Scaling Ratio
Adjust the image ratio as 1:1, 4:3, 16:9 or Fill (full screen).
NOTE: This adjustment is not required and not available at optimal preset resolution 1920 x 1200.