


Hardware Installation 2-3
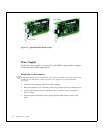
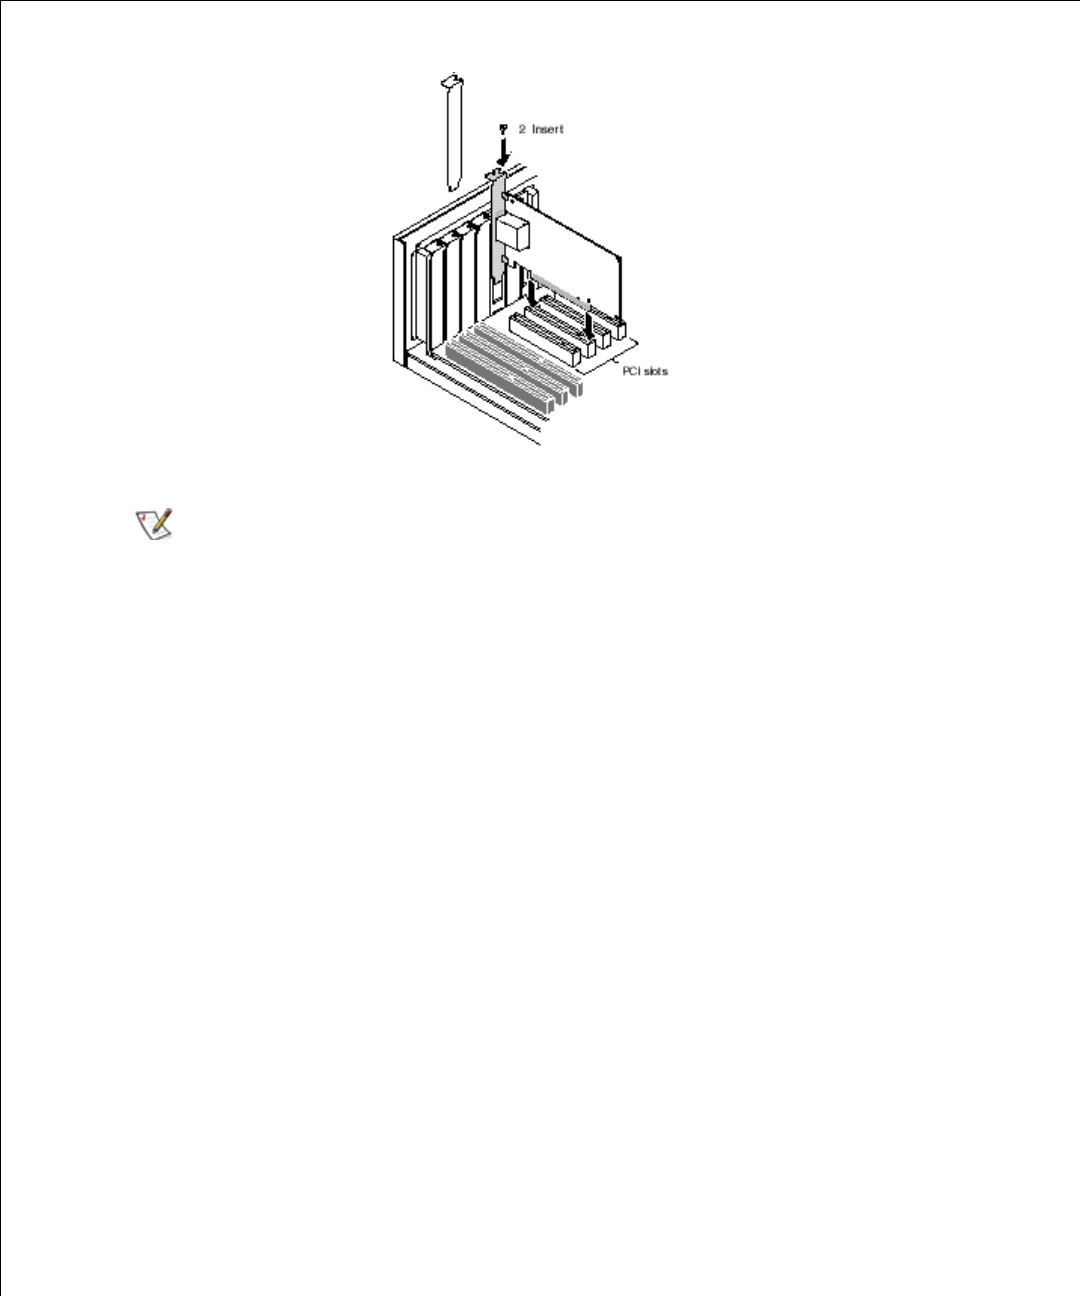
NOTE: QLA2xxx boards are designed with the components on the opposite side compared
with non-PCI boards.
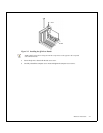
5. Secure the QLA2
xxx
board with the slot cover screw.
6. Carefully reinstall the computer cover. Insert and tighten the computer cover screws.
Figure 2-2. Installing the QLA2xxx Boards