


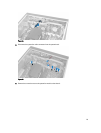
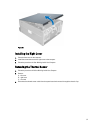
Figure 50.
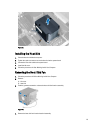
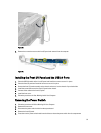
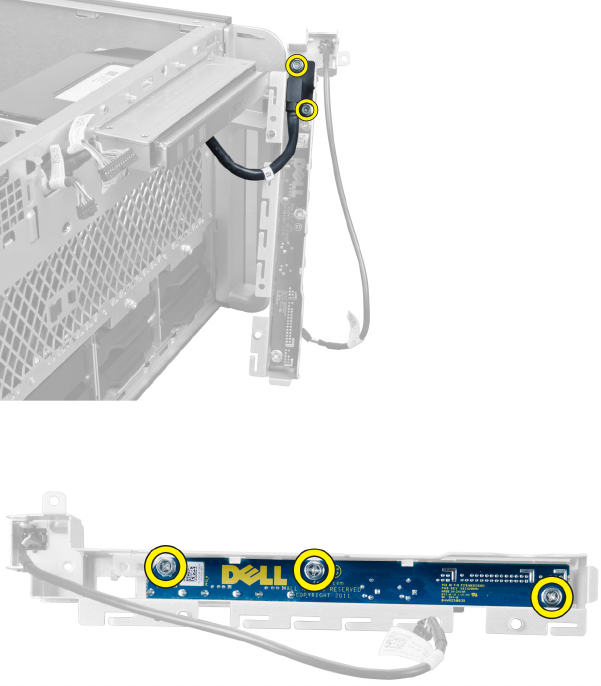
8. Remove the screws that secure the front I/O panel and remove it from the computer.
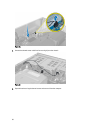
Figure 51.
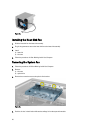
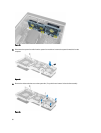
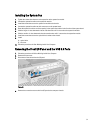
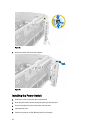
Installing the Front I/O Panel and the USB 3.0 Ports
1. Place the USB 3.0 module of the front I/O panel and install the screws to secure it in place.
2. Place the front I/O panel and install the screws to secure it in place.
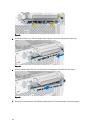
3. Re-seat the front I/O panel assembly on the chassis and secure it to the chassis clips on both sides.
4. Install the screws that secure the front I/O panel to the chassis.
5. Connect all the cables to the front I/O panel.
6. Install the front cover.
7. Follow the procedures in
After Working Inside Your Computer
.
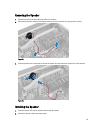
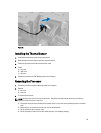
Removing the Power Switch
1. Follow the procedures in
Before Working On Your Computer
.
2. Remove the front cover.
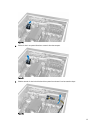
3. Disconnect the power switch cable from the system board.
4. Remove the front I/O panel.
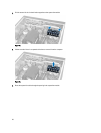
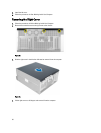
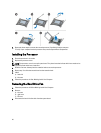
5. Press down on the power switch module on the sides to release the power switch from its compartment.
33