Operational current / charging procedure
→ When connecting to a power socket, please ensure that the power cable is first connected to the case and then to the power socket!
→ The charging procedure should generally be done while the case is open!
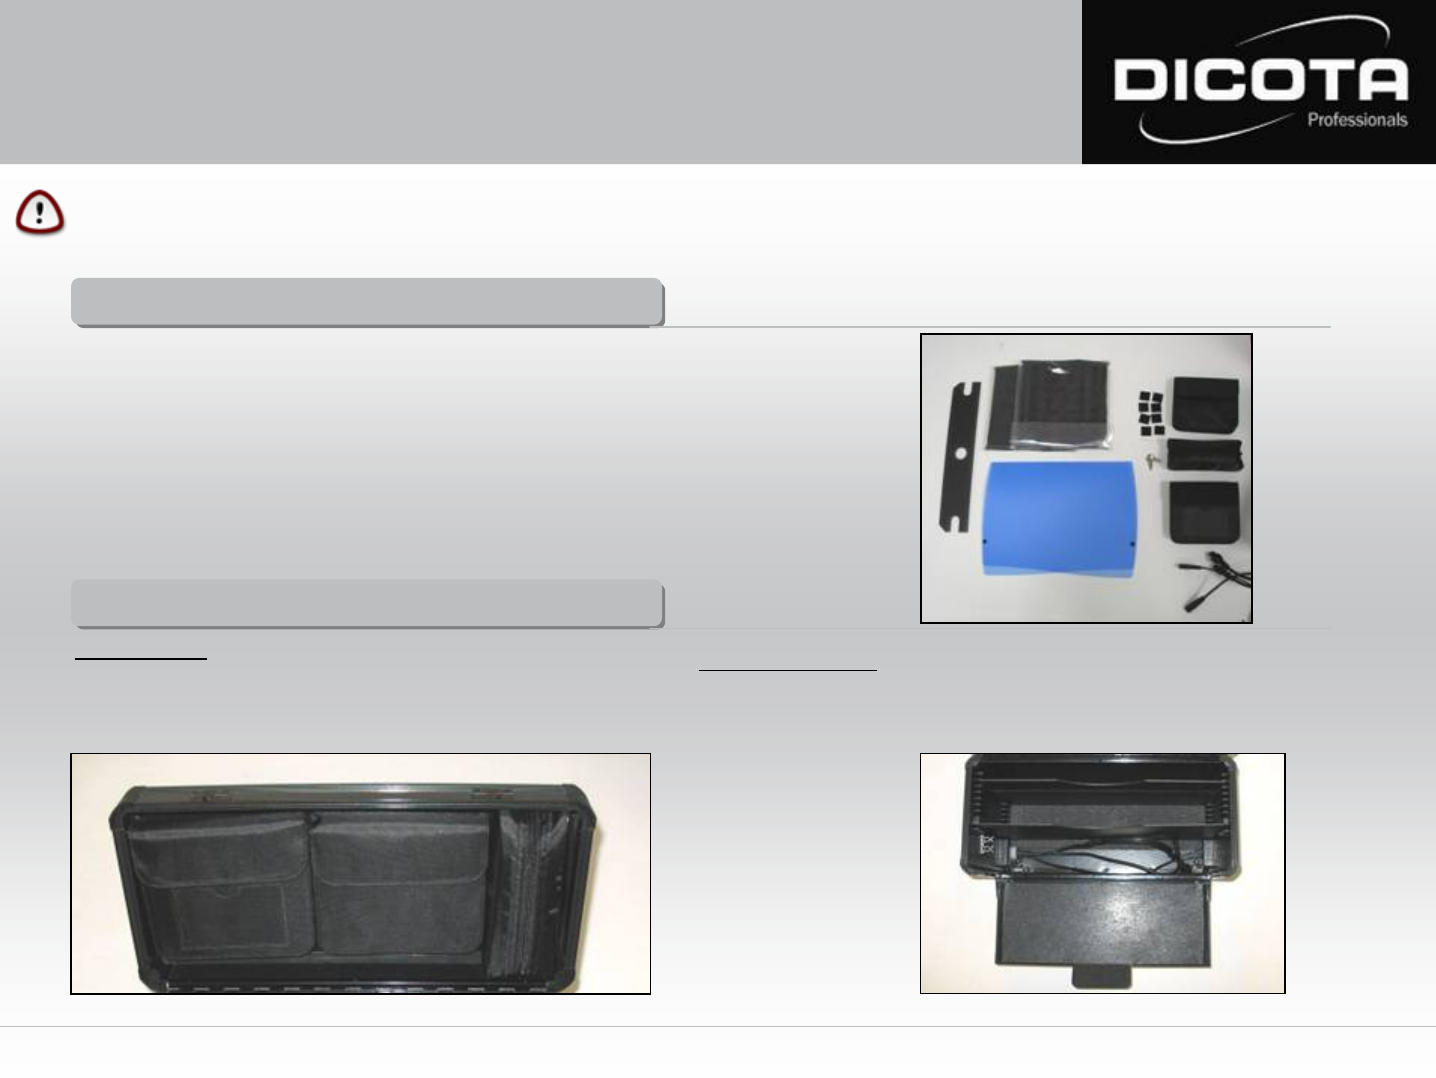
Scope of supply – DataBox Allround XL
Scope of supply – DataBox Allround XL
1) 1 x 220 V power socket, cable tree 2 x EURO 8 and 2 x IBM
2) Detachable cable pouch
3) Detachable CD case
4) Detachable accessory pouch
5) 8 x 3M Velcro pads (self-adhesive)
6) 2 x key
7) Separate document case
8) Individually adjustable Notebook pads
9) Cable tree cover
Interior features – DataBox Allround XL
Interior features – DataBox Allround XL
Case lid (Fig. 1)
1) Detachable CD case with business card holder
2) Detachable accessory pouch
3) Detachable cable pouch
Case interior (Fig. 2)
1) Printer lid can be opened
2) Permanently installed cable tree
3) Individually adjustable front and back side for Notebook mounting
(1)
(2)
(5)
(6)
(7)
(8)
(9)
Fig. 1
(1) (2) (3)
Fig. 2
(1)
(2)
(3)
6
(3)
(4)
User Manual DataBox Allround XL


