Installation of mobile printer
Installation of mobile printer
Open your DataBox Allround XL. If you have not ordered the „QuickFix“ printer holder for your specific printer, proceed as follows
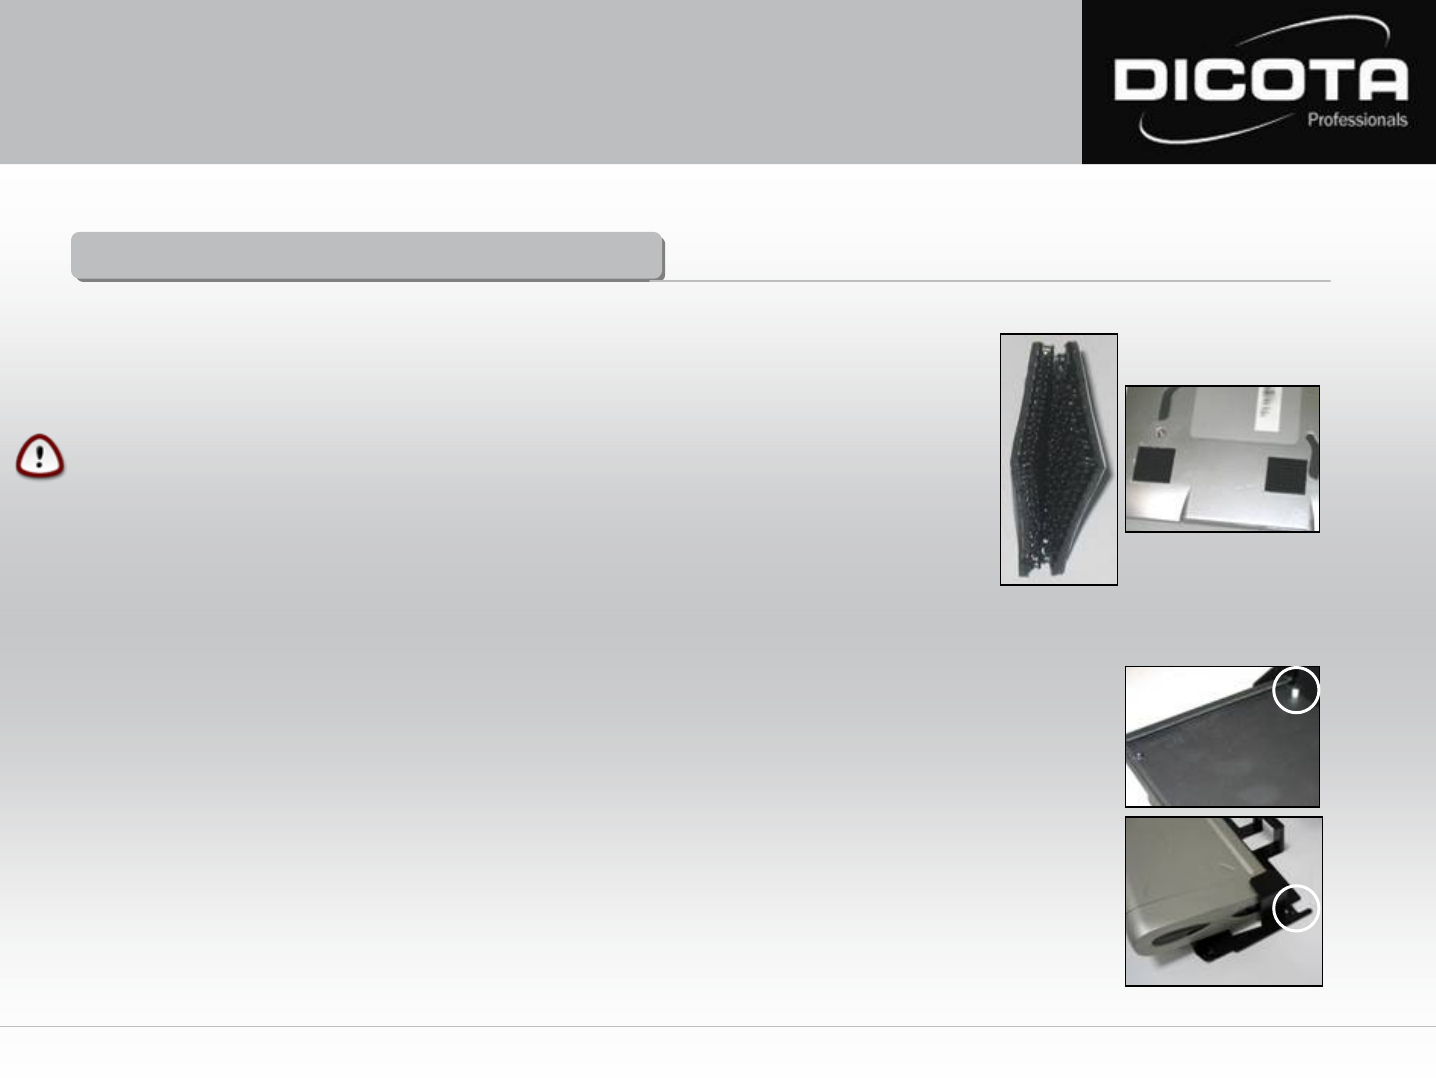
1) Take eight Velcro pads and press two corresponding pairs together (Fig. 3)
2) Now you have four Velcro pairs with protective films on each side. Remove the protective film on one side of each
pair to reveal the adhesive tape beneath and press them to one corner each of your printer. (Fig. 4)
CAUTION!
Before you mount the printer, please check the intended position on the flap since incorrect mounting can cause
problems during printer operation.
3) Now you can mount the printer on the open front lid of the DataBox Allround XL by removing the protective film
from the four Velcro pairs and position the printer on the lid. After mounting the printer, leave the lid open for
at least twelve hours so the tape really sticks.
Installation of mobile printer with printer holder „QuickFix“!
If you ordered the optional printer holder „QuickFix”, proceed as follows:*
1) Open the DataBox Allround XL and the printer lid. There are two holders on the rear side of the printer lid (Fig. 5 (1)).
These are designated „QuickFix“ mounts.
2) The printer must first be shoved into the „QuickFix“ holder (Fig. 6 (2)). Please make sure that the printer is safely mounted in
the holder. The holder with the printer is then placed on the printer lid and connected to the other holders (Fig. 5 (1)).
In doing so, the grooves of the „QuickFix“ holder (Fig. 6 (3)) must be fully inserted into the holders on the printer lid.
Due to the fact that DataBox Allround XL is based on the “Floor-to-Desk” system and the Notebook is operated on a table outside
the case, the installation of the printer to the Notebook must be done according to the standard installation procedure of the
printer or Notebook. How to connect the Notebook with the printer is explained on the following page!
The optional „QuickFix“ holder is suitable for many standard printers. If you have any questions, please contact us at info@dicota.com.
*Depending on the printer, there may be other „QuickFix“ holders similar to the one shown!
Fig. 4
(1)
Fig. 6
Fig. 5
(2)
(3)
7
Fig. 3
User Manual DataBox Allround XL
