


be altered to include the date. For example, full.bak might become full-20081121.bak to show it is a
snapshot of the state on November 21st, 2008.
To restore a backup file, the administrator should upload the file to the NetDefend Firewall. The
name of the file does not need to be changed in any way and can retain the date since NetDefendOS
will read a header in the file to determine what it is.
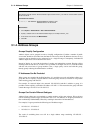
Backup and Restore using the WebUI
As an alternative to using SCP, the administrator can initiate a backup or restore of the configuration
or complete system directly through the WebUI. The example below illustrates how this is done.
Example 2.15. Backing up the Entire System
In this example we will backup the entire system on 12 December 2008.
Web Interface
1. Go to Maintenance > Backup
2. The Backup dialog will be shown
3. Press the Backup configuration button
4. A file dialog is shown - choose a directory for the created file
5. Download of the backup file will then start
The same maintenance menu option can be used for restoring a previously created backup.
Note: Backups do not contain everything
Backups include only static information from the NetDefendOS configuration.
Dynamic information such as the DHCP server lease database or Anti-Virus/IDP
databases will not be backed up.
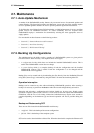
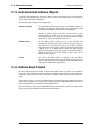
2.7.3. Restore to Factory Defaults
A restore to factory defaults can be applied so that it is possible to return to the original hardware
state that existed when the NetDefend Firewall was shipped by D-Link. When a restore is applied all
data such as the IDP and Anti-Virus databases are lost and must be reloaded.
Example 2.16. Complete Hardware Reset to Factory Defaults
Command-Line Interface
gw-world:/> reset -unit
Web Interface
1. Go to Maintenance > Reset
2. Select Restore the entire unit to factory defaults then confirm and wait for the restore to complete.
2.7.3. Restore to Factory Defaults Chapter 2. Management and Maintenance
74