


3
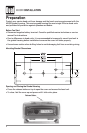
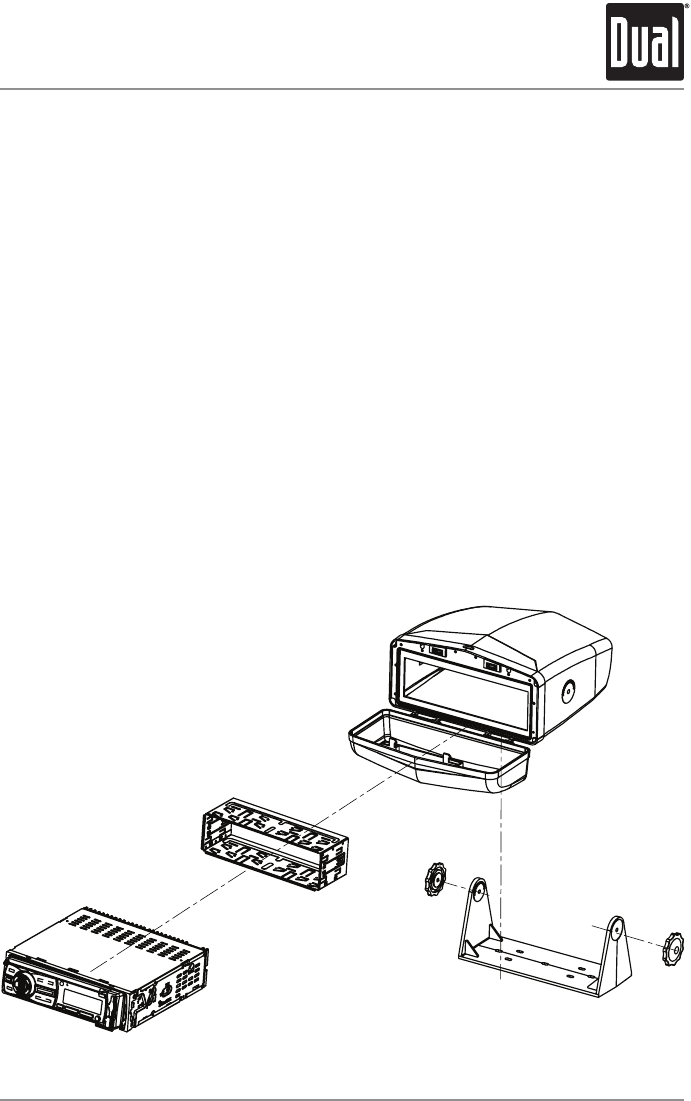
Mounting
• Prepare surface for mounting the gimbal housing bracket. For maximum installation
flexibility, the gimbal housing bracket can be mounted to any flat surface or it can also
be suspended.
• Use the bracket as a template and mark and drill the holes for the mounting bracket.
Use caution before you drill or cut! Be careful not to cut or drill into gas tanks, fuel lines,
hydraulic lines, vacuum lines or electrical wiring.
• Secure the mounting bracket using supplied hardware. Attach gimbal housing by
inserting the thumbscrews through the bracket and into the gimbal housing. Adjust the
desired angle and hand tighten the thumbscrews. Do not overtighten the thumbscrews.
• Route all head unit wiring to the gimbal housing. Using a suitable tool, carefully cut an
"X" in the desired rubber grommet. The grommets are interchangeable between the left
and right sides of the gimbal housing.
• Install mounting sleeve (supplied with head unit) into gimbal housing. This may vary
depending on head unit manufacturer and installation instructions. Refer to head unit
owner’s manual for details.
• Connect head unit wiring and test for correct operation.
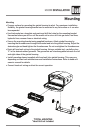
MH200 INSTALLATION
Mounting
TYPICAL MOUNTING
*Head Unit not included.